In this post I’ll be covering how to install some needed components, how to commit the changes, and create a revised images for deployment.
In recent event and meetings, I’ve been talking about how to work SQL Server Linux Containers Docker images. As these images get your container up-and-running quickly they lacks some tools that may be useful to complete the SQL Server configuration.
What’s missing?
The SQL Server images contains a small footprint of Linux Ubuntu 16.04 Operating System (OS) and is meant for quick deployment. The OS side the container need to be kept updated regularly.
At the same time, when you starts exploring inside the container, there still missing components you may want to use:
- vim – for editing text files.
- ifconfig – to check your network interfaces.
- ping – to check IP-Address can be reachable across the network.
- curl – for transfering data.
So, after you pull the docker image, create the container using “docker run …“, and then get to the container Bash session by using “docker exec -it …“. Remember the bash session only get you to the “root” level as there’s no users set on these containers.
## - First time setup: (for "server:2019-CTP2.2-ubuntu" and )
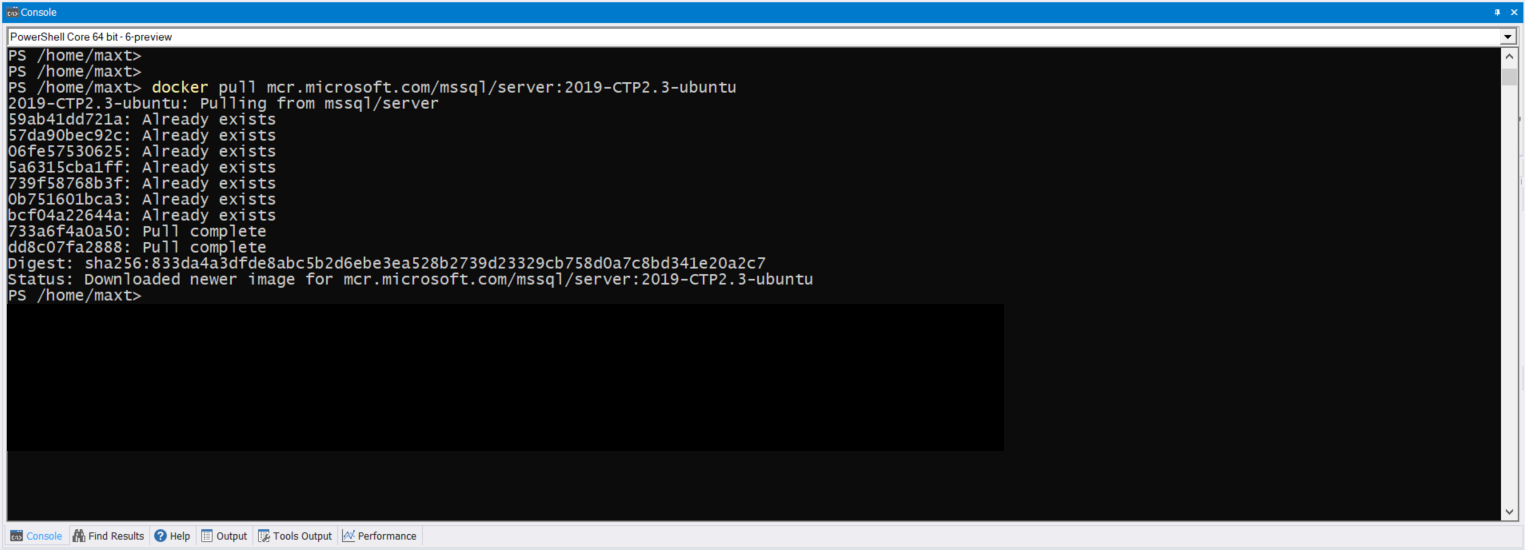
docker run -e 'ACCEPT_EULA=Y' -e 'SA_PASSWORD=$SqlPwd01A' -e "MSSQL_PID=Developer" -p 1433:1433 --name sql2k19_CTP2.3 -d mcr.microsoft.com/mssql/server:2019-CTP2.3-ubuntu;
## - Display all active containers;
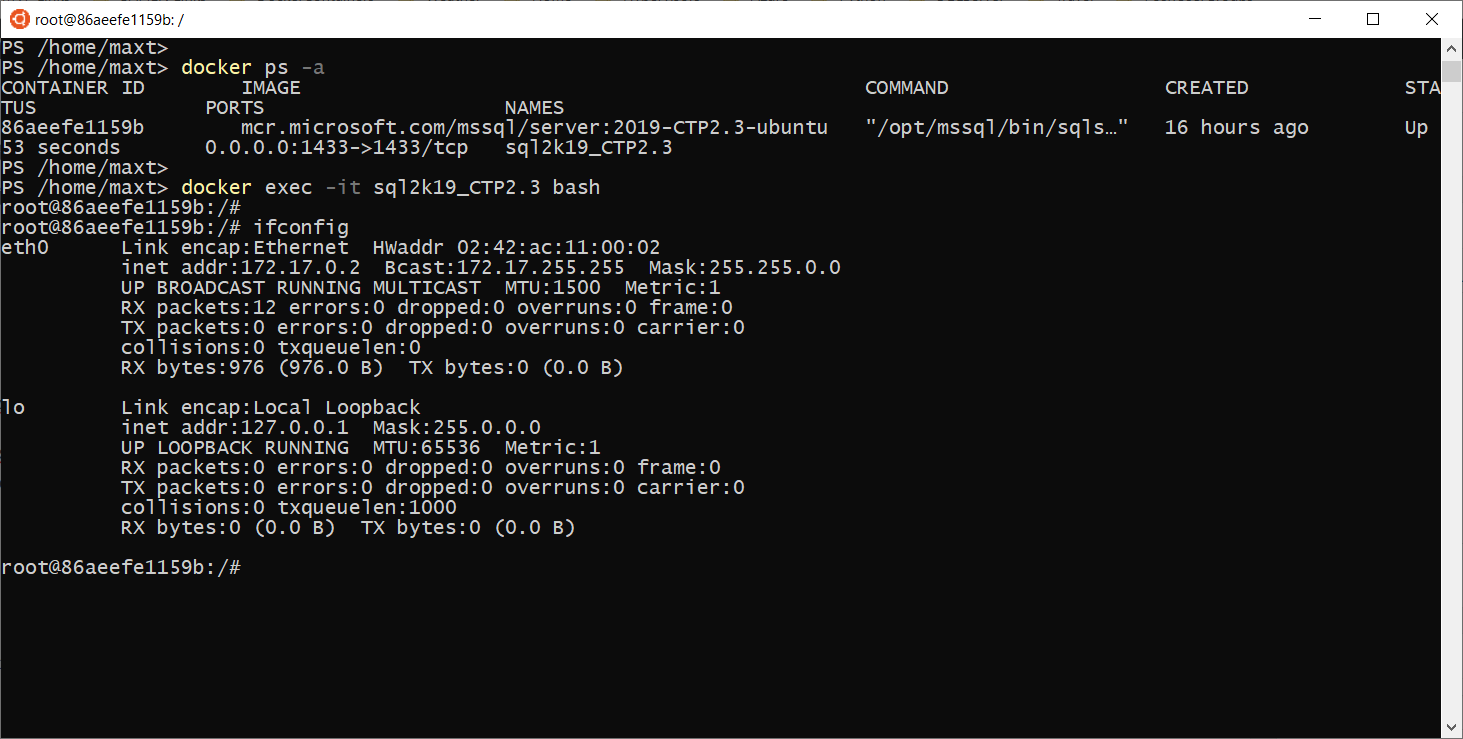
docker ps -a
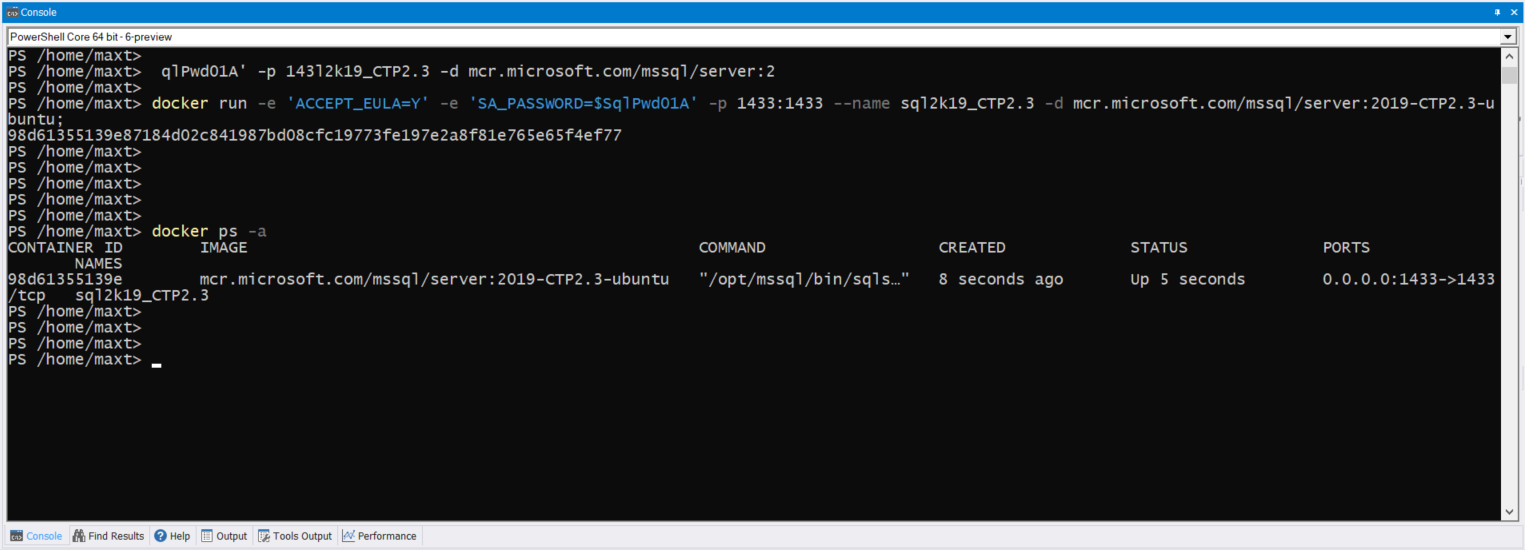
At this point make sure the active container status should be in “Up” status. Now can proceed to update the container.
Installing Missing Components
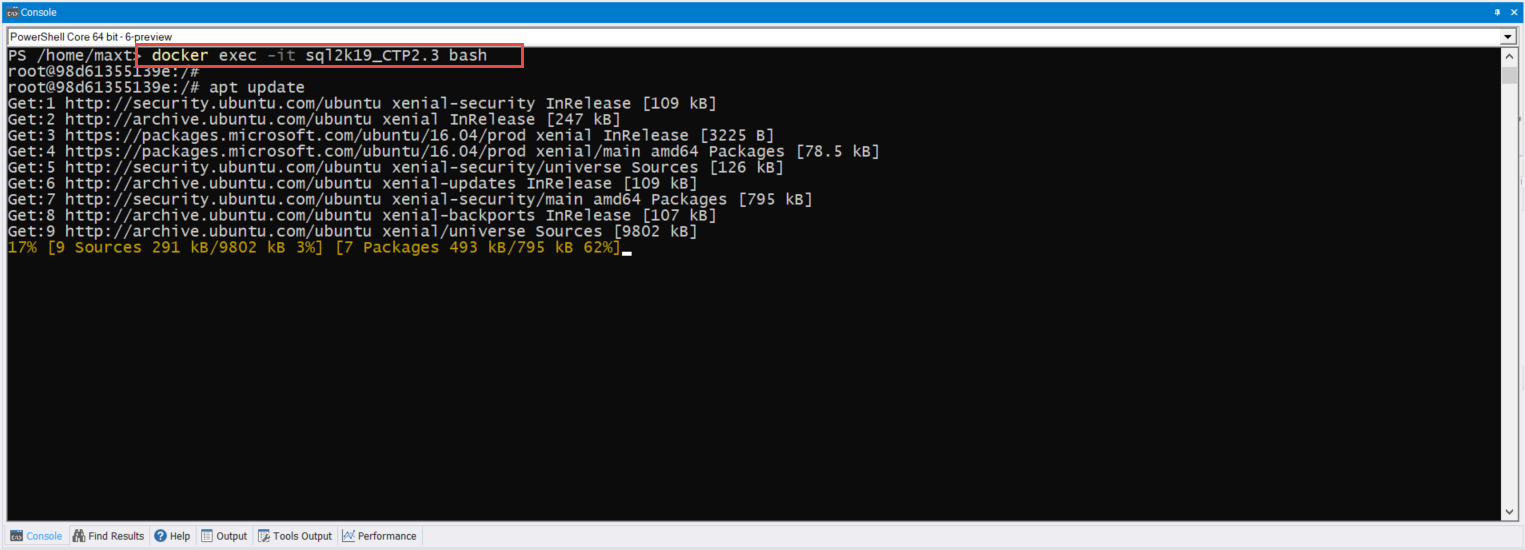
To have access to the container we use the “docker exec …” command. This command will allow to get access to the container “root” prompt.
## - Configuring your container:
docker exec -it sql2k19_CTP2.3 bash
The first thing I would suggest to do, execute the following to commands:
## - Updating OS:
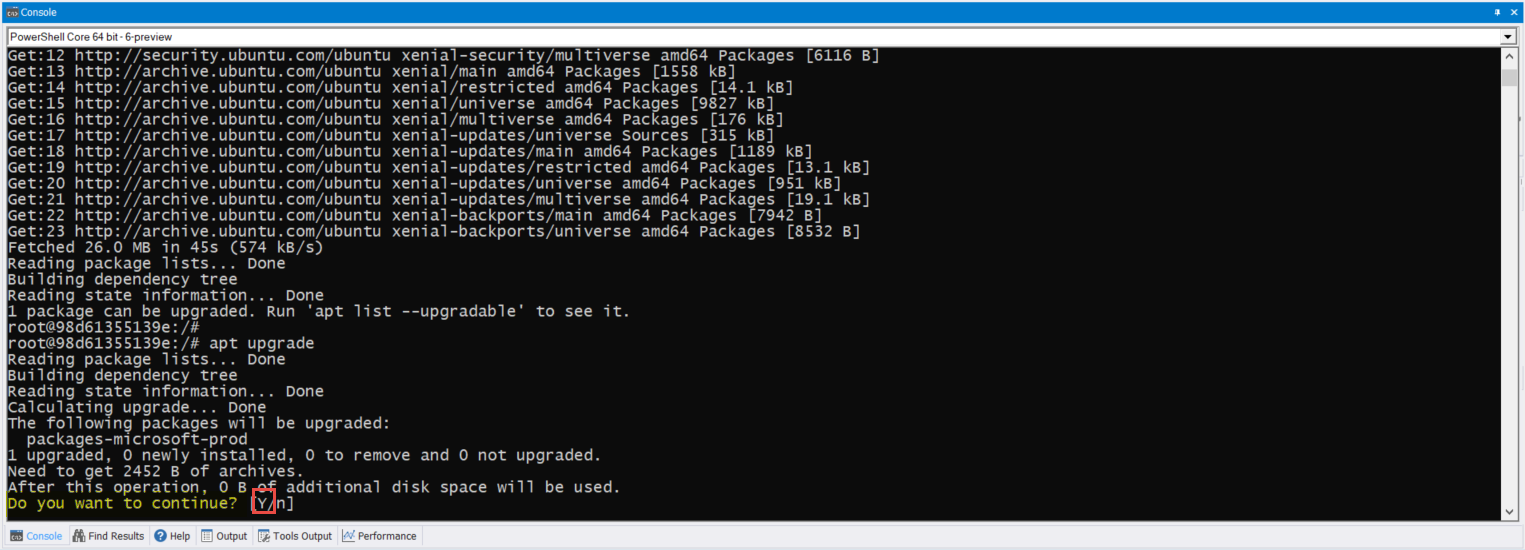
apt update
apt upgrade

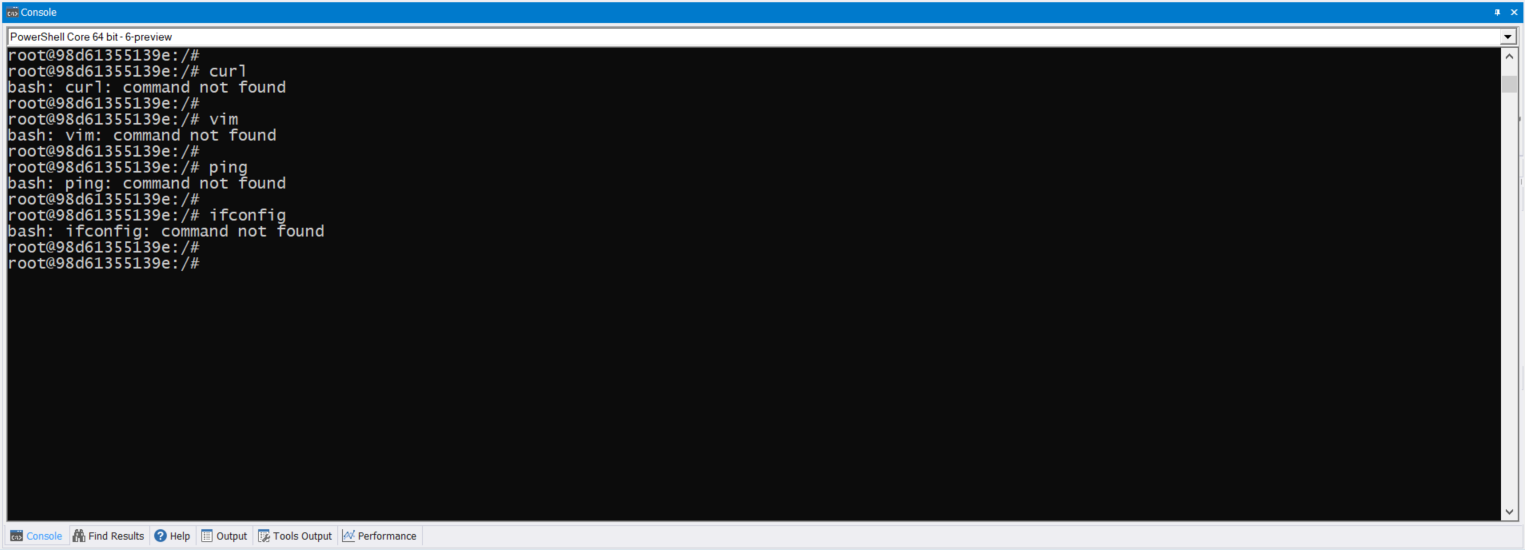
Notice if you try to execute: vim, ping, ifconfig, and curl are not installed in the container images.
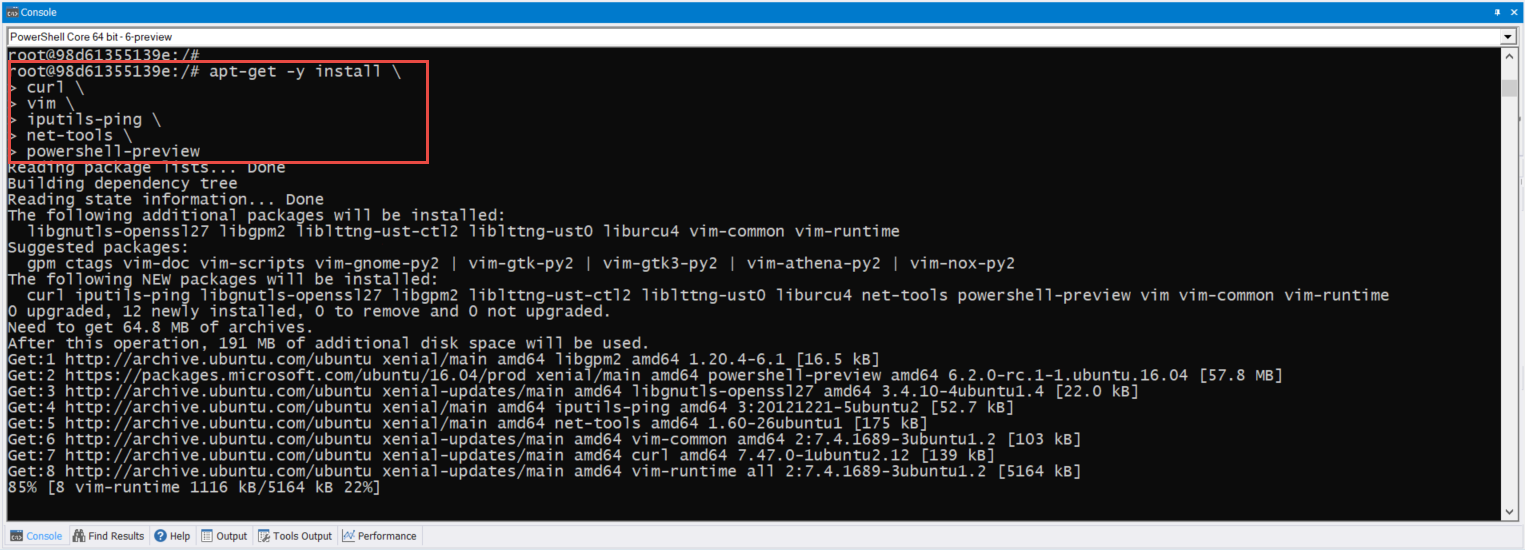
Let’s proceed to install these component by executing the following command:
## - Installing additional components:
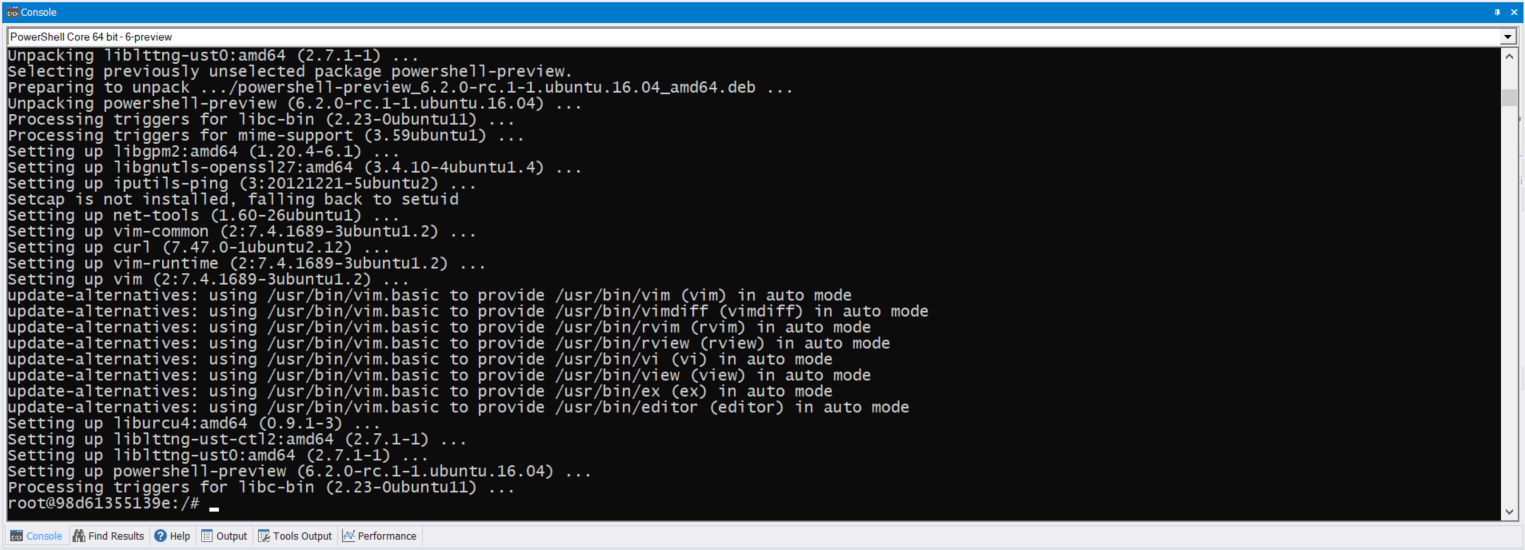
apt-get -y install \
curl \
vim \
iputils-ping \
net-tools \
powershell-preview
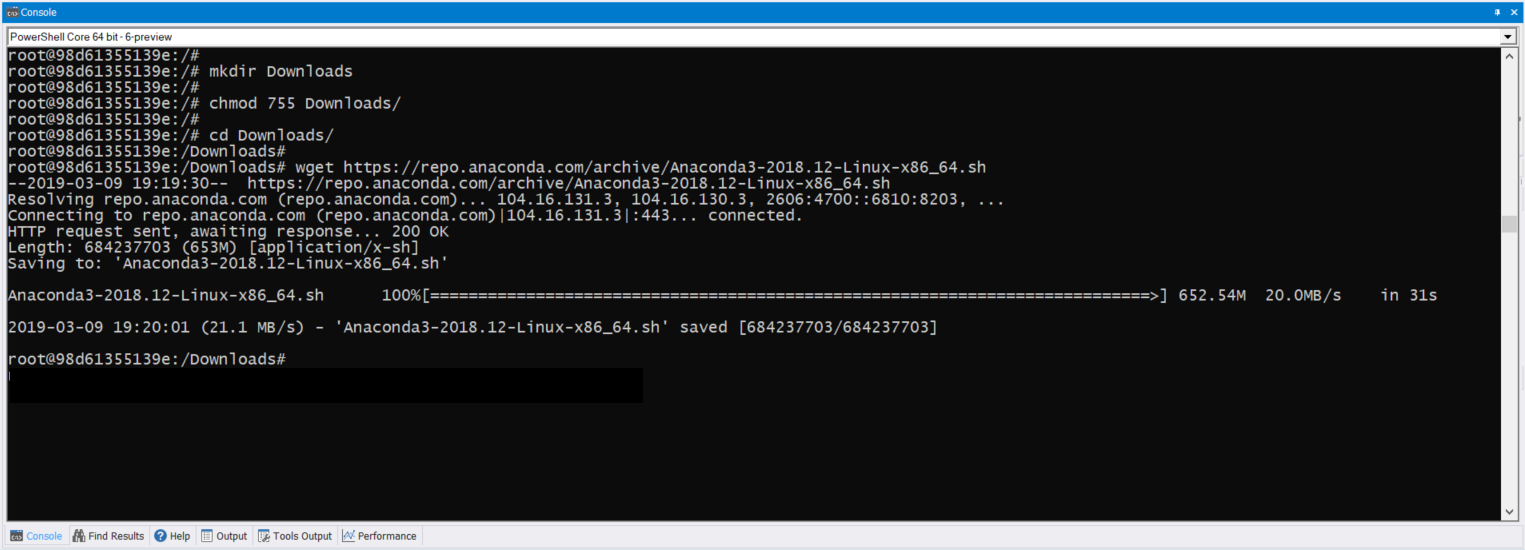
Also, it’s a good idea to create a Downloads folder in case to install other application(s).
## - Create Downloads folder in root:
mkdir Downloads
chmod 755 Downloads
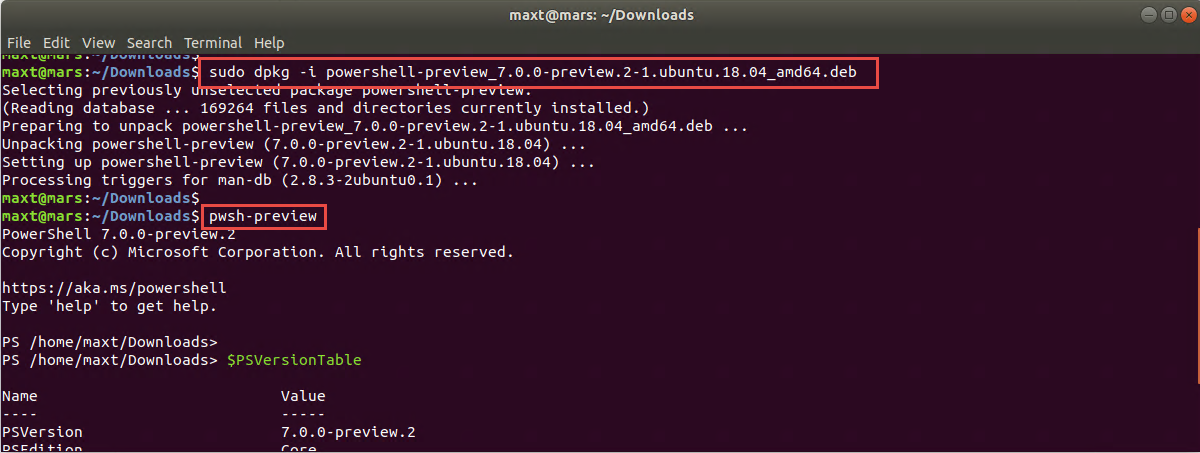
Notice that PowerShell Core Preview was included with the other missing components. PowerShell has become a great tool to have in a Linux environment.
PowerShell Core SQLServer Module
Although, this is optional but it doesn’t prevent you to include PowerShell Core Preview 6.2.0-RC1 with the SqlServer module which included the “Invoke-Sqlcmd” use by many administrator. This is a great module to have in a SQL Server container image.
So, from the “root” prompt in the container open PowerShell Core Preview, then proceed to install the SqlServer module preview version 21.1.18095.
## - Open PowerShell Core:
pwsh-preview

## - Install SqlServer module preview:
Install-Module SQLServer -AllowPreRelease

This completes the essential for using PowerShell to help managing a SQL Server instance(s).
How About Anaconda?
We could install the latest version of Anaconda with Python 3.7 in our SQL Server container image.
## - Change directory to Downloads folder:
cd Downloads

## - Download Anaconda with Python 3.7:
wget https://repo.anaconda.com/archive/Anaconda3-2018.12-Linux-x86_64.sh

## - Install Anaconda with Python 3.7:
bash Anaconda3-2018.12-Linux-x86_64.sh

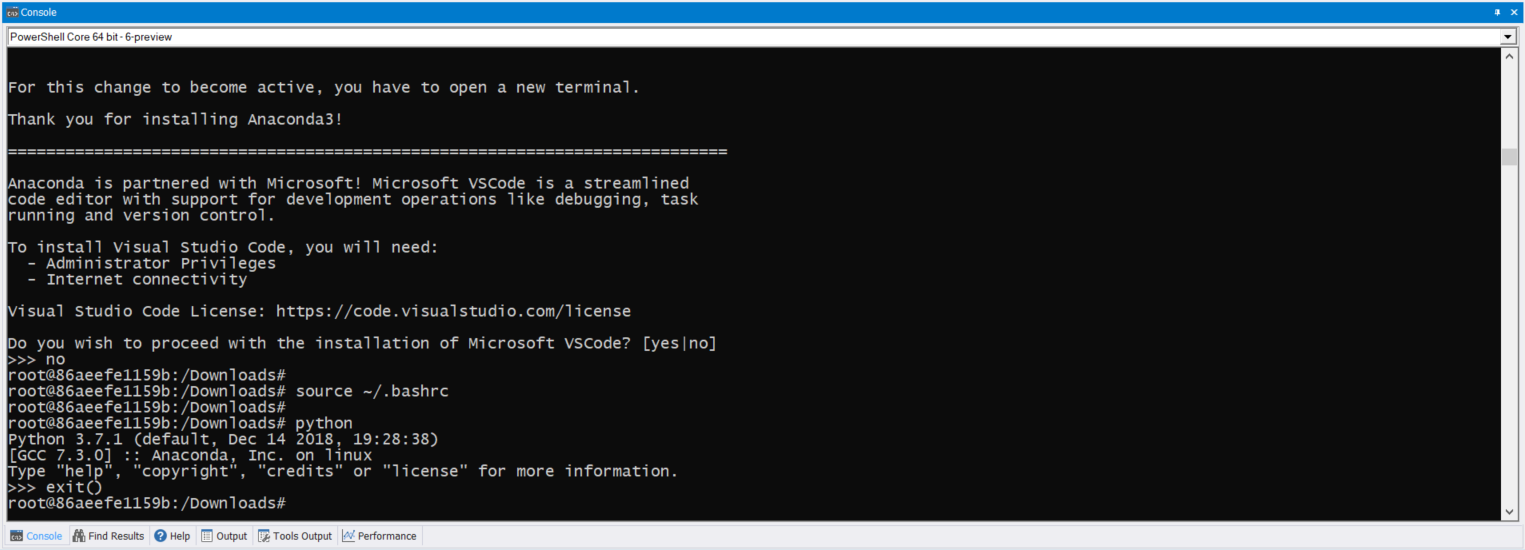
This will give us the ability to test Python scripts within the container.
Testing installed Components
We need to verify that all previously installed components are working. Go back to the container “root” prompt, and to execute the commands:
ifconfig
ping 127.0.0.1
vim ~/.bashrc
pwsh
sqlcmd
Now, executing “sqlcmd” command line will not work unless you add the path to the executable to the “root” ~/.bashrc file:
## - Need to include the path to SQLCMD command:
echo 'export PATH="$PATH:/opt/mssql-tools/bin"' >> ~/.bashrc

## - Refresh ~/.bashrc:
source ~/.bashrc

## - Run Sqlcmd command:
sqlcmd -L localhost -U sa -P 'sapwd'
> select @@version
> go
> exit
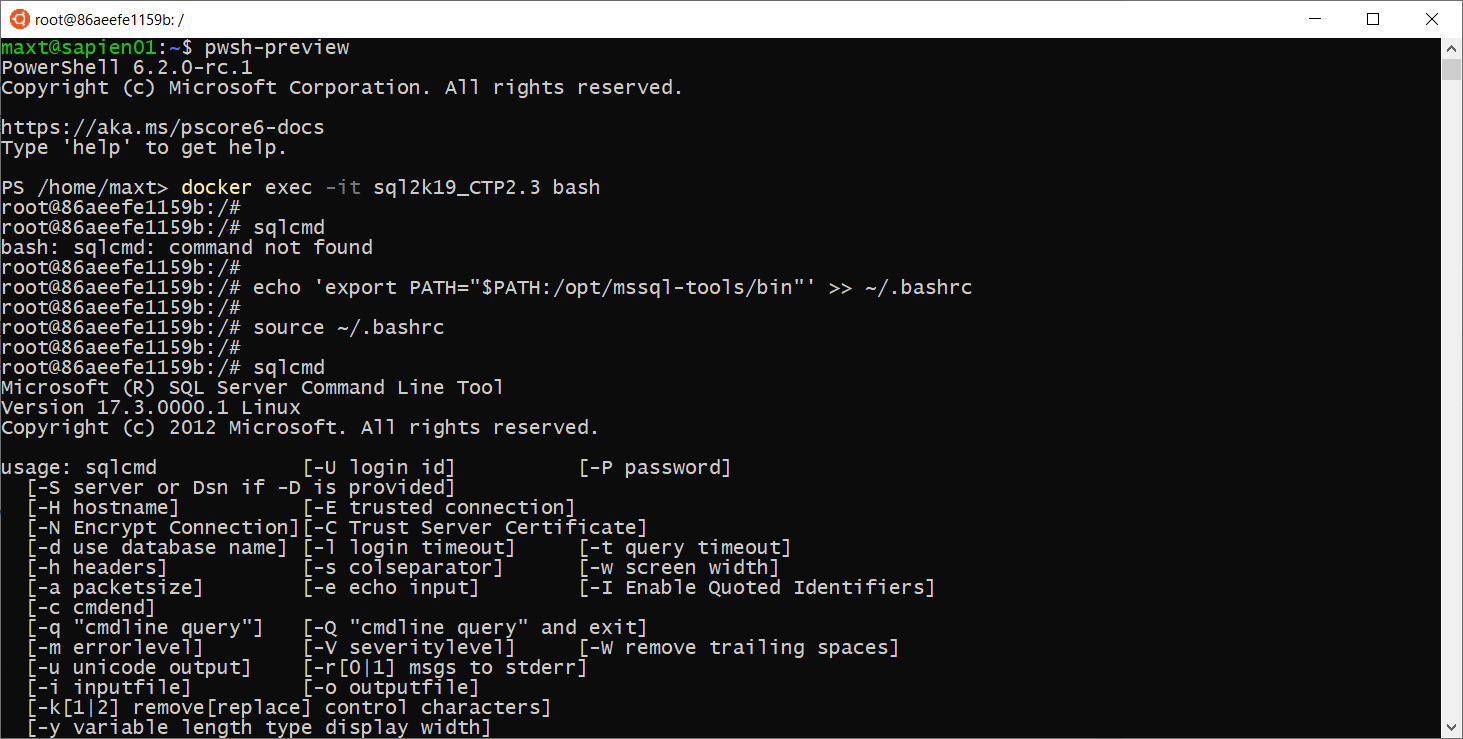

This is a good indication that our *SQL Server container is active. And, now we got all missing components installed.
Now, we need to make sure we don’t lose out changes.
Creating your own SQL Server Docker image
This is an important step so you won’t lose the changes already made to the container. Below are the brief step to follow:
## - Commit the container changes: (repository name must be lowercase but Tags are OK with uppercase)
## -> docker commit "<Get-Container_ID>" "<Image-name>":"<TAG name>"
docker commit "<Get-Container_ID>" sql2k19_ctp2.3_sandbox:CTP2.3-Version01
## - List images included the committed ones:
docker images
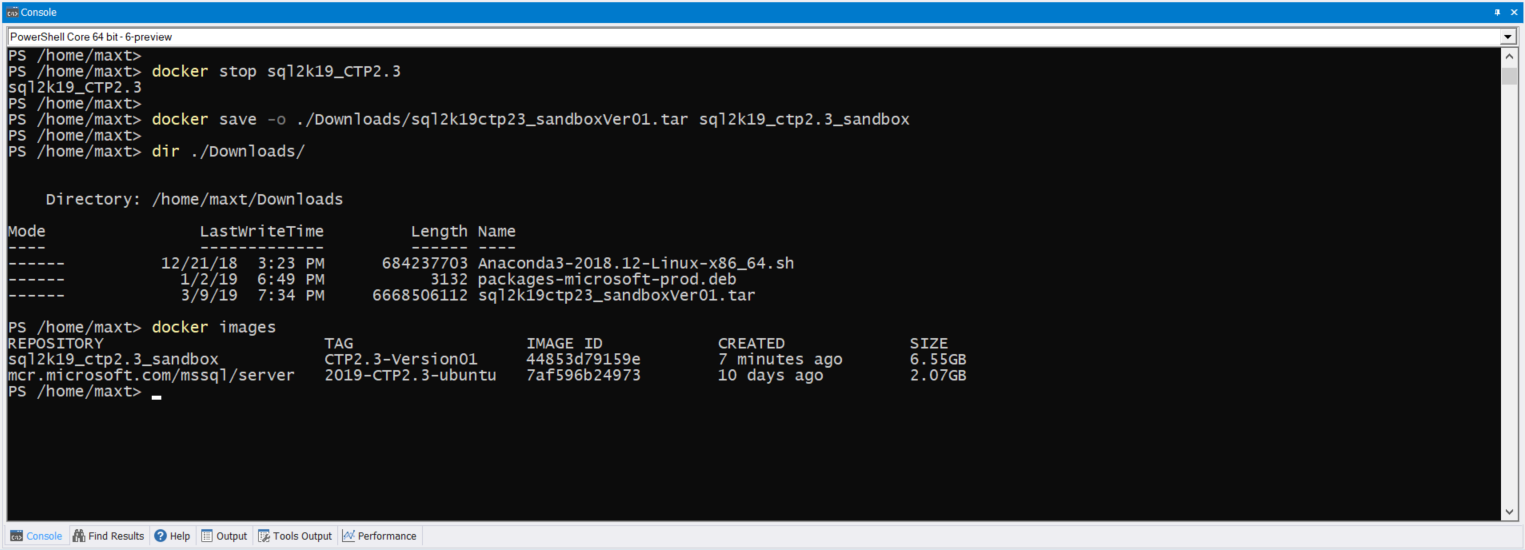
## - Stop Image before the Save step:
docker stop sql2k19_CTP2.3
docker ps -a
## - Save docker updated image:
docker save -o ./Downloads/sql2k19ctp23_sandboxVer01.tar sql2k19_ctp2.3_sandbox
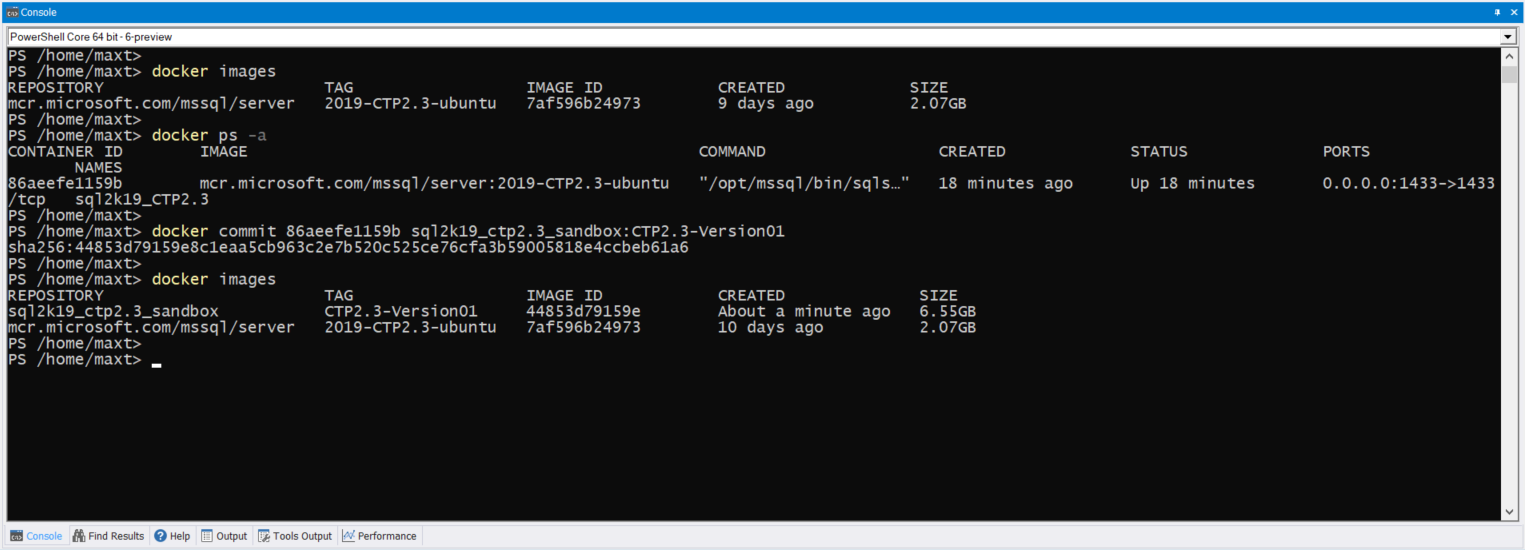
The “docker commit …” command, you’ll provide both the image-name (all lowercase) and a TAG name (uppercase allowed). You can be creative in having an naming conversion for you images repositories.
It’s very important to save images after doing the commit. I found out that having an active container would be useless without an image. As far as I know, I haven’t found a way to rebuild an image from an existing container if the image was previously removed.
Summary
Hope this brief run down on working with SQL Server Docker container images will get you started with modifying existing images for quick deployment.
One thing to keep in mind!
- The SQL Server Container memory need to be 4GB minimum.
- In Windows, if your’re using non-Hyper-V virtualization tools such as Virtualbox, the virtual machine memory need to be change to 4GB.
- Also, when you are creating images, the virtual machine disk size default is 20GB. This may need to be increase unless you keep cleaning/removing images to make room.
Just layout what you need, commit, save and deploy your docker solution in your environment.
Keep learning about this amazing technology!