This blog describe the essentials to get you started with building Windows Azure Virtual Machines. This is slightly different from the previous blogs on Windows Azure SQL Database Servers. As a refresher, in order to use PowerShell with Windows Azure, you need to create and install a Certificate key. Then, it will enable PowerShell to work with Windows Azure commands.
Check the links provided for creating and uploading the Certificate Key on my previous blog: http://www.maxtblog.com/2013/08/getting-ready-with-windows-azure-sql-database-server-powershell-and-smo-part-12/
For most part, PowerShell can be use without going back the Azure web Portal. Of course, the portal will be the first way to get you subscribe and start using Windows Azure.
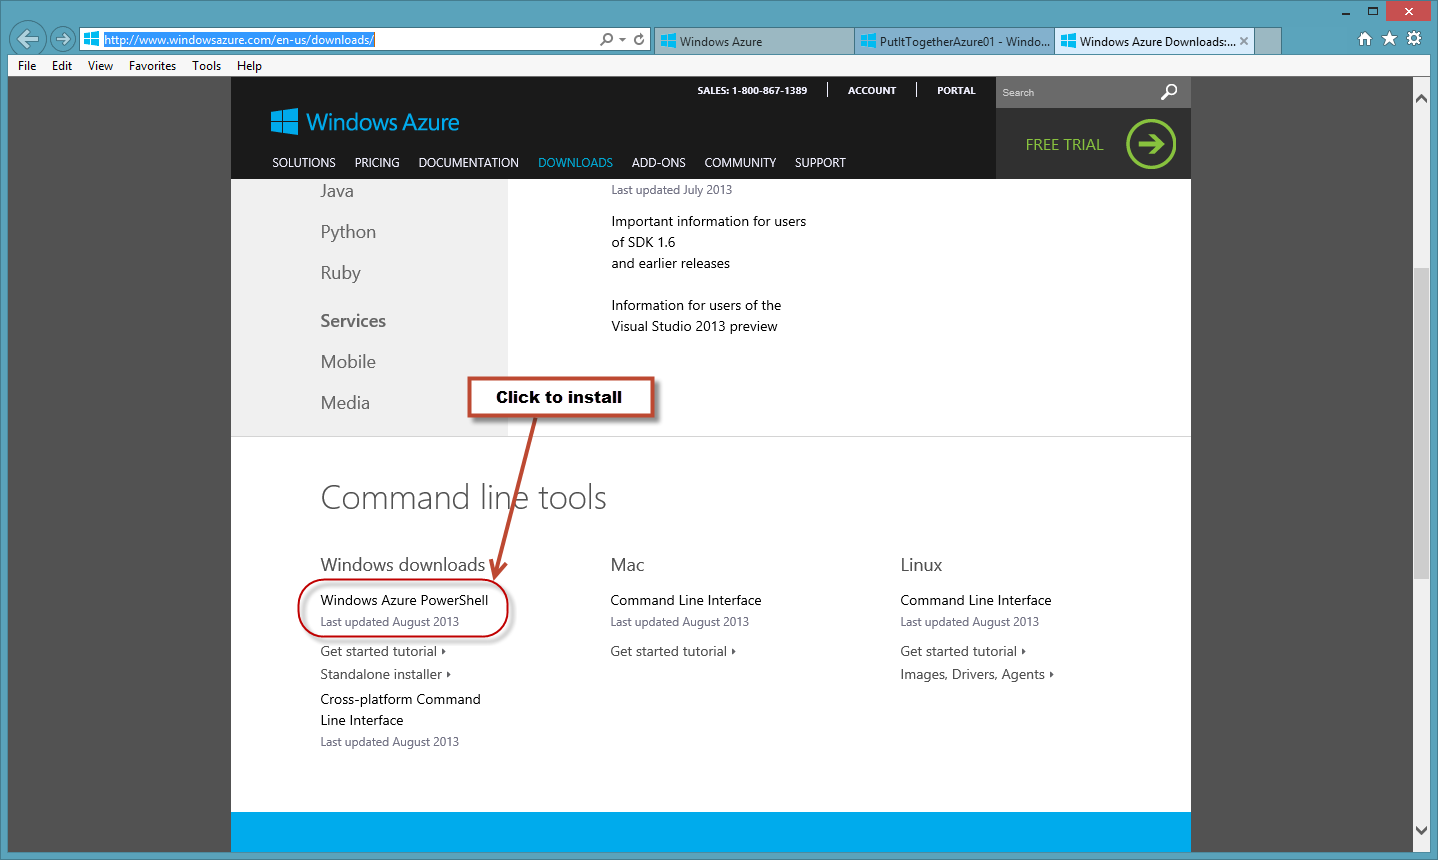
Then, you can try using PowerShell to automate some of it tasks. Don’t forget to download the PowerShell Azure Command from the following link:
http://www.windowsazure.com/en-us/downloads/
So, after the Azure subscription has been activated and the certificate key uploaded to azure then PowerShell is all set. Then, remember to check periodically for PowerShell Azure module updates.
When working with Powershell, loading the “Azure” module is not required. As you typed and execute the command, PowerShell by default will autoload the module. This way there’s no need to use the “Import-Module xxxxx” command.
But, what’s the sequence for building an Azure VM using PowerShell? I’m presenting the way I’ve done it. This is just a suggestion. Please feel free to use this as a possible guideline.
Here’s the order of the samples scripts I’m providing for building an Azure VM:
1. Create a new Storage Account.
2. Reconnect to Azure with the “Current Storage Account”.
3. Search and Select the Windows Azure pre-built VM.
4. Create the Azure VM.
5. Stopping the Azure VM.
The following scripts will get you started. I recommend to read the help documentation for any of the PowerShell Azure commands shown in this blog. It’s possible to find something that may be needed.
Create a new Storage Account
Before building a new Azure VM, an Storage Account need to be created first. One of the requirement for the account name is that it has to be in lowercase or the following message will be displayed:
[sourcecode language=”powershell”]
## – Create a Storage Container:
New-AzureStorageAccount `
-StorageAccountName "Testpitstorage01" `
-Label "TestPIT01" `
-Location "East US";
## – Error Message:
"New-AzureStorageAccount : "An exception occurred when calling the ServiceManagement API. HTTP Status Code: 400.
Service Management Error Code: BadRequest. Message: The name is not a valid storage account name. Storage account
names must be between 3 and 24 characters in length and use numbers and lower-case letters only.. Operation Tracking
ID: 983e38b290134b24a15b0ec46d89fc5a."
At line:1 char:1
+ New-AzureStorageAccount `
+ ~~~~~~~~~~~~~~~~~~~~~~~~~
+ CategoryInfo : CloseError: (:) [New-AzureStorageAccount], ServiceManagementClientException
+ FullyQualifiedErrorId : Microsoft.WindowsAzure.Management.ServiceManagement.StorageServices.NewAzureStorageAccou
ntCommand"
[/sourcecode]
When this command runs successfully, it will also create the both Primary and Secondary “Azure Storage Account” keys automatically.
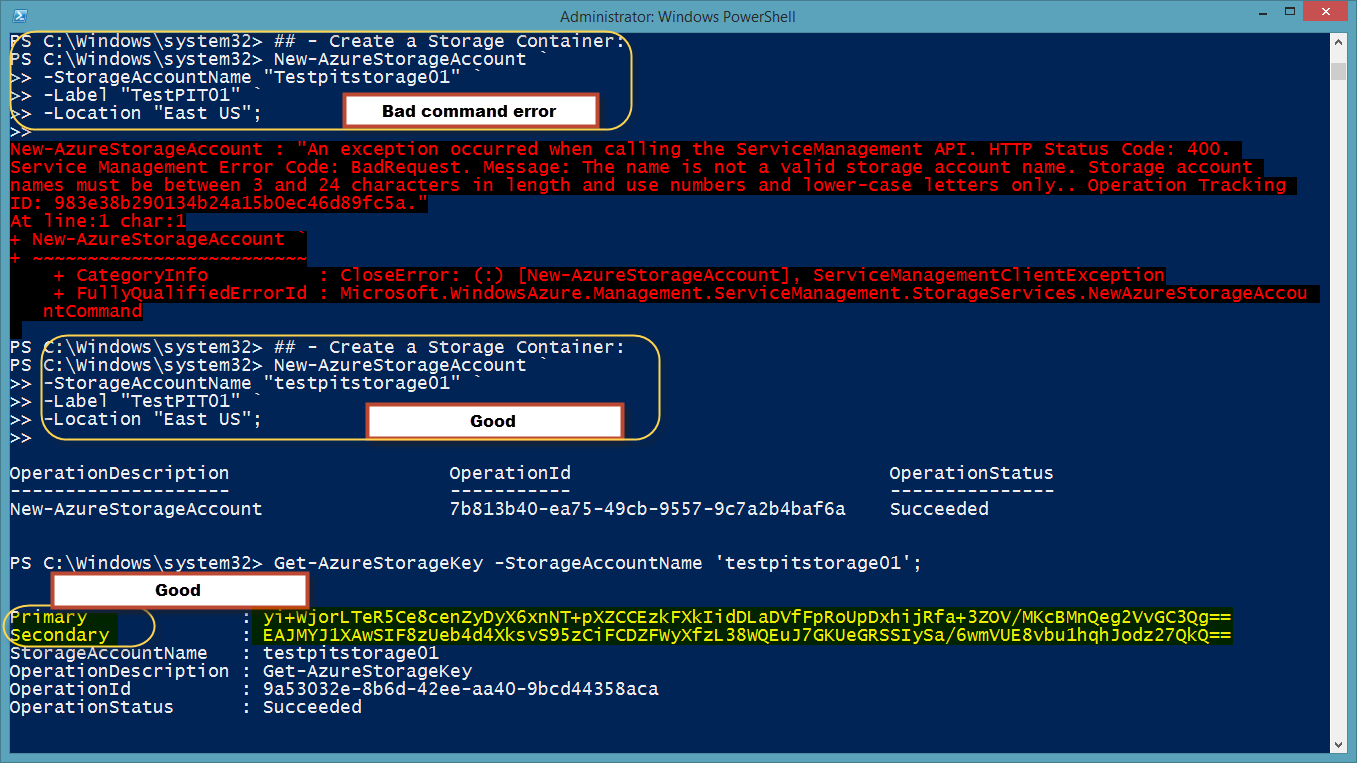
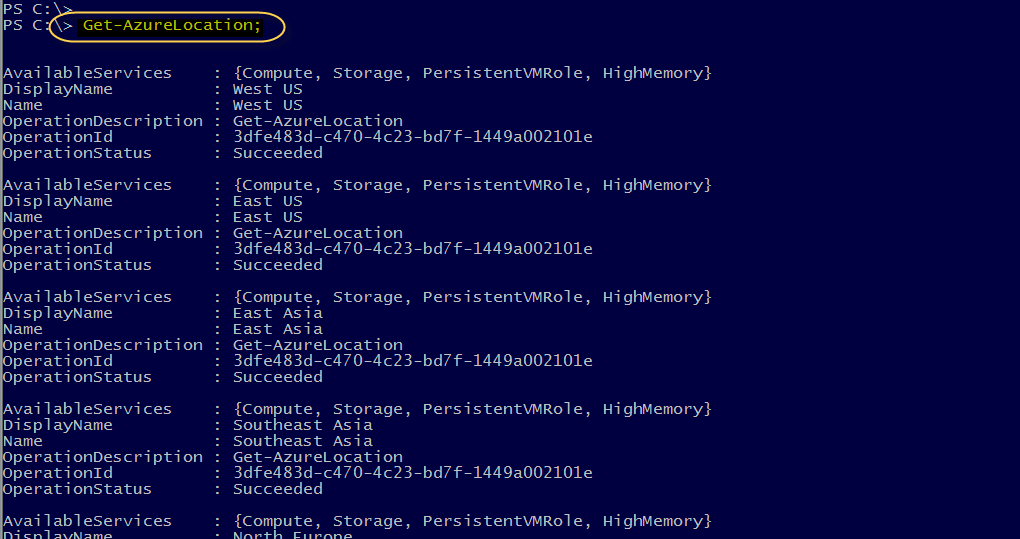
At the same time, don’t forget to pick the Windows Azure location where the Storage Account is going to be create. To list all locations available use the “Get-AzureLocation” command.
[sourcecode language=”powershell”]
## list of all Azure locations:
Get-AzureLocation
[/sourcecode]
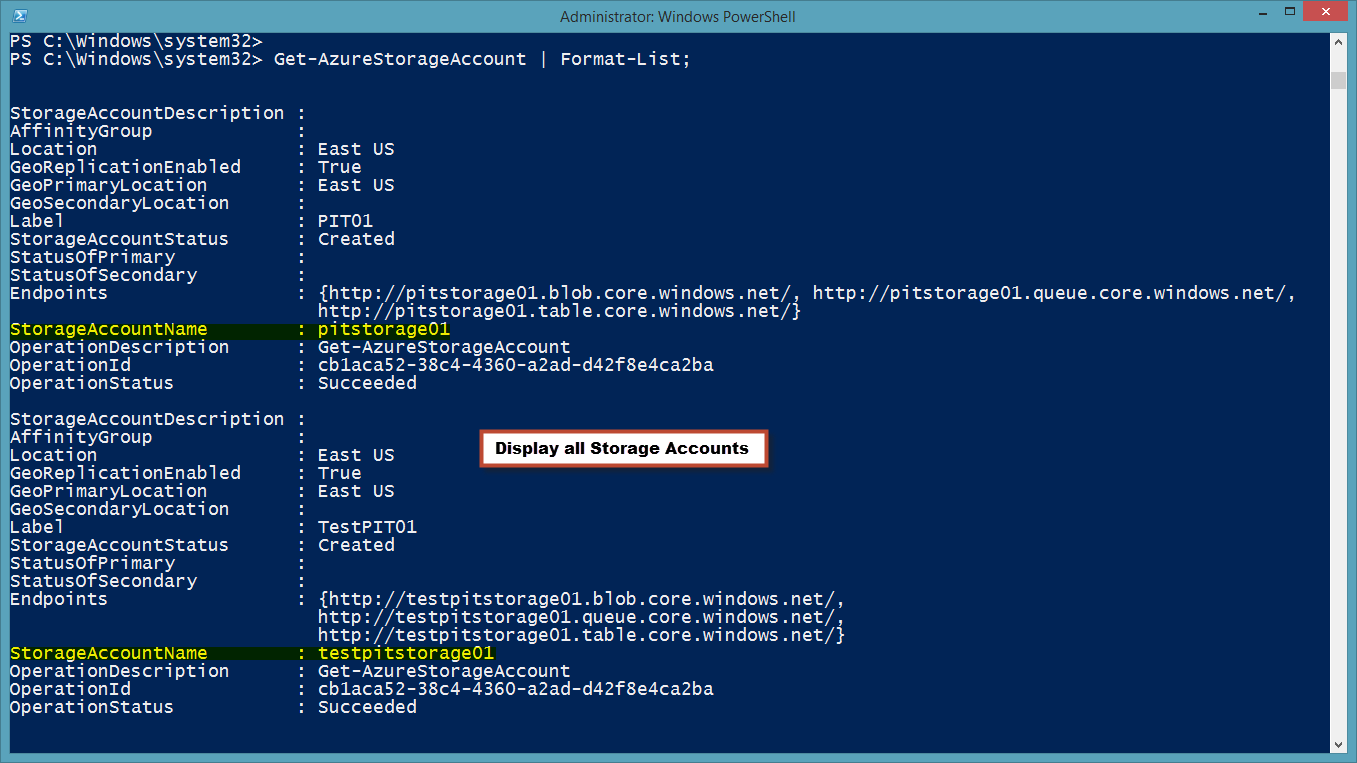
If there’s a need to list all Storage Account then use the “Get-AzureStorageAccount” command using the
[sourcecode language=”powershell”]
## list of all Azure Storage Account(s):
Get-AzureStorageAccount
[/sourcecode]
Reconnect to Azure with the “Current Storage Account”
After you got everything set for PowerShell to connect to Windows Azure then you need to create the “Storage Account “. There’s one noticeable difference between the Azure SQL and the Virtual machine. Azure Virtual Machines need a Storage Account. This is done using the “Set-AzureSubscription” with the “-ContainerStorageAccount” parameter.
[sourcecode language=”powershell”]
Set-AzureSubscription `
-SubscriptionName "PutItTogetherAzure01" `
-SubscriptionId $subID -Certificate $myCert -CurrentStorageAccount ‘pitstorage01’;
[/sourcecode]
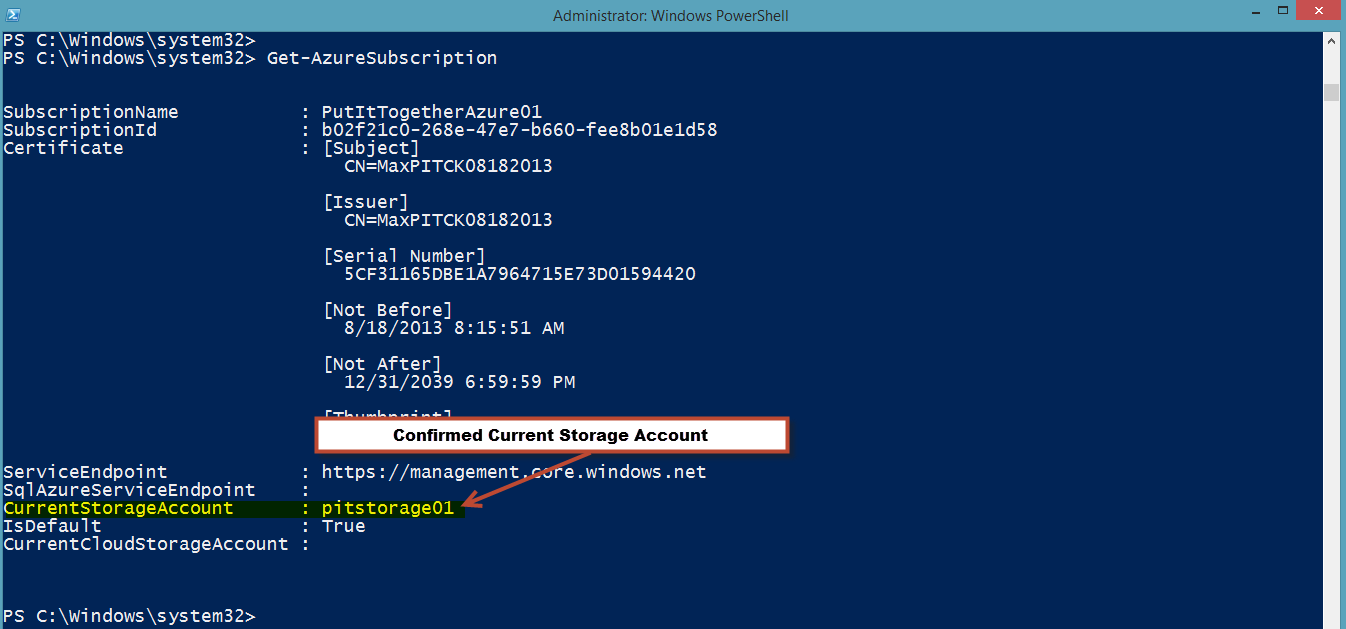
This section help set the Azure Subscription to the “Current Storage Account” which maybe optional. I included this section because I started using my subscription to create only Azure SQL Database Server and I didn’t need any Storage Account.
Then, use the “Get-AzureSubscription” command to view all Azure Subscription values.
Search and Select the Windows Azure pre-built VM
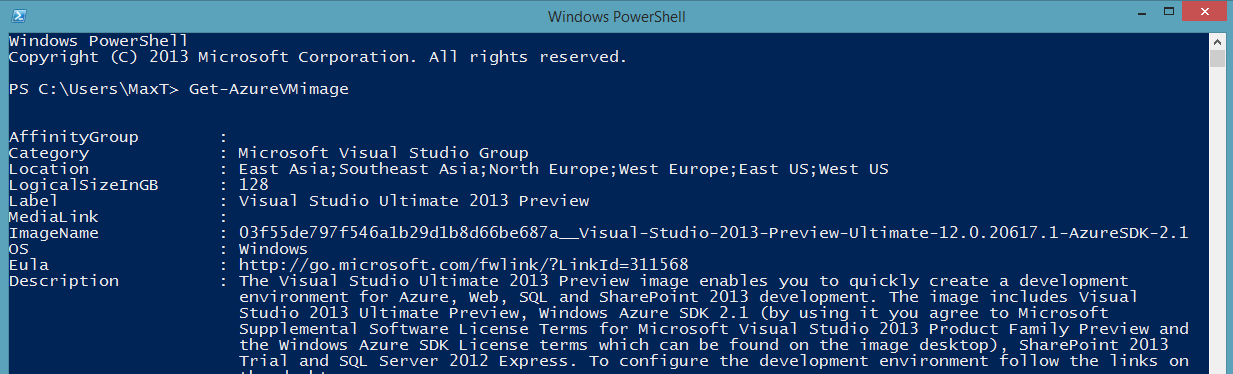
For search the list of available Azure pre-built VM’s we use the “Get-AzureVMimage” command. Here’s one creative approach for searching and select the VM imagename using the PowerShell V3 enhanced “Out-GridView” command with the ‘-PassThru’ parameter. By creating a PowerShell variable “$x” we can store the value select from the “Out-GridView” and pass it to the “New-AzureQuickVM” command to build the VM. Check the following example:
[sourcecode language=”powershell”]
## – Get and Select from the list of Azure VM Images:
$x = get-azurevmimage `
| Where-Object{$_.OS -match ‘WINDOWS’} `
| select label, imagename `
| Out-GridView -PassThru;
[/sourcecode]
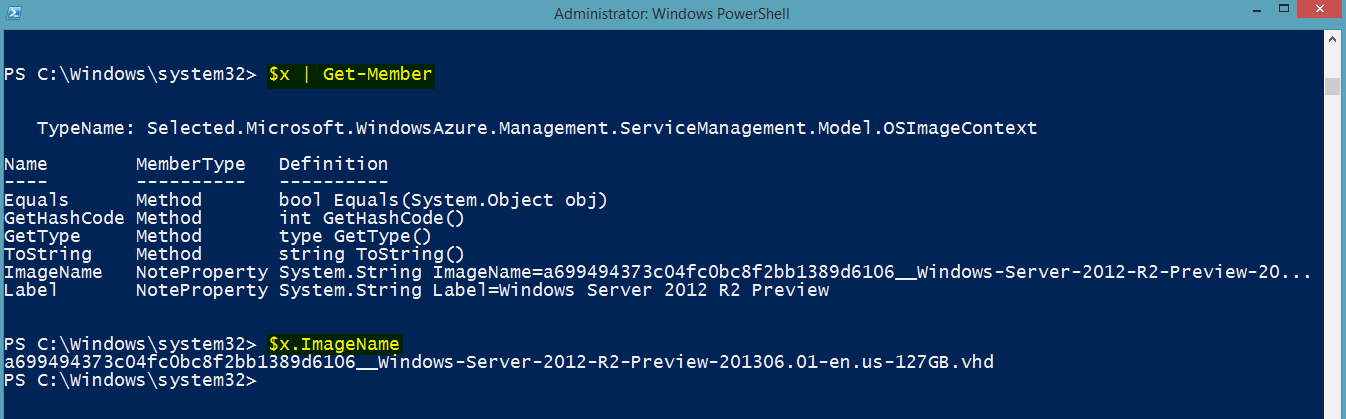
This way we can pick and choose the image. Then, we use the variable with the member property that holds the name: $x.ImageName. Remember to use the oneliner “$x | Get-Member” to view all variable member objects.
Create the Azure VM (Caution w/Service Name)
At the same time it will need to be provide a “Service Name”. The “New-AzureQuickVM” help documentation mention that this is either a new one or existing one. The following is an example of a new VM with a new ServiceName “MyPITcloudSvc2“:
[sourcecode language=”powershell”]
New-AzureQuickVM -Windows `
-AdminUsername ‘maxt’ -Password ‘$Mypwd01’ `
-ServiceName "MyPITcloudSvc2" -Name ‘Zeus01’ `
-ImageName $x.ImageName -Location "East US" `
-InstanceSize "Small";
[/sourcecode]
But, trying to use an existing ‘-ServiceName “MyPITcloudSvc1’ it gave the following error:
[sourcecode language=”powershell”]
## – Create a new ServiceName:
New-AzureService `
-ServiceName "MyPITcloudSvc1" `
-Label "MyPITcloudService" `
-Location "East US";
## – Create VM – It will create a new VM using an existing ServiceName:
## – (but it won’t work)
New-AzureQuickVM -Windows `
-AdminUsername ‘maxt’ -Password ‘$Mypwd01’ `
-ServiceName "MyPITcloudSvc1" -Name ‘Thor01’ `
-ImageName $x.ImageName
-Location "East US" `
-InstanceSize "Small";
## – Error Message:
">>New-AzureQuickVM : Service already exists, Location cannot be specified.
At line:1 char:1
+ New-AzureQuickVM -Windows `
+ ~~~~~~~~~~~~~~~~~~~~~~~~~~~
+ CategoryInfo : CloseError: (:) [New-AzureQuickVM], ApplicationException
+ FullyQualifiedErrorId : Microsoft.WindowsAzure.Management.ServiceManagement.IaaS.PersistentVMs.NewQuickVM"
[/sourcecode]
It’s possible this is a bug! In the help documentation shows that either a new of existing ServiceName can be use:
”
-ServiceName <string>
Specifies the new or existing service name.
Required? true
Position? named
Default value
Accept pipeline input? false
Accept wildcard characters? false
”
So, for now just provide a non-existing Service Name for the new Azure VM.
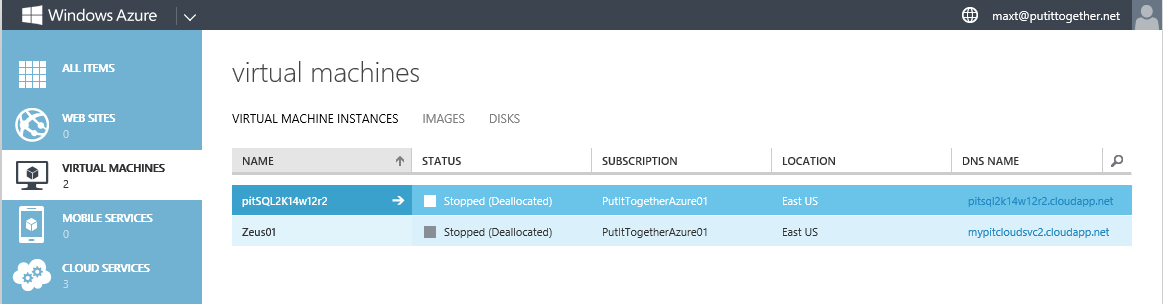
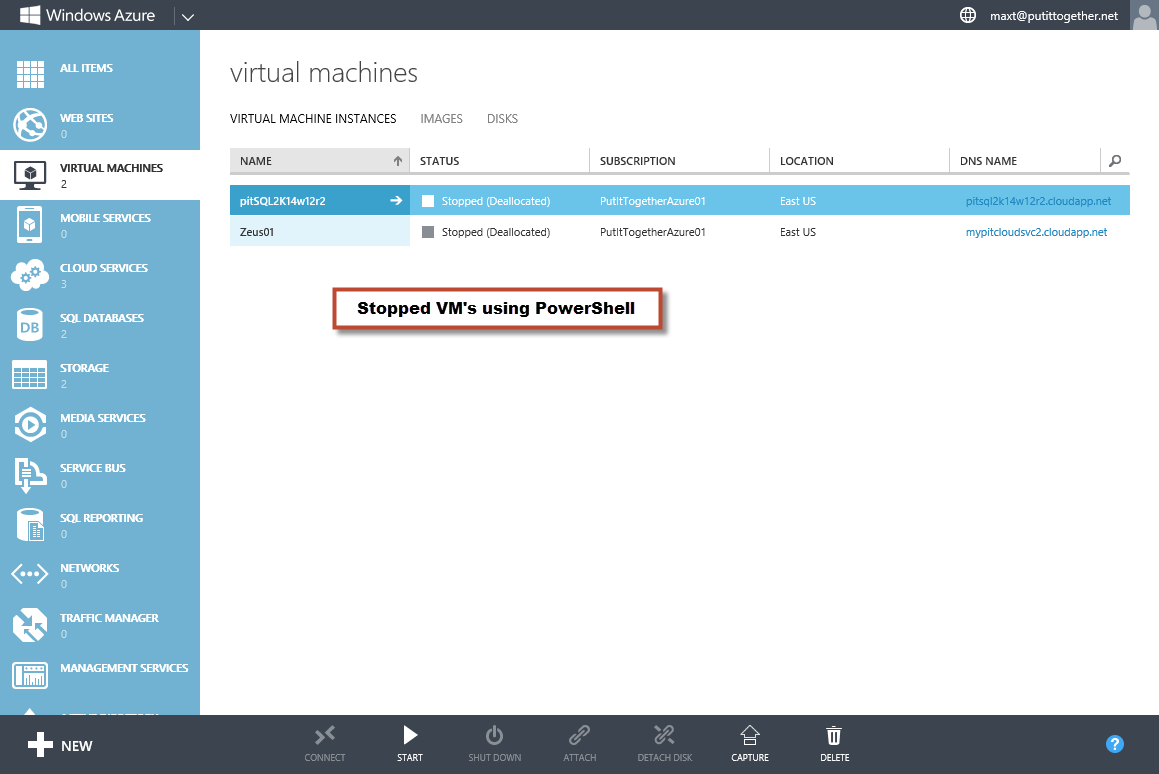
Stopping the Azure VM
Now during your Azure Trial version, if you want to slow down the charges, then you can stop the active VM(s) by executing the following two ways:
1. Just using the “Stop-AzureVM” command.
[sourcecode language=”powershell”]
## – Stop VM Service(s):
Stop-AzureVM -ServiceName "MyPITcloudSvc2" -Name "Zeus01";
[/sourcecode]
2. Or, by piping the result of “Get-AzureVM” to “Stop-AzureVM” command.
[sourcecode language=”powershell”]
## – Get-AzureVM to pipe to Stop VM Service(s):
Get-AzureVM -ServiceName "MyPITcloudSvc2" -Name "Zeus01" `
| Stop-AzureVM;
[/sourcecode]
Please keep in mind, that I haven’t discuss anything about the creating network items and/or affinity group to established connectivity between the Azure VMs. At least this information will help in getting started.
I hope you all find this information useful! There will be more coming soon.
Maximo Trinidad (MVP Windows PowerShell)
AKA Mr. PowerShell