I’ve seen many blog posts looking for specific information on setting up WSL 2 in Windows 10 and especially, on a virtual machine. But, I always end up a little short and figuring out by myself through trial-and-error.
Microsoft WSL 2 Installation documentation page is helpful for most part. But was meant for a physical installation. ()
Let me shared what I found and hope it serves you well.
My Experience
First, I love WSL (Windows Subsystem for Linux)! It’s a great addition to Windows 10, and everyone should learn how to use it.
To get started, follow the instructions on how to get your WSL 1 Linux Distro installed. And, begin with installing Ubuntu 18.04.
Now, get Docker Desktop (), which can be installed in Windows 10 RTM Build 18363 with WSL 1. For the most part, you can start working with docker containers.
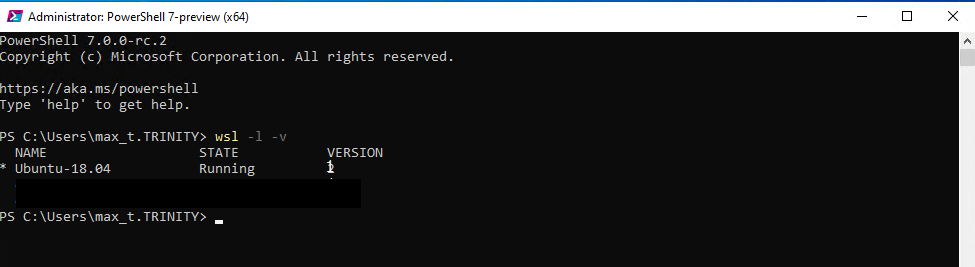
To use WSL 2 with Docker Tech Preview, you need Windows 10 Insider build 18917 (or higher). Execute the following command in either DOS or PowerShell console:
wsl -l -v

If it doesn’t work, then it means you still using WSL 1, and it can’t be set to WSL 2. This might be due to the OS is not a Windows Insider version. In WSL 1, the version ‘-v’ parameter is only available for Windows Insider OS.
Now, If it works, then you’ll get the following response:
prompt, use the following command to change from WSL 1 to WSL 2:
wsl --set-default-version Ubuntu-18.04 2

wsl -l -v
if you still can’t set the WSL distro to version 2, it means you’re not using Windows Insider build.
WSL 2 in Virtual Machine
You need to build a virtual machine with the latest Windows 10 Insider build. If you have tried the previous instructions and didn’t work, then to fix the issue run the PowerShell cmdlet on the Hyper-V host (outside the VM):
Set-VMProcessor -VMName [HyperV-VMName] -ExposeVirtualizationExtensions $true
You can use the Get-VMProcessor cmdlet to verify the changes made to the property “ExposeVirtualizationExtensions.” In this case, should show the value change to “True” as shown below:
Get-VMProcessor -VMName [HyperV-VMName] | Format-List

Make sure the virtual machine is restart after making the changes.
What about setting up WSL 2 on an Azure virtual machine? WSL 2 can’t be set up in an Azure virtual machine. You don’t have access to the Azure parent Hyper-V host to use the Set-VMProcessor cmdlet.
Although the Set-VMProcessor cmdlet is not mentioned in the main WSL 2 installation page, you’ll find it hidden in the WSL 2 FAQ page ().
Remember, this cmdlet is very important if you want to set up WSL 2 on a virtual machine in your physical Hyper-V Host.
The Good Stuff – Docker Desktop WSL 2 Tech Preview
First, make sure all of the above settings are in place. This means that you were able to set WSL 2 as the “Default Version” on your favorite Linux Distro.
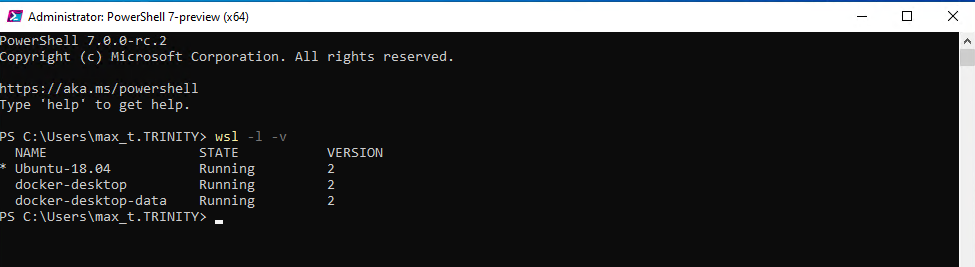
Open your favorite console, PowerShell, then verify WSL 2 is set by executing the following command:
wsl -l -v
Then, follow the instructions to install the Docker WSL 2 Tech Preview – “Docker Desktop WSL 2 backend“:
At the time of this post, the download Docker Desktop Edge version should be 2.1.7.0.
Note: If you’re on version 2.1.6.0, upgrading to 2.1.7.0, will fail to start. Ignore it! Then, proceed to “Install Update” to complete installation and reboot.
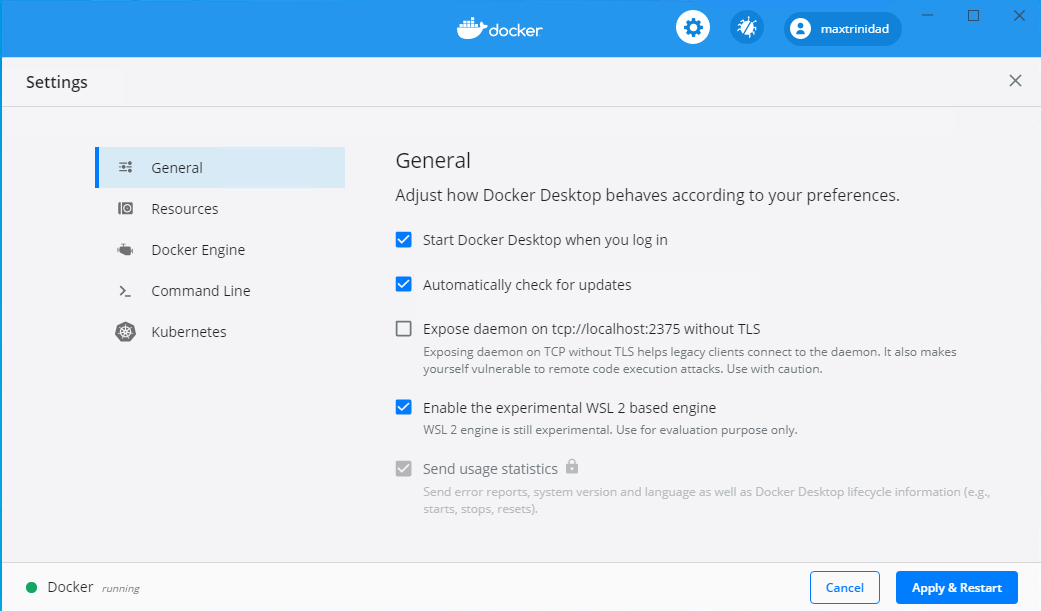
Configure Docker for WSL 2
Although Docker is running in the background, you still need to complete configuring Docker to work in WSL 2.
Continue to follow the instruction from the “Docker Desktop WSL 2 backend – Install” section, and you’re done.
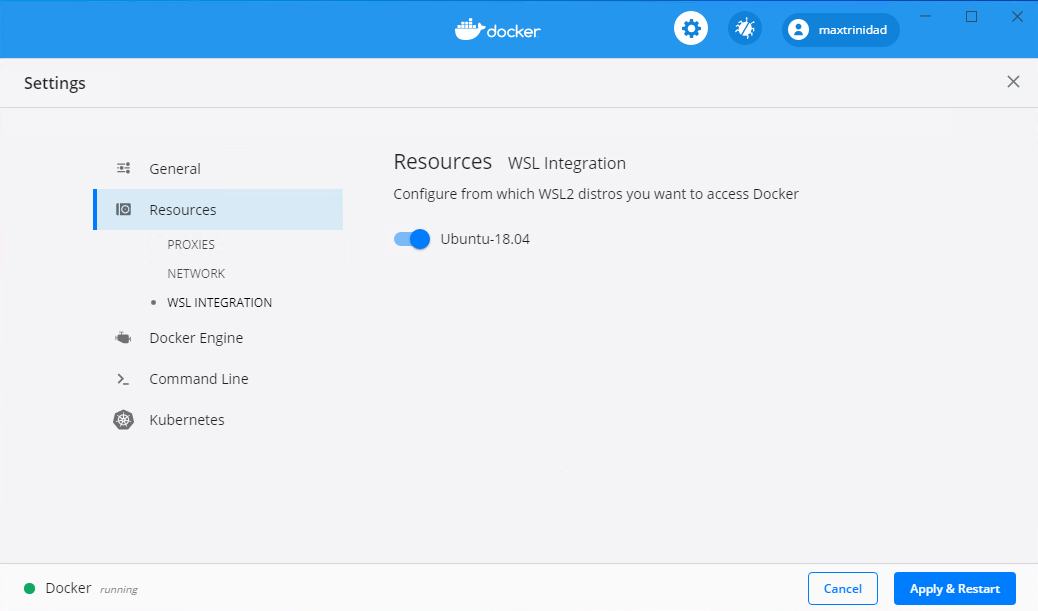
Failure to properly configure Docker to WSL 2, you’ll get the following error:
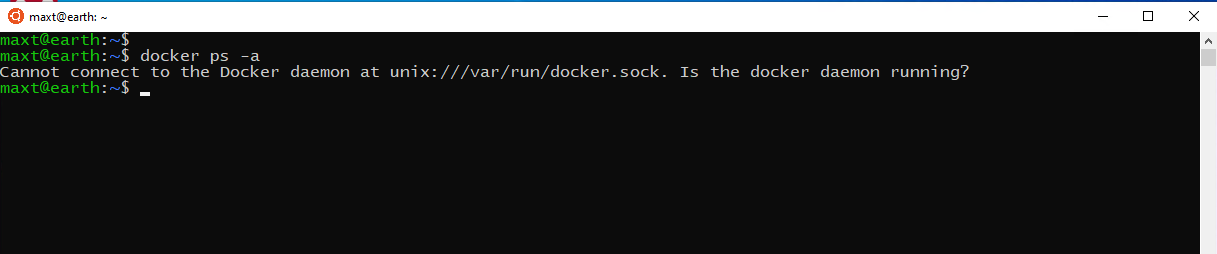
Now, you can start building and working with Docker containers in WSL 2.
Have fun!