Florida PowerShell Upcoming activities for May and June 2016

It’s a busy and a good time to learn some PowerShell.

1. Where: Florida PowerShell User Group Monthly meeting, Date: Thursday, May 26th at 6:30pm. Online
Topic: The Essential PowerShell on Error Trapping.
Description:
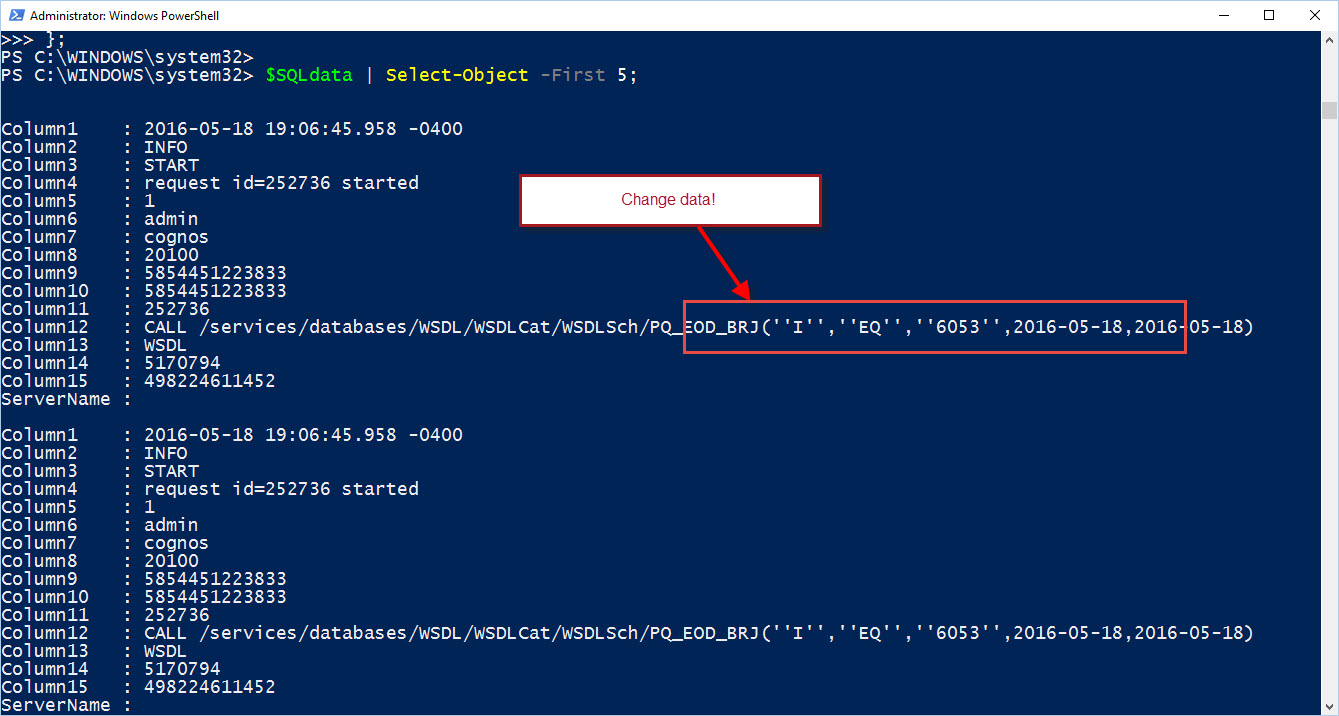
Do you to learn how to trap and document error while running PowerShell scripts? This session will cover the use and how to trap errors in your PowerShell script. We’ll be creating simple script providing some scenarios in trapping errors. At the same time, we are going to end up creating an error report.

Register at Eventbrite: https://www.eventbrite.com/e/florida-powershell-user-group-monthly-meeting-may-2016-tickets-25454080841

2. Where: Idera Geek Synch, Date: Wednesday, June 1st at 12:00pm – 01:00pm, Online
Topic: The Essential PowerShell Tools for the DBA Administrator.
Description: I will covers the some of my favorite PowerShell tools I uses on a regular basis. In this session I will be showing some available tools the DBA can use along with PowerShell. I’ll be integrating Visual Studio with PowerShell and at the same time using IDERA’s PowerShellPlus editor. At the end, we’ll build an SSIS package solution to execute our PowerShell script. It will be pack with interesting thing to do as well as help you accomplish your automation tasks.

Register at: https://www.idera.com/events/geeksync

3. Where: IT Pro Camp Jacksonville. Date: Saturday, June 11th All Day Event. (In Person)
Topic: The Essentials of Tackling PowerShell Basic Functions
Description:  I will demonstrate creating a PowerShell function from a one-liner and/or an existing script file in its basic form. This is an example of the script evolution which you’ll experience while building you PowerShell skills.

Register at: http://itprocamp.com/

4. Where: SQLSaturday South Florida. Date: Saturday, June 18th, All Day Event. (In Person)
Topic: SSIS – Integrating PowerShell in a ScriptTask component
Description: This session will demostrate how you can reuse a PowerShell script in SSIS “Script Task” component as part on a ETL flow.  I’ll be showing some basic .NET Script code in both C# and VB.  I’ll be adding some useful tips when re-using existing Powershell code. Integrating different .NET technologies in a SSIS package: C#, VB.NET, XML, and PowerShell.

Register at: http://www.sqlsaturday.com/524/EventHome.aspx

Come and say Hi!

Create PowerShell Top-Down ETL Process – II

Series 2 – Building your data object

In the first part of the series we mapped to a server folder, and merge all needed log text files into a CSV type.  Now, we need to analize the data we have collected so we can determine the correct course of action.  This way we can work in creating our script solution to load this information in a SQL Server table.

Before analyzing our data we are going to create our data by creating a PowerShell object using the “Import-Csv” cmdlet. Keep in mind, if your CSV file is on a network drive then you’ll need to point to the folder.  For most cases you’ll start creating CSV file on your local drive.

Creating your CSV data object is easy. Follow the sample:

[sourcecode language=”powershell”]
$logdata = `
(Import-Csv -Delimiter "`t" -literalPath $logfile -Encoding ASCII -Header $header) `
| Where-object{ $_.Column1 -gt "$($sqlresult.Tables.LastWriteTime)" };
[/sourcecode]

The above sample gives you a look on what’s possible to do with such a command line in the script.  Basically, at the same time while  importing the data from a CSV file, I’m also querying it to look at a particular column containing a date field.  The other global variable  comes a result set from another query done against a SQL table.  The end result is to only create the $logdata with the dates we want to load into a SQL table.

PowerShell Object Column headers

If you notice, in the above cmdlet the where-clause I’m selecting to use the Column1 property instead of a reasonable label. In my scenario the data in the CSV file contain variable columns fopr its different data types such as: Info, Error, and System. So, it was easy to identify the total number of columns to be 15 columns.

Now, using the cmdlet “Import-Csv” using the parameter “-Header”, you can define a list columns when you build the $Logdata object. We create the $header variable with the column-names separated by comma.

[sourcecode language=”powershell”]
$header= "Column1", "Column2", "Column3", …"Column15";
[/sourcecode]

Then, we can incorporate this $header variable in the *”Import-Csv” cmdlet in the following way:
*Note: Keep in mind, you must define the delimiter use in the CSV file.

[sourcecode language=”powershell”]
$logdata = (Import-Csv -Delimiter "`t" -literalPath $logfile -Encoding ASCII -Header $header)
[/sourcecode]

Next step after building the $logdata object is do the analysis on what you’re going to import into your SQL Server table. To start exploring any PowerShell object use the Get-Member cmdlet in combination with the Out-Gridview cmdlet. This combination will be use all the time while you develop and test you scripts.

[sourcecode language=”powershell”]
$logdata | Get-Member | Out-Gridview;
[/sourcecode]

SampleBuildData01

SampleBuildData01a

Displaying the $logdata object but only the first five data object:

[sourcecode language=”powershell”]
$logdata |  | Select-Object -First 5;
[/sourcecode]

SampleBuildData03
Analyzing the data

This is the part where you’re going to spend some time.  In figuring out what possible issues you’ll find to import this data into your SQL table.  Things like having both a single and double quotes will break your SQL Insert statements. So, look carefully and take the right action to transform this piece of the data.

SampleBuildData04

The following sample code snippet have help in converting to a proper format before using the SQL Insert statement.

[sourcecode language=”powershell”]
## – Step to change data that has Single or Double quotes:
$SQLdata = $null;
$SQLdata = foreach ($l in $global:logdata)
{
 ## – Sample snippet for replacing Single or Double-quotes before SQL Inserts:
 if ($l.Column12 -ne ‘Admin’)
 {
  $l.Column4 = $l.Column4.replace("”", "””").replace("’ ", ‘" ‘).Replace(" ‘", ‘ "’).Replace("’", ‘"’);
  if (($l.Column3 -eq ‘START’) -or ($l.Column3 -eq ‘END’))
  {
   if ($l.Column12 -ne $null)
   {
    $l.Column12 = $l.Column12.replace("’", "”");
   }
   else
   {
    if (($l.Column12 -ne $null) -or ($l.Column12 -ne ‘Admin’))
    {
     if ($l.Column3 -eq ‘FAILED’ )
     {
      $l.Column12 = $l.Column12.replace("’ ", ‘" ‘).Replace(" ‘", ‘ "’);
     }
     else
     {
      $l.Column12 = $l.Column12.replace("”", "””");
     }
    };
   };
  };
  ## – To output with reformated data:
  $l;
 }
};
[/sourcecode]

Here’s the changed data object information in Column12 only if Column3 has a “Failed” value. I will cover more in the next blog I’ll where I show how to construct the SQL Insert statement.

SampleBuildData05

What’s Next?

Next blog I’ll be covering importing the $logdata to a SQL Server table reaching its final destination.


Create PowerShell Top-Down ETL Process – I

Series 1 – Collecting files

These last few months I’ve been working in create a ETL process in PowerShell to replace a DOS batch process that collect a Report Server third-party application log data. During my analysis of how this DOS process works I discover this process was losing data, The log records in contains different type of records making the number of columns varying between 12 to 15. At the same time losing data due to using the SQL Server BCP utility to bulk copy data in a SQL Server data.

Here is were the magic of PowerShell brings to the table. This is our chance to be creative.

Collecting Log Data

In its basic form, we need to connect to the report server and access their log folder. We do this by creating a network map to the drive which in must cases could be a shared folder.

[sourcecode language=”powershell”]
New-PSDrive -name T -PSProvider FileSystem -Root $LogFolder -Persist;
[/sourcecode]

You can use the Cmdlet “New-PSDrive” to define your drive letter mapped to your log folder. Yoiu need to define its parameter -PSProvider as “FileSystem” and you could make it to Persist during your PowerShell session.

Keep in mind, as you possibly going for more than one server, you will top remove and map the drive again. This is as simple as using the following Cndlet:

[sourcecode language=”powershell”]
Remove-PSDrive T;
[/sourcecode]

We created drive letter T: and so now we removed it from you session.
Looking for Log files

So after the drive gets mapped to T: drive, we need to look and collect the type of logs we want to pull. In my scenario, I’m looking for all log labeled “*.Events.*.log.*”. One caveat discovered previously, these text logs file doesn’t contains servername information. But, No Problem! This is another opportunity to be creative with PowerShell.

Here we use the Cmdlet “Get-ChildItem” with the “Sort-Object” to sort the results by its object property “LastWriteTime“. You will file this property very useful later as you progress in our data collection process. This results set wil need to be stored in PowerShell Object

[sourcecode language=”powershell”]
$flogs = (Get-ChildItem "T:\*_events.*") | Sort-Object LastWriteTime -Descending;
[/sourcecode]

Building your CSV files

Next step will be to collect all logs from the server by merging all files into one text CSV file. For this step we use the Cmdlet “ForEach” in its script block format and also the Cmdlet “Get-Content” used to append to a CSV final output file using the Cmdlet “Out-File” with the “-Append;” parameter.

[sourcecode language=”powershell”]
foreach ($f in $flogs)
{
Get-Content $f.fullname | Out-file -FilePath "<strong><span style="color: #333399;">T:\$($s)_All.csv</span></strong>" -Append;
};
[/sourcecode]

Notice that I got a PowerShell variable defined to hold the server name. *hint*

Now, here’s a comparison between sample DOS batch file previously use vs. the PowerShell basic script.

DOS batch sample

dosbATCH

PowerShell basic code sample

POWERsHELL

Keep in mind, that you’re building a puzzle. There’s a lot more logic to be added to this code.
Be creative!
What’s Next?

Next blog I’ll be covering reading, and importing the CSV file to a PowerShell object before reaching its final destination on a SQL server..