But before we start using PowerShell with “Windows Azure SQL Database Server” there a few more steps we need to be completed after you have started your subscription:
- Installing the most recent Windows PowerShell Azure module
- Rename Subscription name (Optional)
- Create the Certificate Key
These three items are important before connecting Windows Azure. Then, will be using 3 PowerShell Azure cmdlets to connect to your subscription.
Installing the recent PowerShell Azure module
I recently finish updating my new Windows 8.1 (booth-VHD) and loaded all my tools. So when I started to install Windows Azure PowerShell, I was expecting it won’t work with PowerShell 4.0. Well, Good Job Microsoft! It did installed and I got my Windows Azure PowerShell working with PowerShell 4.0.
The latest revision, dated July 31st 2013, will let you install Windows Azure PowerShell on you Windows 8.1 preview. This is exciting Good News. A couple of months ago I try it on my Windows 8 but the installation failed because of PowerShell 3.0.
Before you start working with your Windows Azure subscription(s) with PowerShell, you need to download the most recent “Windows Azure PowerShell – July 31, 2013 edition”. At the same time you may want to pick the “Windows Azure SDK for .NET”. Go to the following link: http://www.windowsazure.com/EN-US/downloads/?sdk=net
Rename Subscription name
For renaming your subscription is better to use the Portal. It make sense to change your subscription name from “Windows Azure MSDN – Visual Studio xxxxx” to something meaningful like, for example: “MyWindowsAzureSubscription30DaysLimit“.
Note: It is not required to change the subscription name.
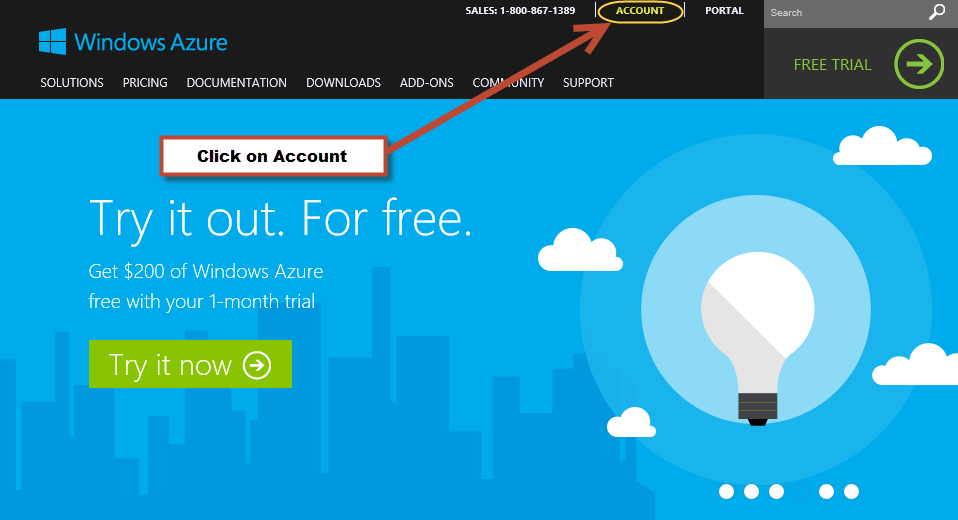
If you want to change the name then there’s two ways to do it. Go to the Windows Azure main page and Click on “Account”: https://www.windowsazure.com/en-us/
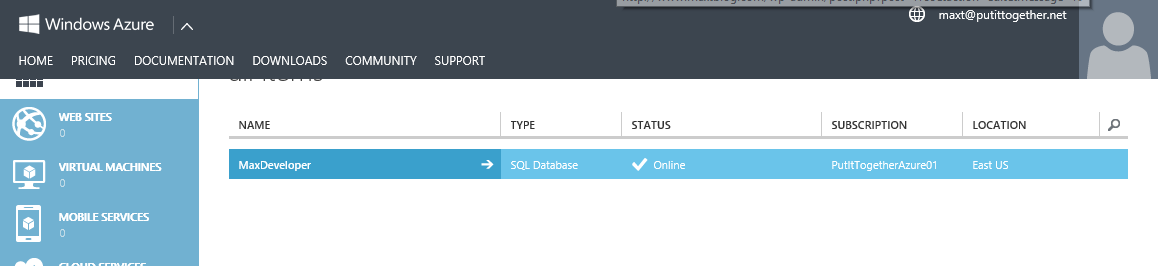
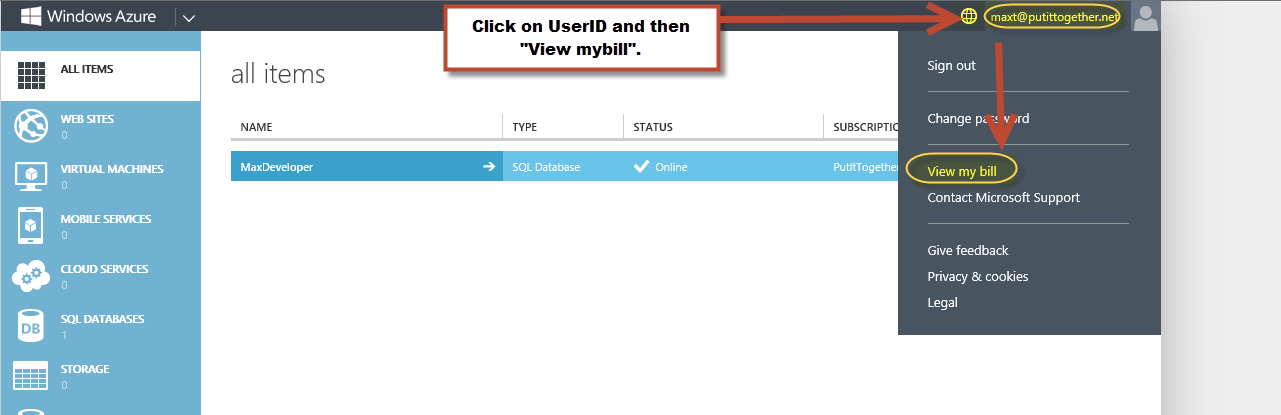
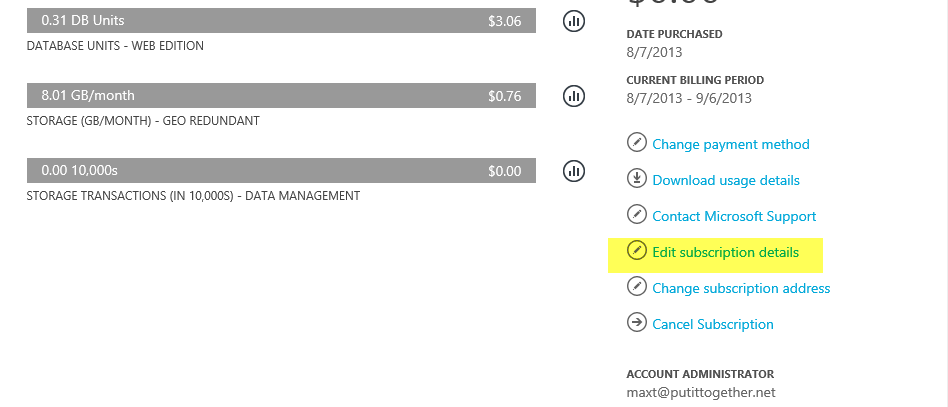
Or, at the Portal you can change it by clicking on the UserID, then “View my bill”. This will require to login again.
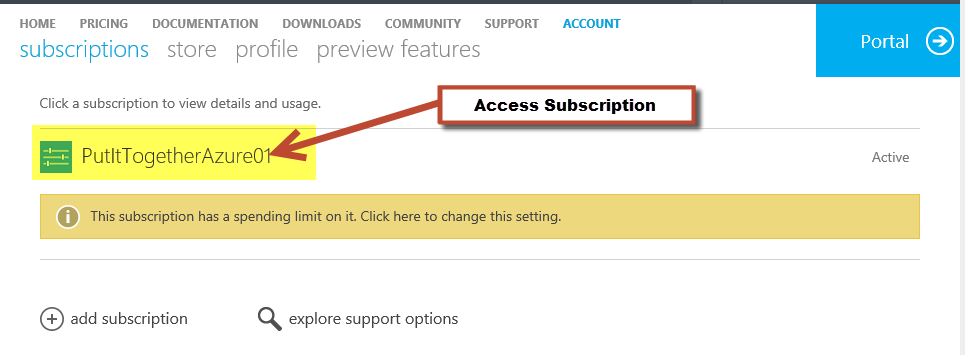
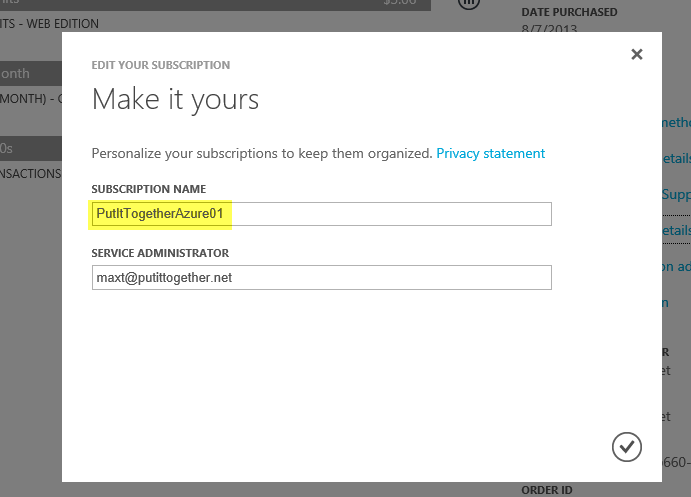
Finally, click on the “Edit subscription details” to change the name.
For more information on the following link:
- Correctly name your AZURE subscription
http://msdn.microsoft.com/en-us/library/windowsazure/hh531793.aspx
Creating the Certificate Key
Next, to create the Certificate key or you won’t be able to use PowerShell to connect to your Windows Azure. This is mandatory as is part of your Azure credentials. You can find documentation on this topic at following links:
- You need a create a Certificate key
http://msdn.microsoft.com/en-us/library/windowsazure/gg551722.aspx - Export the create cer key
http://msdn.microsoft.com/en-us/library/windowsazure/gg551722.aspx - Download Windows Software Development Kit (SDK) for Windows 8 http://msdn.microsoft.com/en-us/library/windows/desktop/hh852363.aspx
Tip: You need to have installed You could use Visual Studio in order to run the “Makecert.exe” command from the Visual Studio command shell. Or, download the “Windows Software Development Kit (SDK) for Windows 8” to get the “Makecert.exe”.
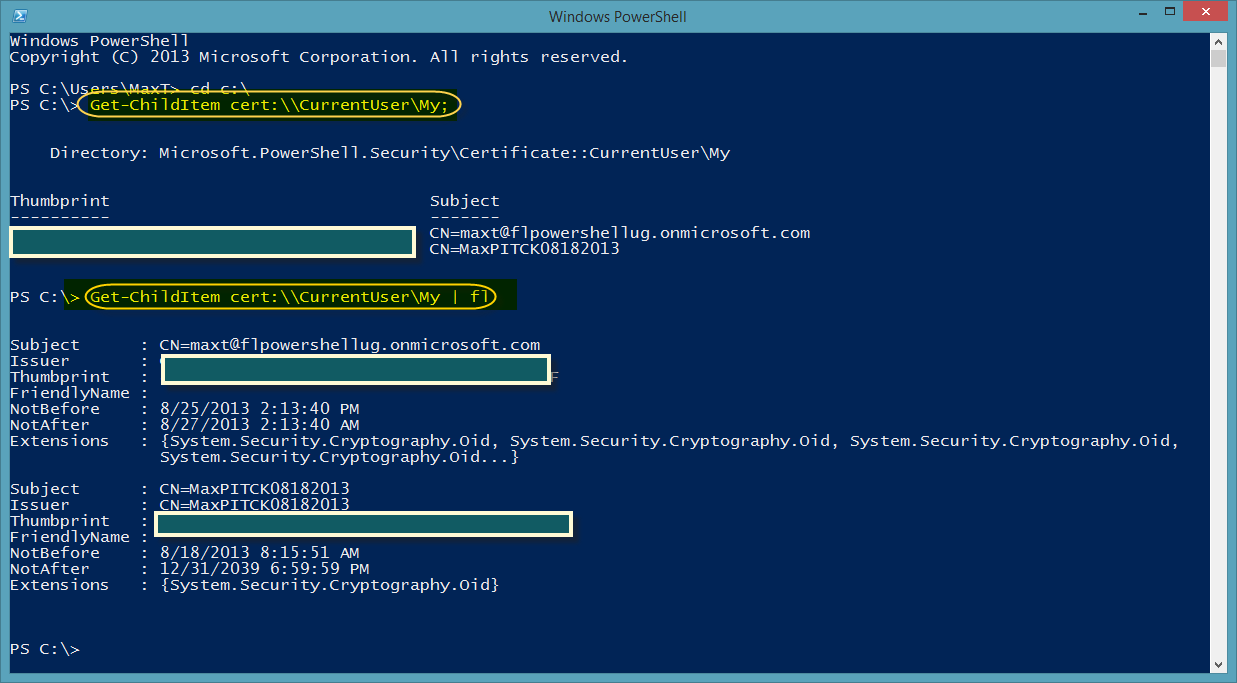
After creating the certificate key use PowerShell (non-Azure) commands to check its properties. Here’s an example script lines to look at your existing Certificate keys:
Get-ChildItem cert:\\CurrentUser\My;
Or, to display more information:
Get-ChildItem cert:\\CurrentUser\My | Format-List;
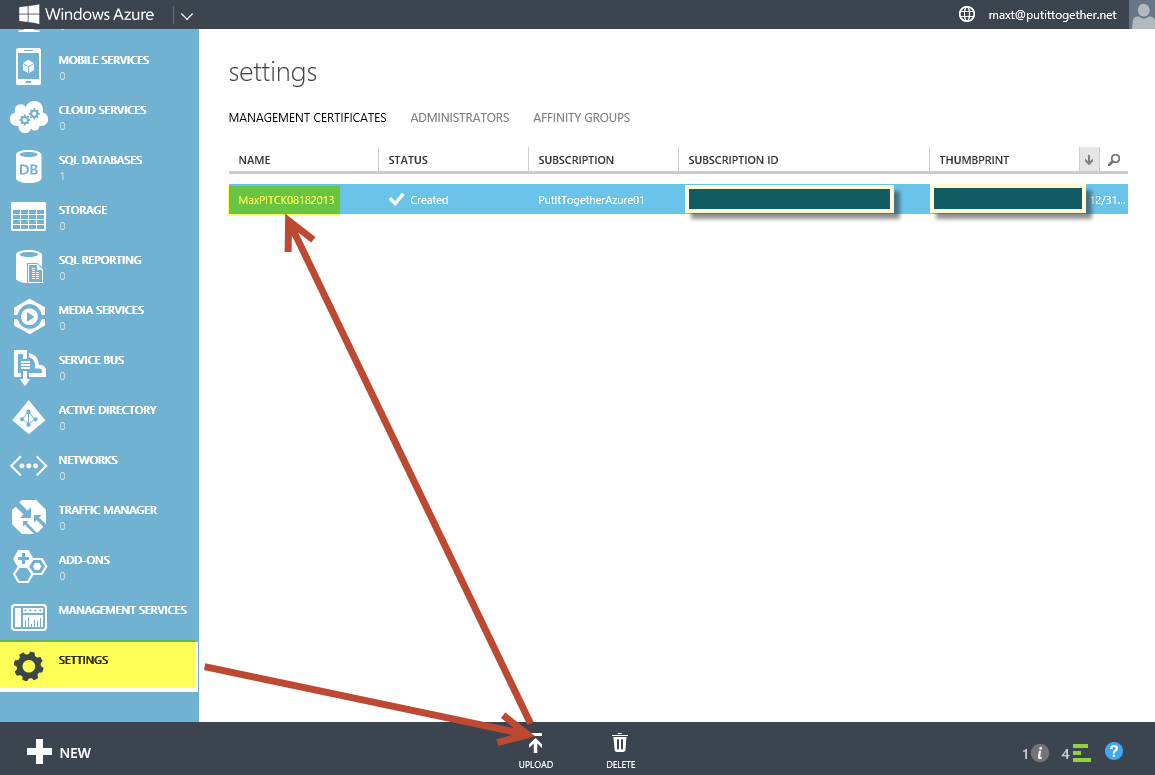
Finally, we need to upload the certificate key to Windows Azure. On the Portal, go to the “Setting” option and add the Certificate key. Follow the screenshots:

Now everything is set to use PowerShell with Windows Azure. There’s no need (for now) to use the Portal web GUI.
PowerShell connecting to Windows Azure
In the following script need to include the Certificate key information as this is part of the Windows Azure credential to connect to your subscription. This is why using the previously shown “Get-ChildItem cert:\\CurrentUser\My | Format-List;” one-liner help you understand about the Certificate(s) in your system.
First, need to prepare the Certificate key use in Windows Azure:

Here’s the list of the 3 Azure commands to connect to your Windows Azure:
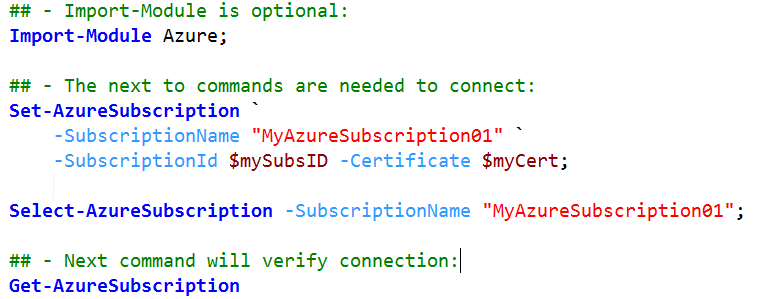
Note: Import-Module Azure is optional if working with PowerShell 3.0 or 4.0.
After verifying connectivity to Windows Azure was successful then we can process to build VM’s, SQL Databases, and more using PowerShell.
In my next blog I will be showing how to use PowerShell Azure commands to build a Windows Azure SQL Database, and use SMO with it.