It’s been over a year since my last post on “PowerShell Open Source – Windows PSRemoting to Linux with OpenSSH”. A lot has change, so here’s the updated version.
Linux OpenSSH installation
In Linux (Ubuntu), open a terminal (Bash) session.
Install the following *packages:
sudo apt install openssh-server
sudo apt install openssh-client
*Note: The system will let you know if they already exist.
Need to configure the OpenSSH config file:
sudo gedit /etc/ssh/sshd_config
The, add following line in the “subsystem” area:
Subsystem powershell pwsh.exe -sshs -NoLogo -NoProfile
Proceed to save the file.
Now, execute the following lines:
sudo ssh-keygen –A
Restart the ‘ssh’ service by executing the following command:
sudo service ssh restart
Windows OpenSSH installation
In *Windows Client or Server, open Services to ‘Stop‘/’Disable‘ both SSH Broker and SSH Proxy.
![]()
*Note: Latest Windows Insider Builds having the following services previously installed: SSH Broker and SSH Proxy
Open PowerShell Core Console (Run as Administrator):
[sourcecode language=”powershell”]
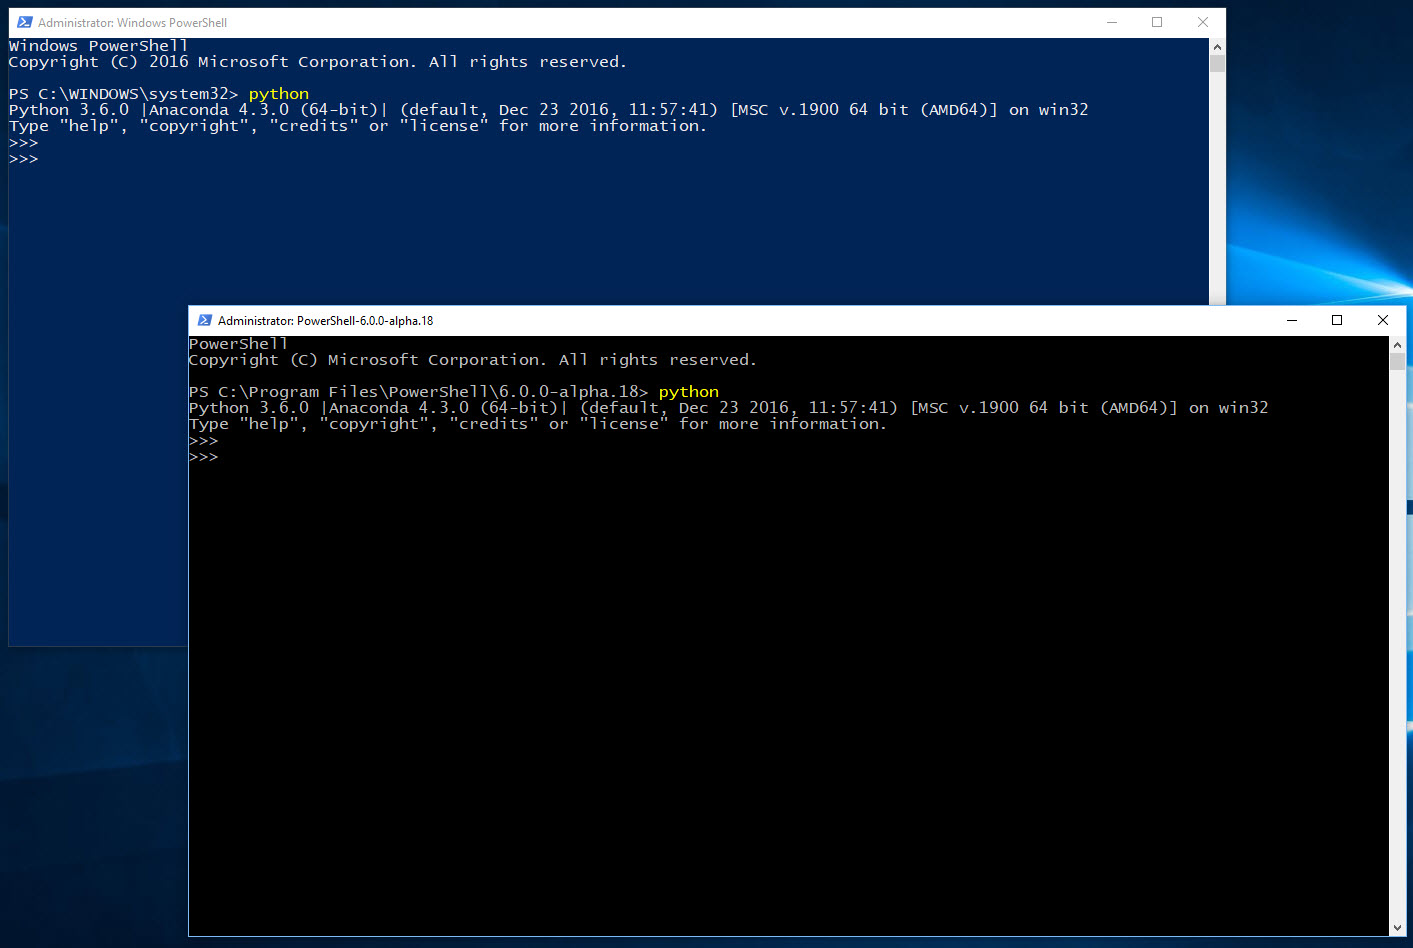
pwsh
[/sourcecode]
First thing, make sure Chocolatey is installed in PowerShell Core: https://chocolatey.org/install
[sourcecode language=”powershell”]
iex ((New-Object System.Net.WebClient).DownloadString(‘https://chocolatey.org/install.ps1’)
[/sourcecode]
*note: Chocolatey Install instructions will run ‘Set-ExecutionPolity Bypass’. The problem is, it won’t change it back to the previous setting.
Make sure to run “Get-ExecutionPolicy” to verify current settings.
Installing OpenSSH package from Chocolatey:
[sourcecode language=”powershell”]
choco install openssh
[/sourcecode]
Close/Reopen PowerShell Core (Run as Administrator), and execute the following command:
[sourcecode language=”powershell”]
refreshenv
[/sourcecode]
Change Directory to the OpenSSH folder:
[sourcecode language=”powershell”]
cd ‘C:\Program Files\OpenSSH-Win64\’
[/sourcecode]
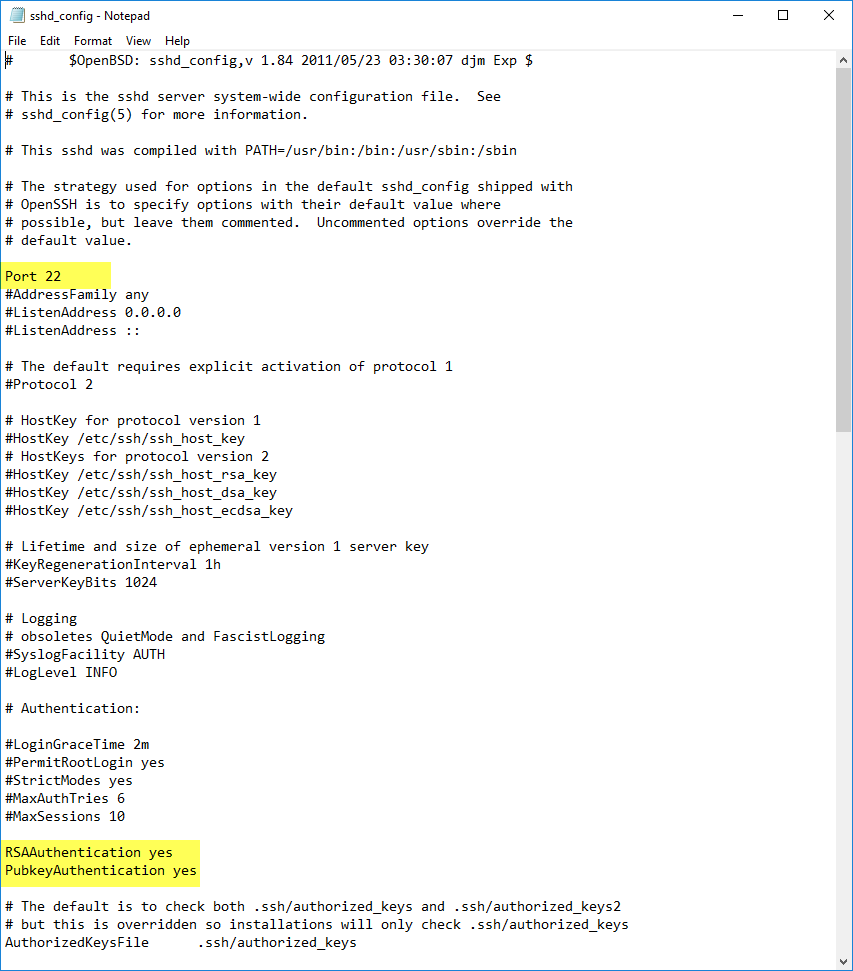
Now, we need to make changes to the sshd_config file with Notepad:
[sourcecode language=”powershell”]
Notepad sshd_config
[/sourcecode]

Need to enabled the following commented out lines:
[sourcecode language=”text”]
Port 22
PasswordAuthentication yes
PubkeyAuthentication yes
[/sourcecode]
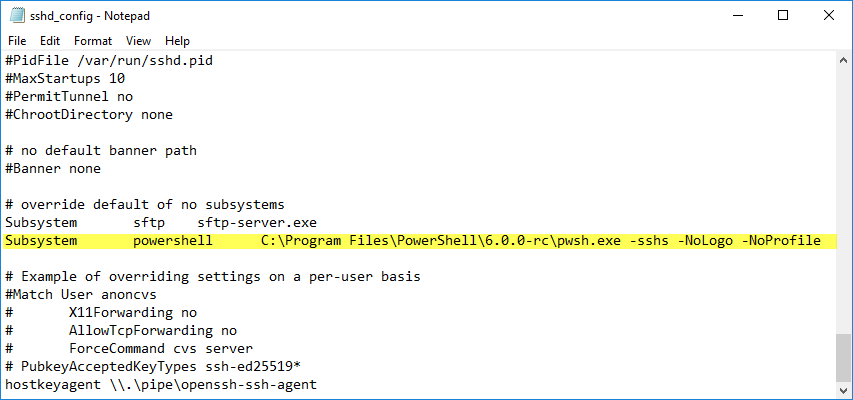
Finally, add the subsystem line to include PowerShell Core path:
[sourcecode language=”text”]
Subsystem powershell C:/Program Files/PowerShell/6.0.0-rc.2/pwsh.exe -sshs -NoLogo –NoProfile
[/sourcecode]
Save the file and we are ready to configure the firewall rule for port 22.
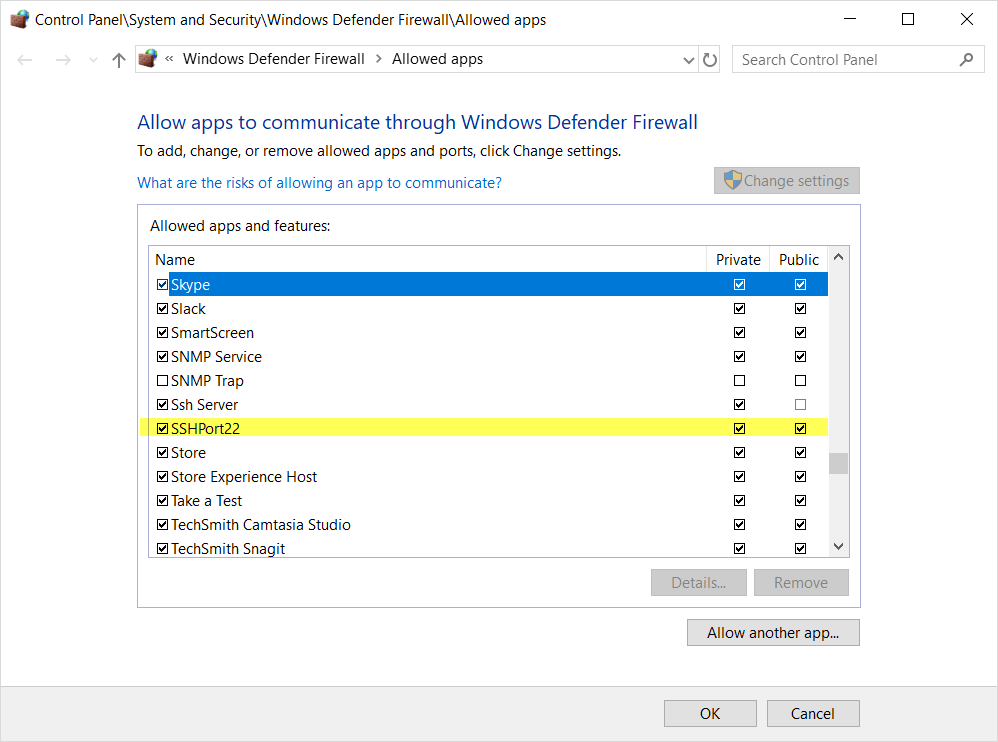
Windows Firewall Port 22 Setup
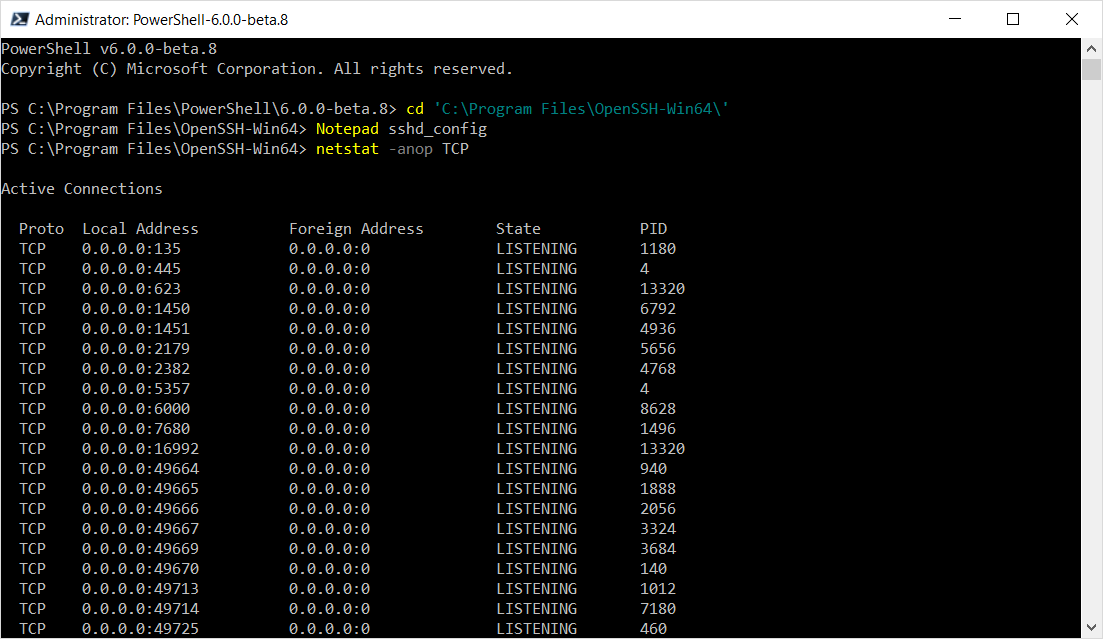
Next, confirm that there are no other TCP ports using port 22:
[sourcecode language=”powershell”]
netstat -anop TCP
[/sourcecode]
Now, add the SSH firewall rule for using port 22:
[sourcecode language=”powershell”]
netsh advfirewall firewall add rule name=SSHPort22 dir=in action=allow protocol=TCP localport=22
[/sourcecode]
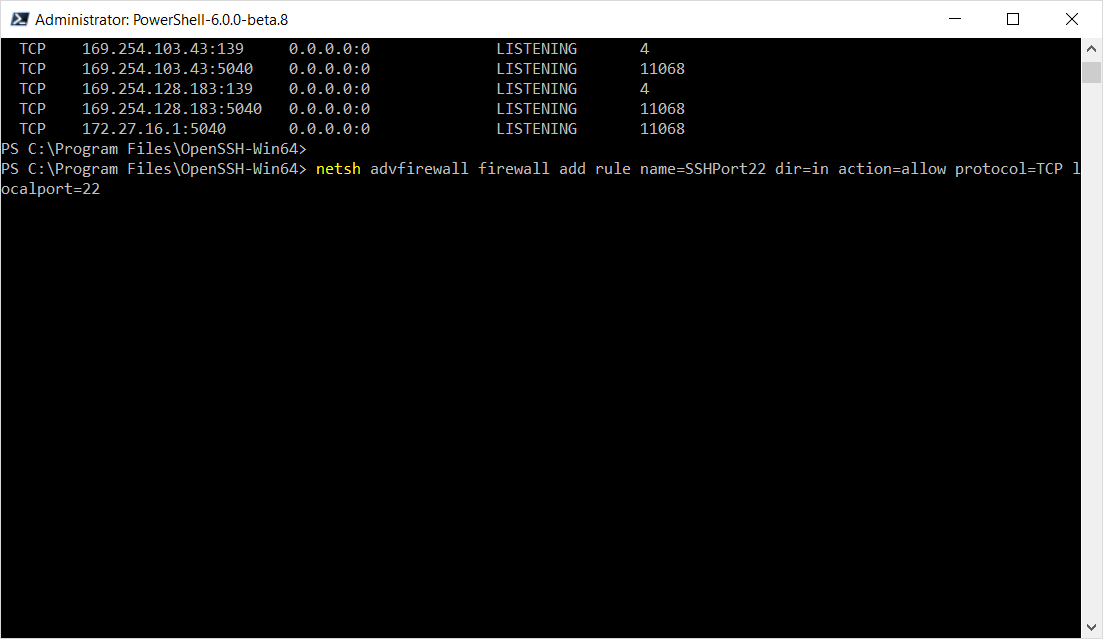
Open Firewall app and verify it’s added.
Completing Windows OpenSSH Installation
The following steps are essential for the sshd service to start without any issues. Make sure to be at the OpenSSH folder:
[sourcecode language=”powershell”]
## – Generate SSH keys:
ssh-keygen -A
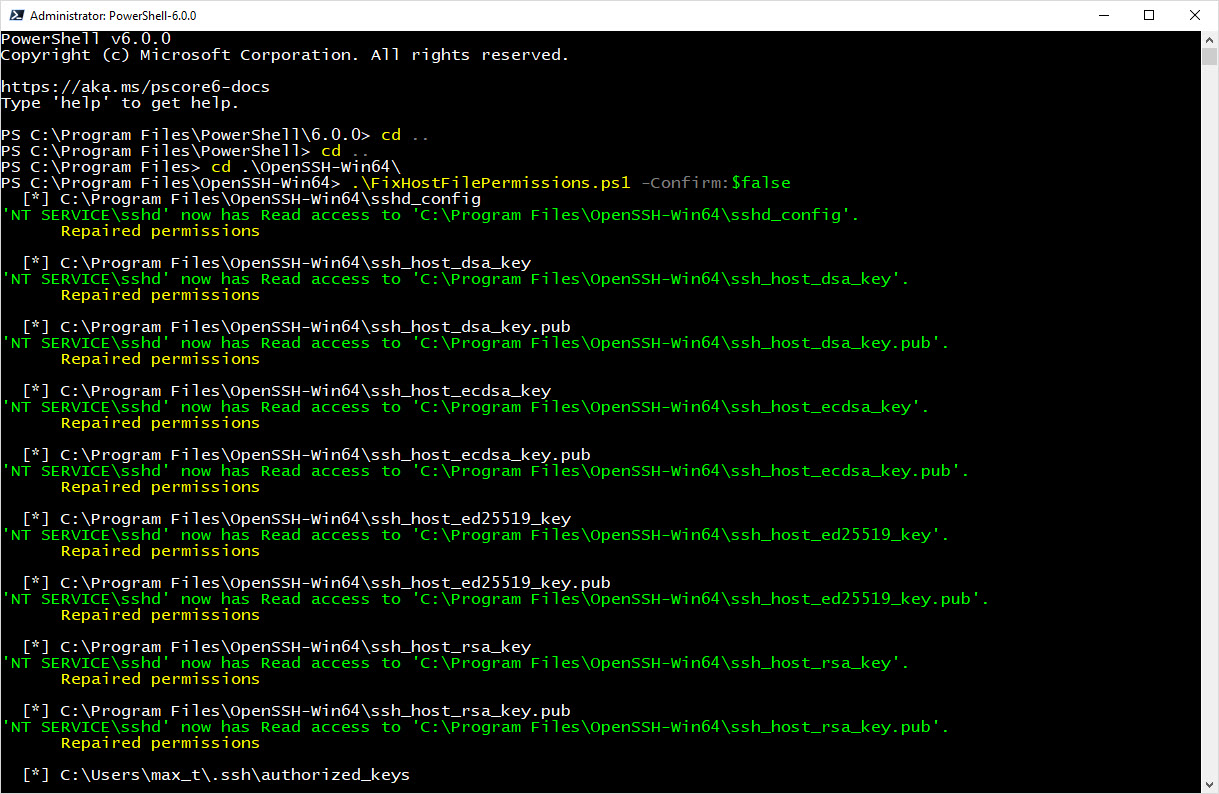
## – Execute both fix permissions scripts:
.\FixHostFilePermissions.ps1 -confirm:$false
.\FixUserFilePermissions.ps1
## – Install both ssh services: sshd and ssh-agent:
.\install-sshd.ps1
[/sourcecode]
Then, set both sshd and ssh-agent services set to start automatically.
[sourcecode language=”powershell”]
Set-Service sshd -StartupType Automatic
Set-Service ssh-agent -StartupType Automatic
[/sourcecode]
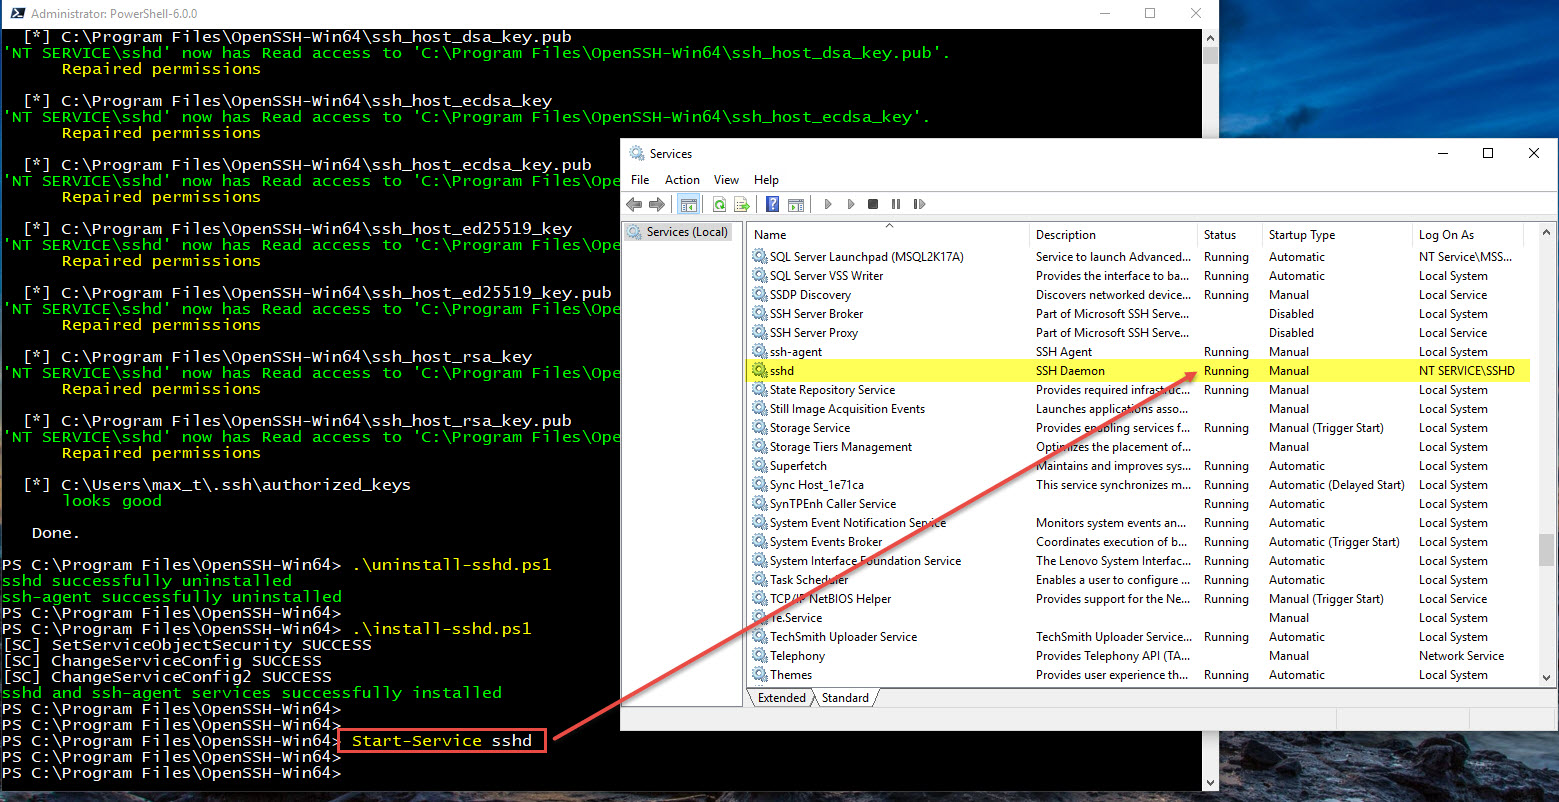
At this point, only start service sshd which will turned on the ssh-agent service.
[sourcecode language=”powershell”]
Start-Service sshd
#Start-Service ssh-agent (optional)
[/sourcecode]

Must important, open the *Services MMC console and verify that all running.
*Note: On the server will be needed to set the credential as Local System (see below).
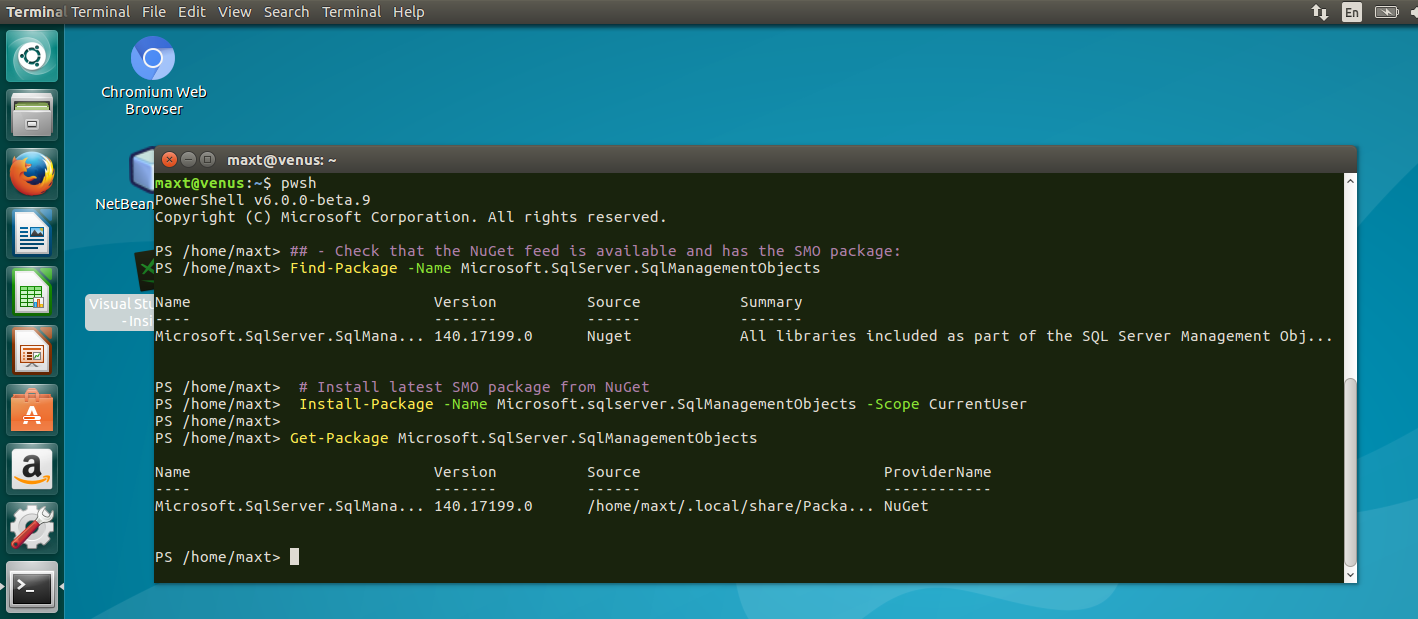
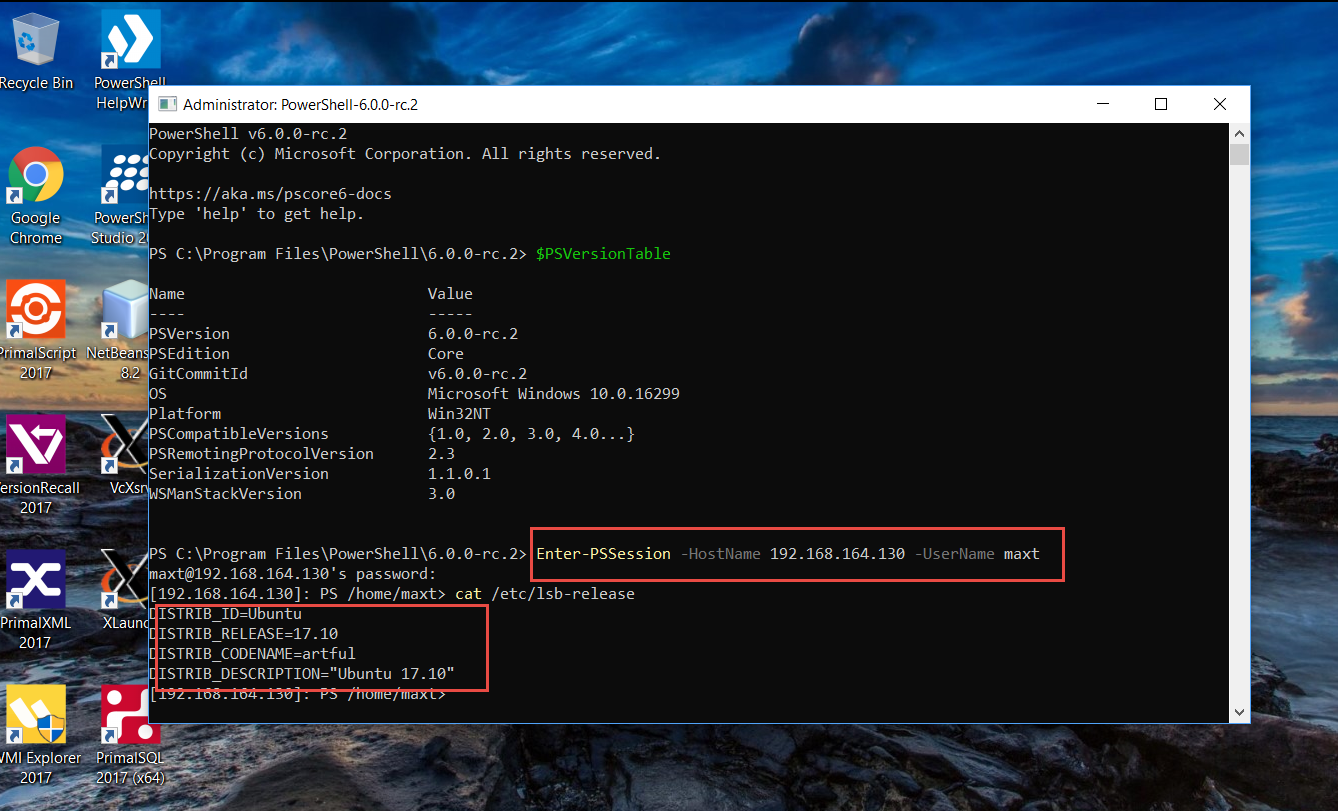
Now, proceed to test connectivity between two system using PowerShell Core. To test connectivity could use the following command:
Enter-PSSession -hostname systemname -username UsenameHere
Additional Note:
I found an issue when been a member of a domain but the Domain is Off. Trying to restart ssh service, I get the following error:
[sourcecode language=”powershell”]
PS C:\Program Files\OpenSSH-Win64> Start-Service sshd
Start-Service : Failed to start service ‘sshd (sshd)’.
At line:1 char:1
+ Start-Service sshd
+ ~~~~~~~~~~~~~~~~~~
+ CategoryInfo : OpenError: (System.ServiceProcess.ServiceController:ServiceController) [Start-Service], ServiceCommandException
+ FullyQualifiedErrorId : StartServiceFailed,Microsoft.PowerShell.Commands.StartServiceCommand
[/sourcecode]
Or trying to manually start the “sshd” service using the Services MMC:
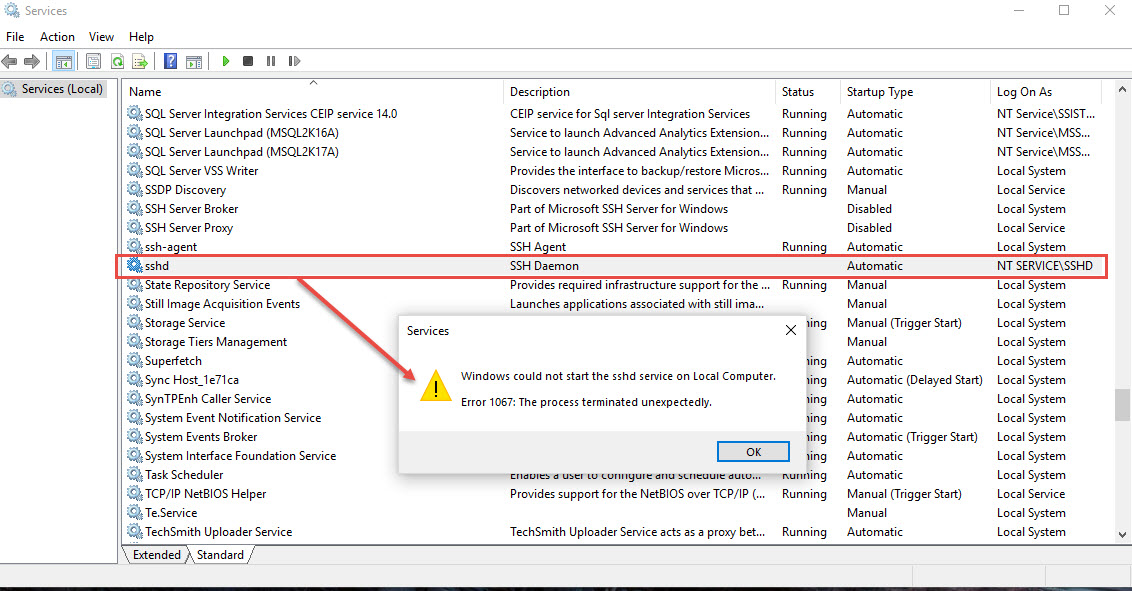
This error was due to missing a step in the installation:
Resolution: Thanks to Github Win32-OpenSSH @bagajjal provided the following steps:
[sourcecode language=”powershell”]
## – Fixing sshd service not starting with the NET Service credentials:
.\FixHostFilePermissions.ps1 -Confirm:$false
.\uninstall-sshd.ps1
.\install-sshd.ps1
[/sourcecode]
This resolved the sshd start failure. (see below)