Yes! It’s possible. There’s a workaround make PowerShell to work in Bash for Windows. The only drawback, you still can’t do a Clear-Host (or clear or cls), at the PowerShell prompt.(yet)
(Updated 11/03/2016): You can use Ctrl-L to clear the screen while using both ‘xterm’ and ‘screen’ while working at the console only. At least is better than nothing!

The original behavior, and still is, the cursor goes to the top of the screen and it making hard to work. This issues has been logged in Github PowerShell site:
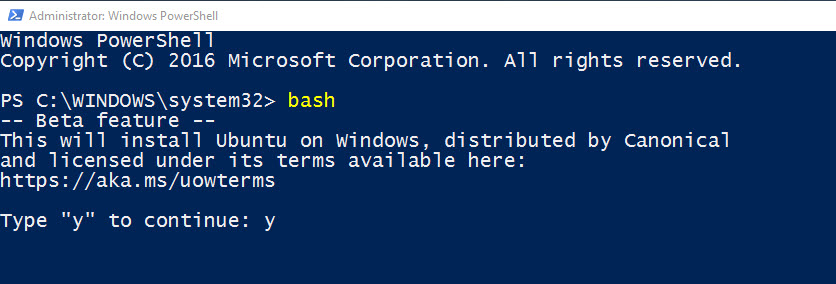
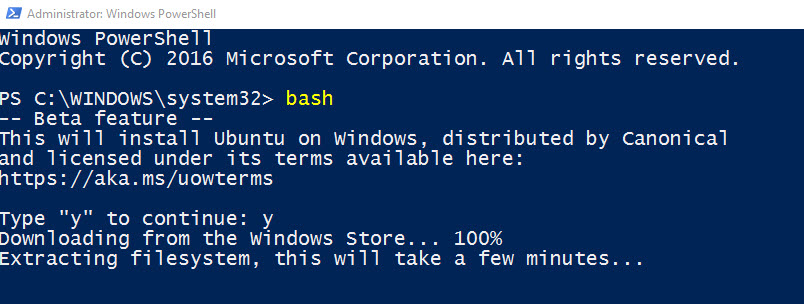
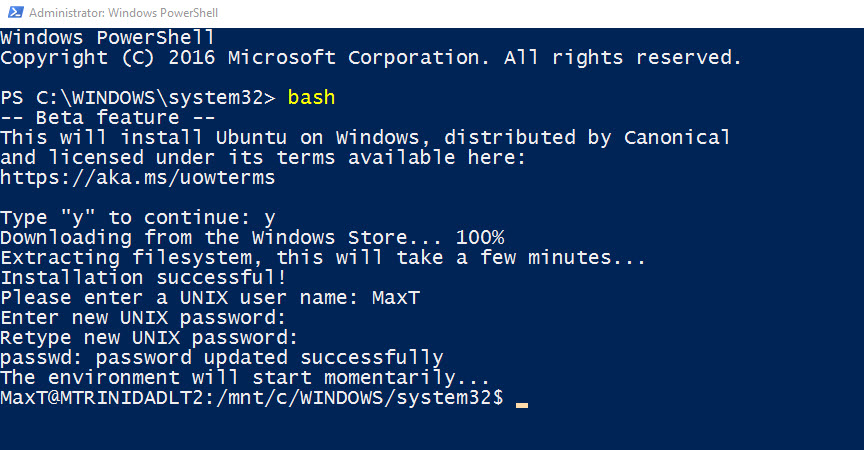
But, let first install PowerShell for Bash on Windows.
Installing PowerShell
To identify which version of PowerShell to install, you’ll need to find what’s the Windows Bash version. Run the following Linux command:
username@hostname$ cat /etc/issue

This command will show the Linux OS is Ubuntu Bash version is 14.04. Next is to proceed to Github PowerShell and select to download the Ubuntu 14.04 version: https://github.com/PowerShell/PowerShell/releases/tag/v6.0.0-alpha.10
Look for and click on “powershell_6.0.0-alpha.10-1ubuntu1.14.04.1_amd64.deb” to initiate the download.
Please understand that this file type is *.deb and will only install on the correct Linux OS version. This file will be download to your Windows “Downloads” folder and you won’t be able to execute from Windows File explore.

Now, confirm you downloaded and can see the file under Bash subsystem by doing the following Linux command:
$ ls /mnt/c/Users/mtrinidad/Downloads

To installing the PowerShell version for Ubuntu 14.04, do the following commands:
$ cd /mnt/c/Users/mtrinidad/Downloads
$ sudo dpkg -i powershell_6.0.0-alpha.10-1ubuntu1.14.04.1_amd64.deb
$ sudo apt-get install -f
Now, you can run PowerShell from the Windows 10 BASH prompt. But, it won’t be pretty useful. Yet!
What’s the workaround PowerShell in Bash for Windows
Basically, there are two application you can try:
In my case, I didn’t have to installed these applications. But, if you need to install either application, the use the following command lines and answer “y” to install:
$ sudo apt-get install screen
$ sudo apt-get install xterm
Now, there is one more application that might be useful to install using the same command format (see above). Its the GUI editor “gedit”:
$ sudo apt-get install gedit
This is a very practical text editor that remind me of Notepad. Keep in mind, I’m coming from a Windows Ecosystem. Of course, Linux expert may go for
Vim or
Emacs editors.
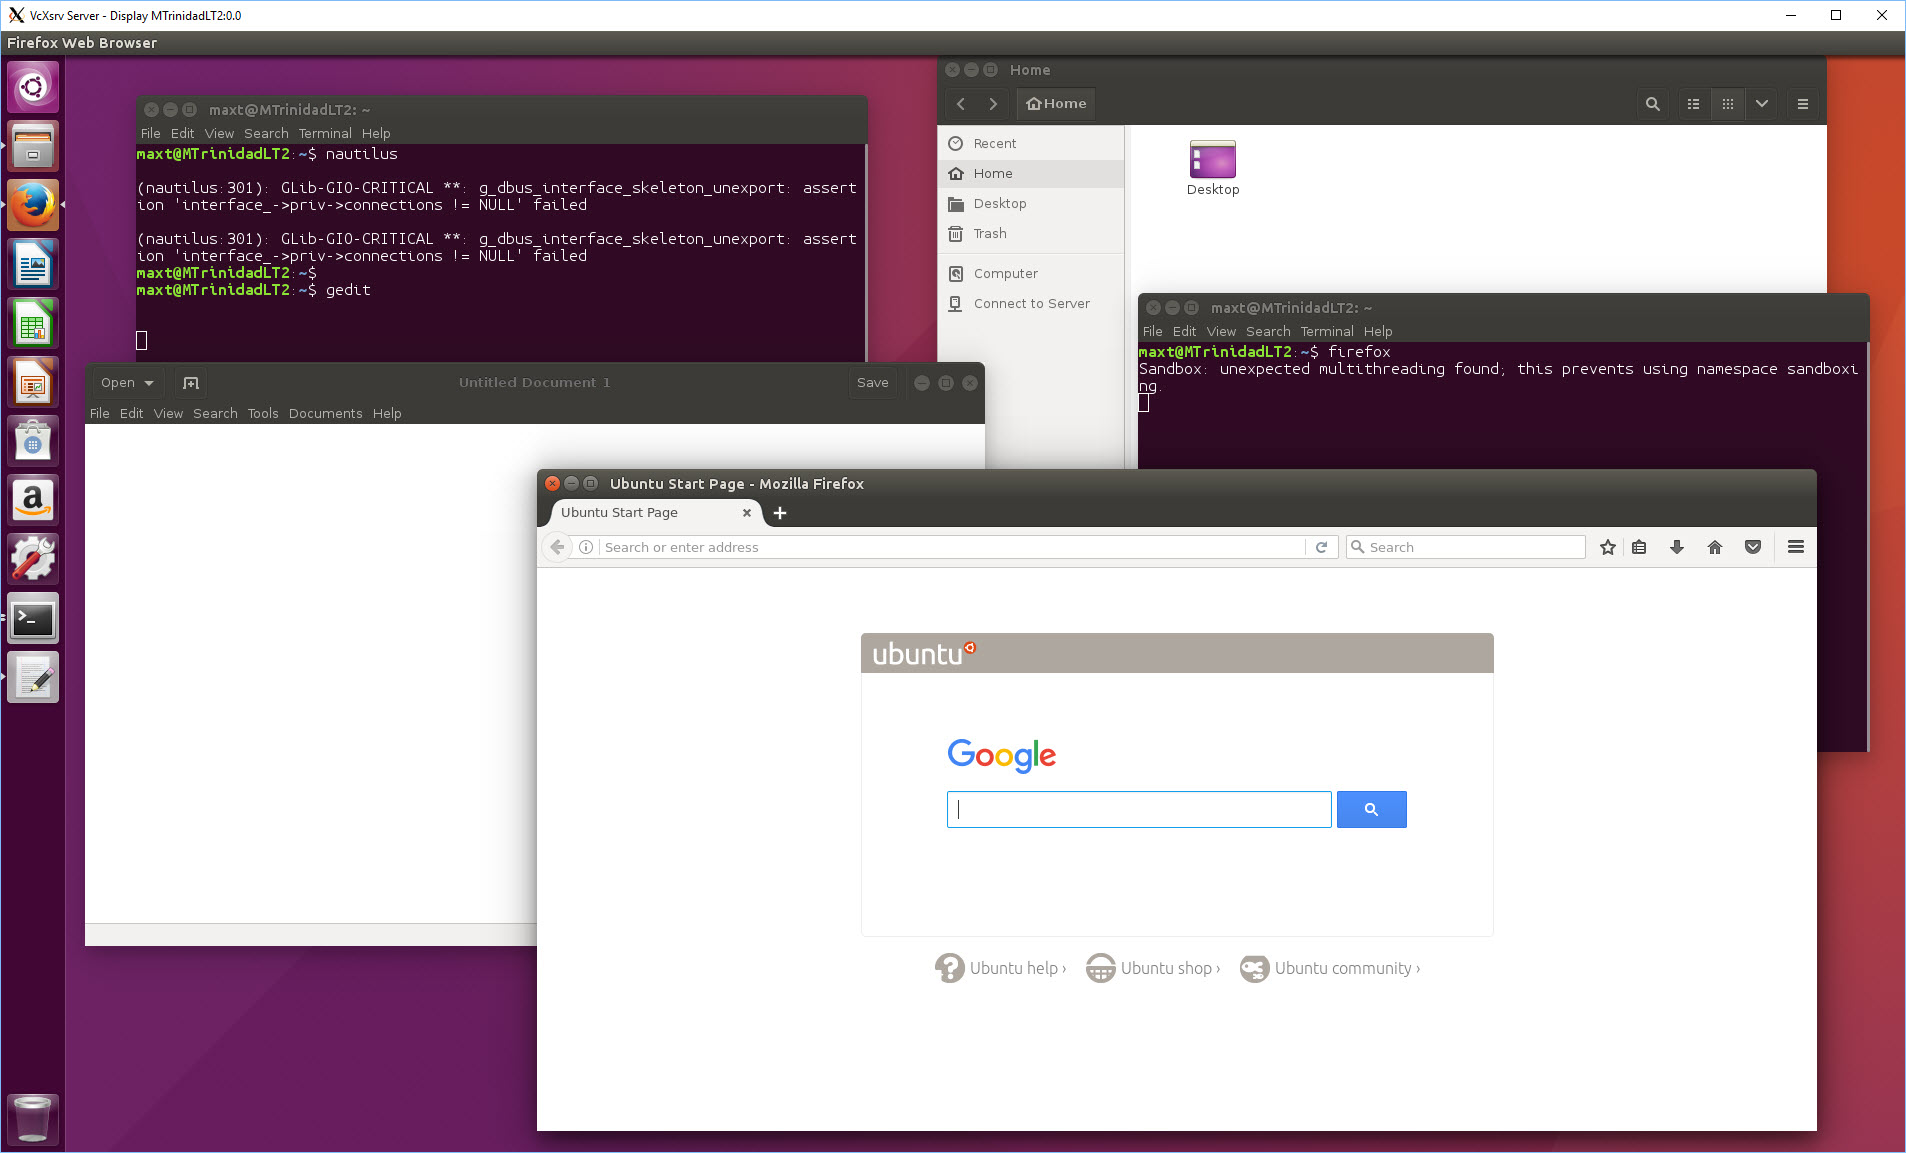
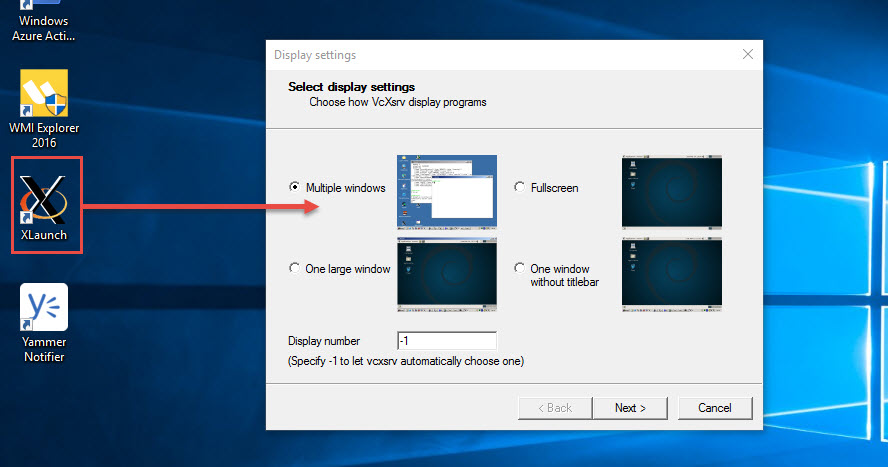
Xserver for Windows 10
After installation, double-click on the XLaunch icon and select how-to display the program.
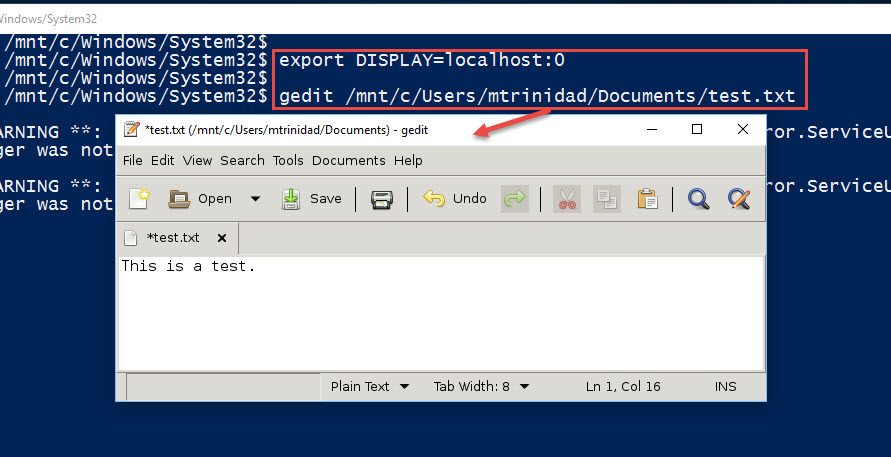
Then, go back to the Bash prompt and type the following command the set the Xserver popup window, follow by the application. In this example will be executing “gedit“.
$ export DISPLAY=localhost:0
$ gedit /mnt/c/Users/mtrinidad/Documents/test.txt
In order to use application(s) in *Xserver, its only one application at the time per Bash console open. In other word, to run two applications, you’ll need to open two Bash console to run each individually.
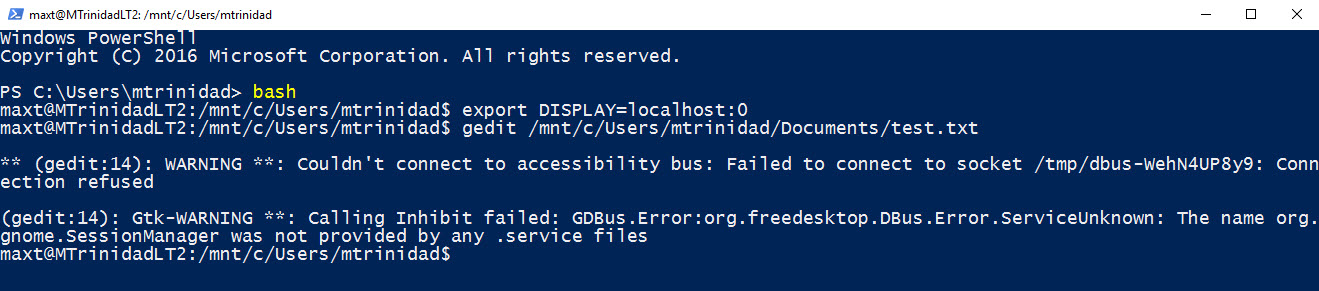
*Note: You will notice Warning messages after exiting the application which can be ignored.
Now, we got all we need to start working with PowerShell in Bash for Windows.
PowerShell – Using xterm
Now, to use “xterm“, you’ll need run the Xserver application “VcXsrv” as previously explained. Follow the steps: (In my case, I’m opening PowerShell Console in Administrator mode)
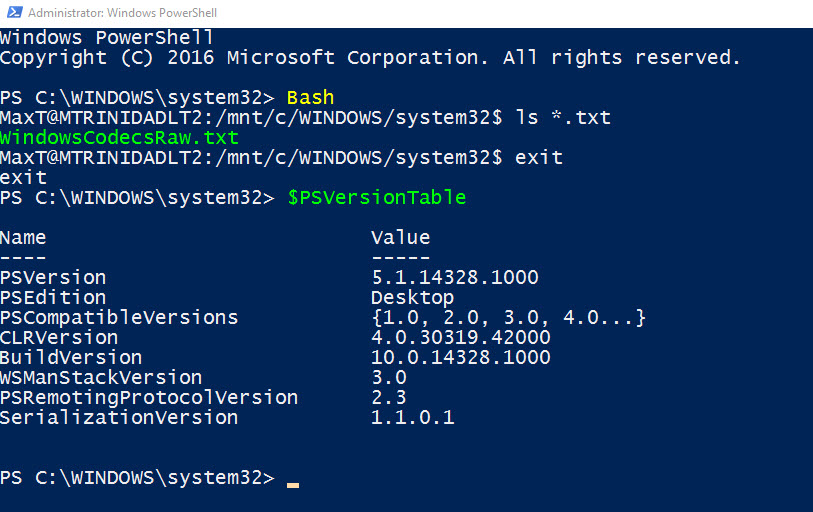
- Open PowerShell Console (in Administrator mode)
- Execute Bash
- Then, at the Bash prompt type: $ export DISPLAY=localhost:0
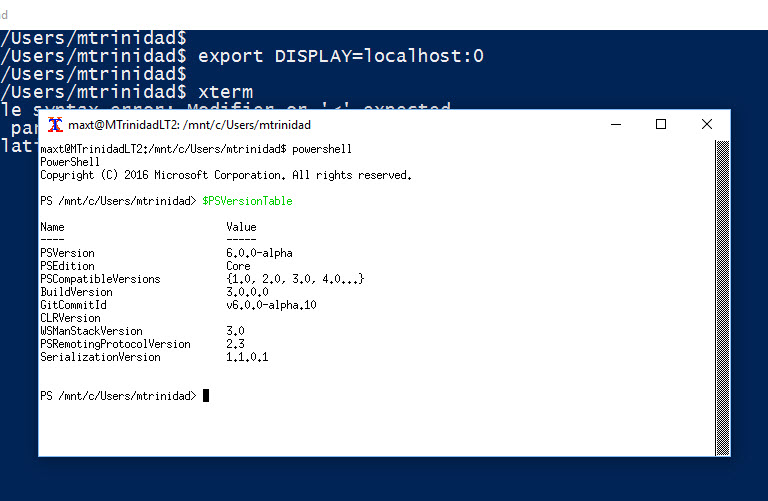
- Follow by: xterm
This will open a popup window for xterm application. In the xterm prompt, run powershell and you can start working with PowerShell.
$ powershell
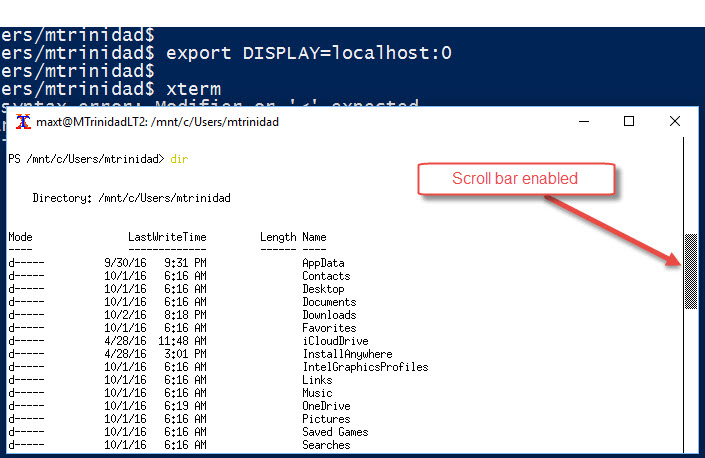
But wait!! You’ll notice that there’s no scroll bar to page up or down. I found the following link that fix the issue and you can enable the scroll bar using the mouse.
http://beforewisdom.com/blog/tech/xterm-with-a-scrollbar/
This is where you use gedit text editor to add the code to make the scroll bar to work with the mouse.
Now you can use PowerShell to xterm application.
PowerShell – Using screen application
This is another workaround to work with PowerShell by using the “screen” application without the need of using Xserver program.
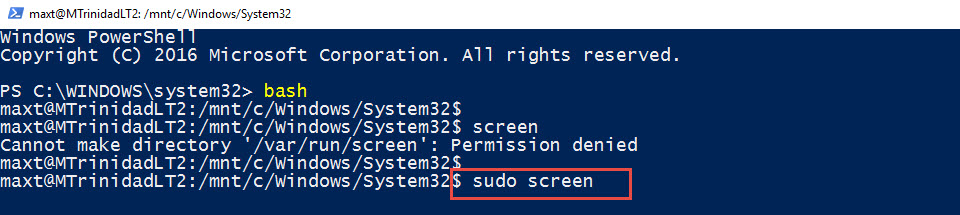
Just open the PowerShell console (in Administrator mode) then type “screen” and press enter.

Oops! This application will need to be executed as super user:
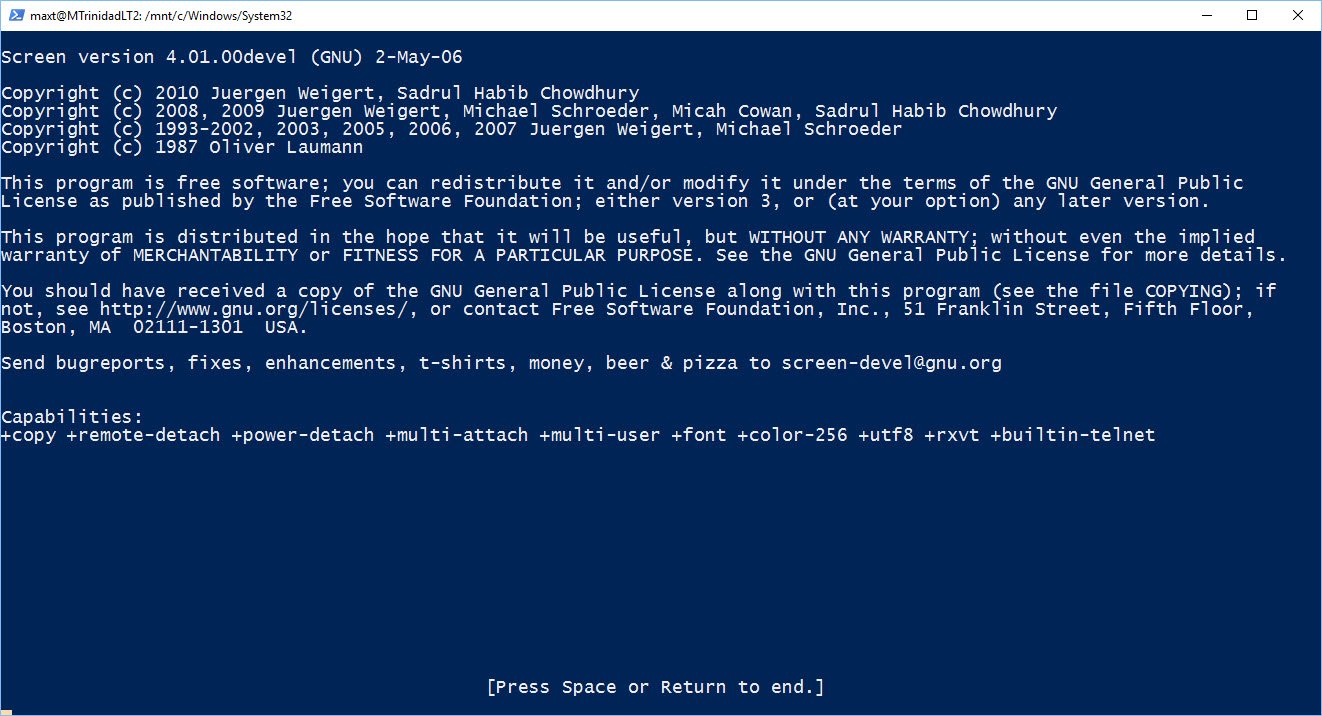
Keep pressing enter to bypass the screen information prompt.
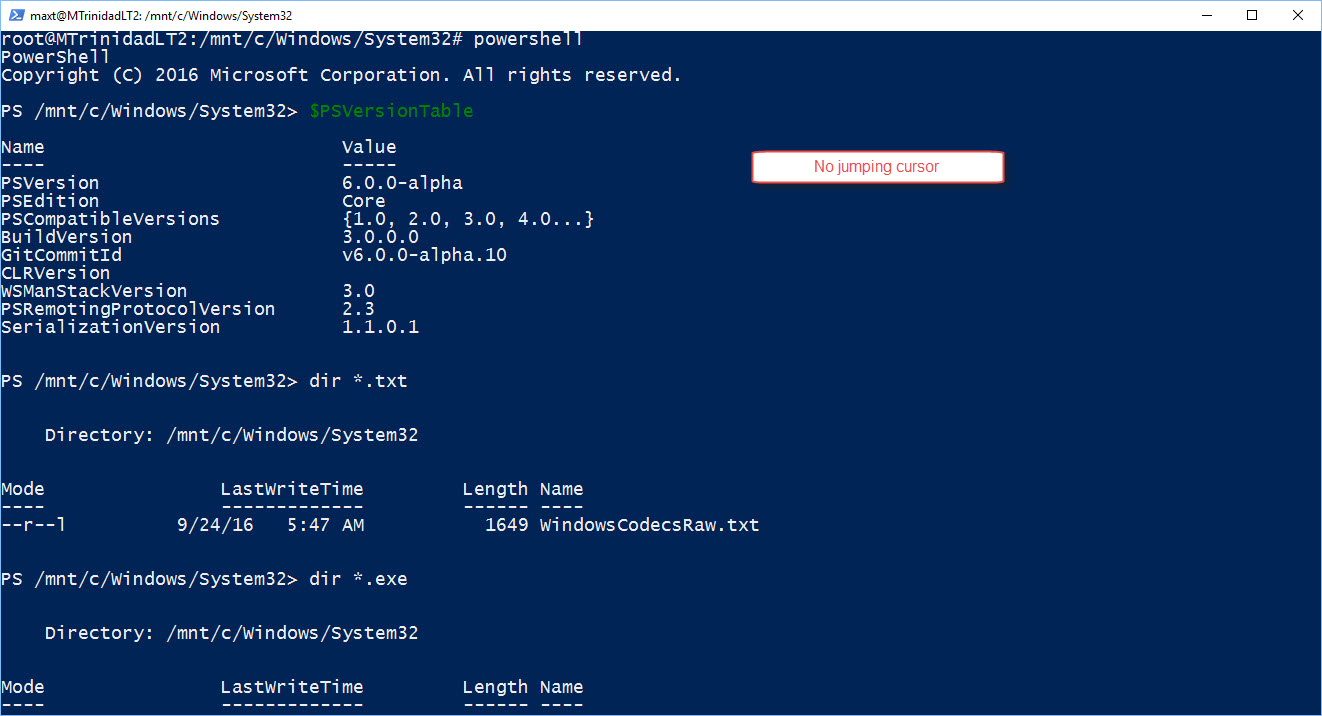
You will ended up at a # prompt, then you can execute PowerShell:
# powershell
And start working with PowerShell. But, again you’ll notice, you won’t be able to scroll up and down (again). There’s not scroll bar!
Here’s how to fix the “screen” scroll issue: press Ctrl-A and then ESC. Now, the scroll up and down feature will be enabled.
And, at the same time, both the arrows up/down keys are working during the remaining of your session.

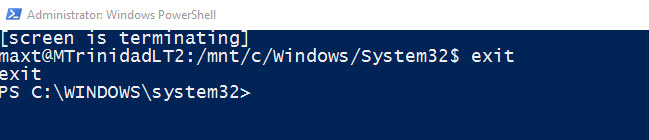
Now, exiting the “screen” application, you will ended up type the “exit” command a few times. About 3 time to get to the starting point.
There’s no excuse not to use PowerShell In Bash for Windows. I have to admit it was little painful to gather this information and work around. But I think is very useful. This is Awesome!
Useful Resources
Make sure to check the GitHub incident email threads, mention in the beginning of this blog, which leads to make this workaround possible: #933 and #988, Community contribution made this possible.
Here are some addition links that help me push through this workaround:
** Xterm
http://beforewisdom.com/blog/tech/xterm-with-a-scrollbar/
** screen
http://www.saltycrane.com/blog/2008/01/how-to-scroll-in-gnu-screen/
http://neophob.com/2007/04/gnu-screen-cheat-sheet/
** Finding Linux version:
http://www.lostsaloon.com/technology/how-to-check-and-find-your-linux-os-version/