In my previous blog “http://www.maxtblog.com/2016/10/running-powershell-in-windows-10-bash-workaround/“, I was able to find a workaround to how work with PowerShell Open Source in Windows Bash subsystem. But now, I found a better way using the Ubuntu Desktop component.
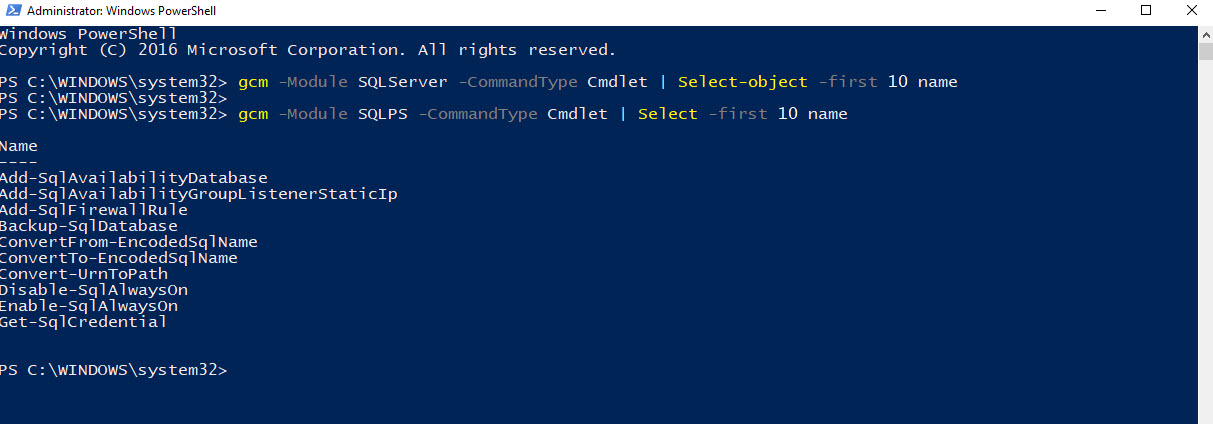
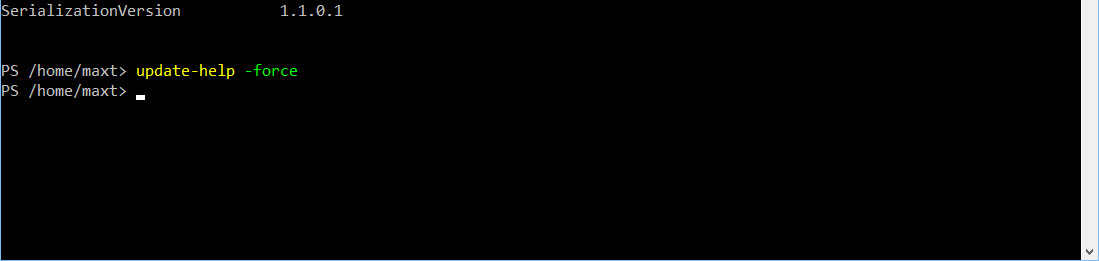
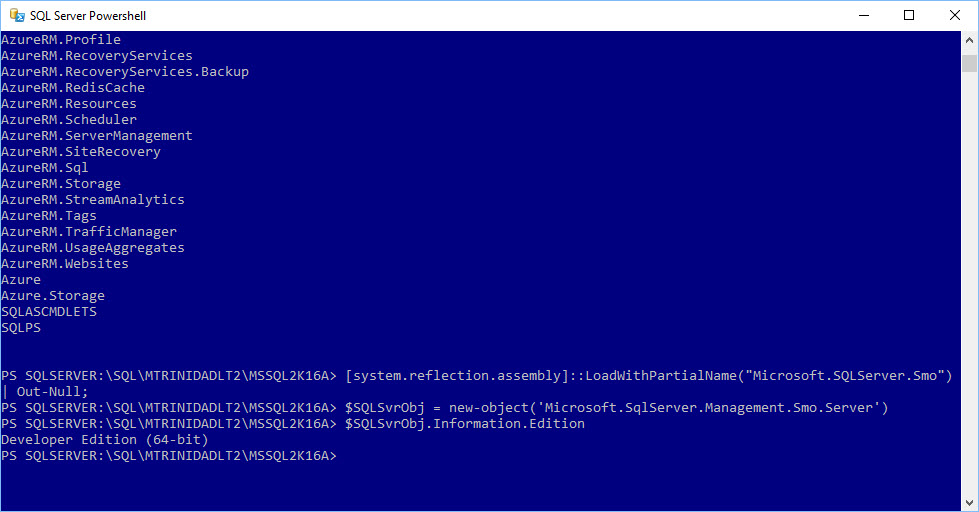
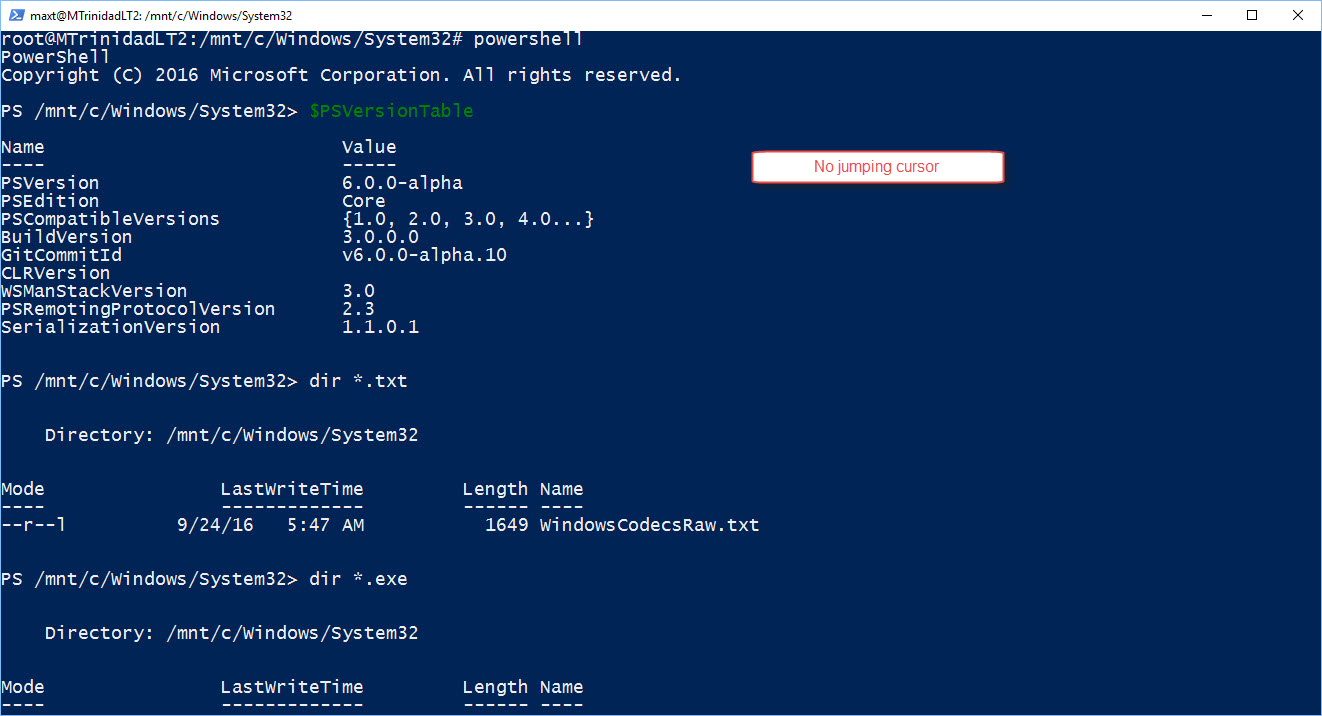
It’s a known fact, if you install PowerShell Open Source in Windows 10 Bash subsystem, that it won’t work correctly. As soon as start typing $PSVersionTable and press enter, the cursor goes to the top of the screen. And, you keep typing and it gets very ugly.
Now, what if I tell you, I found the way to run PowerShell Open Source without any of these issues. Just like running it like it was installed in a Linux environment. No issues with the cursor going crazy and able to page up and down.
The following are the steps required to run PowerShell Open Source.
Windows 10 Requirements
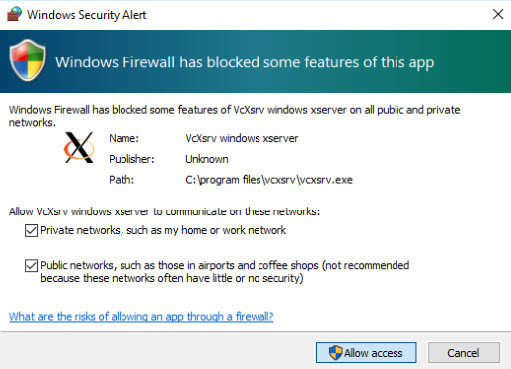
You *MUST* use the following Windows X Server application. Just proceed to Download and install VcXsrv Windows X Server:
https://sourceforge.net/projects/vcxsrv/?source=typ_redirect
Also, proceed to Download (to be install later) PowerShell Open Source. Go to the following Github link, and pick the Ubuntu 16.04 version: for Ubuntu 16.04:
https://github.com/PowerShell/PowerShell/releases/tag/v6.0.0-alpha.14
For best results, make sure to be on Windows 10 Insider Build 15007.rs_prerelease.170107-1846.
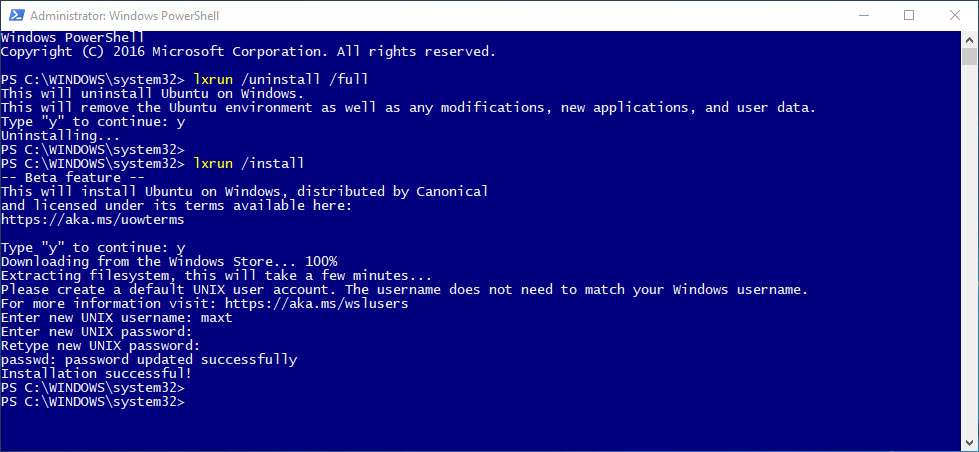
If previously installed, reset your Windows 10 Bash Subsystem installation, by executing to following commands on either DOS or PowerShell prompt:
1. Uninstall command: lxrun /uninstall /full
2. Clean Installation: lxrun /install
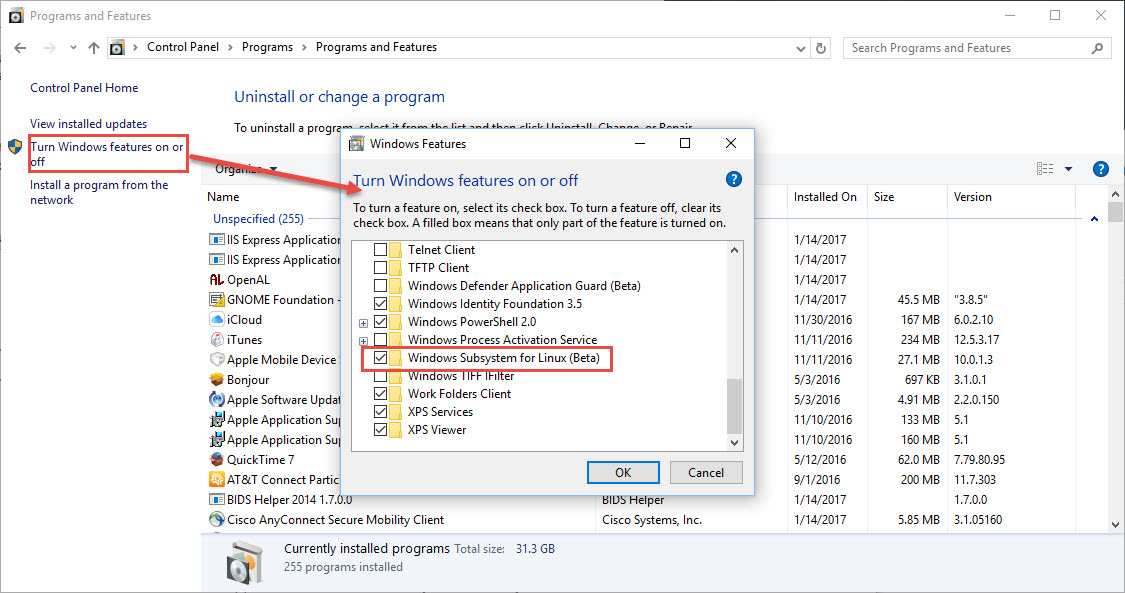
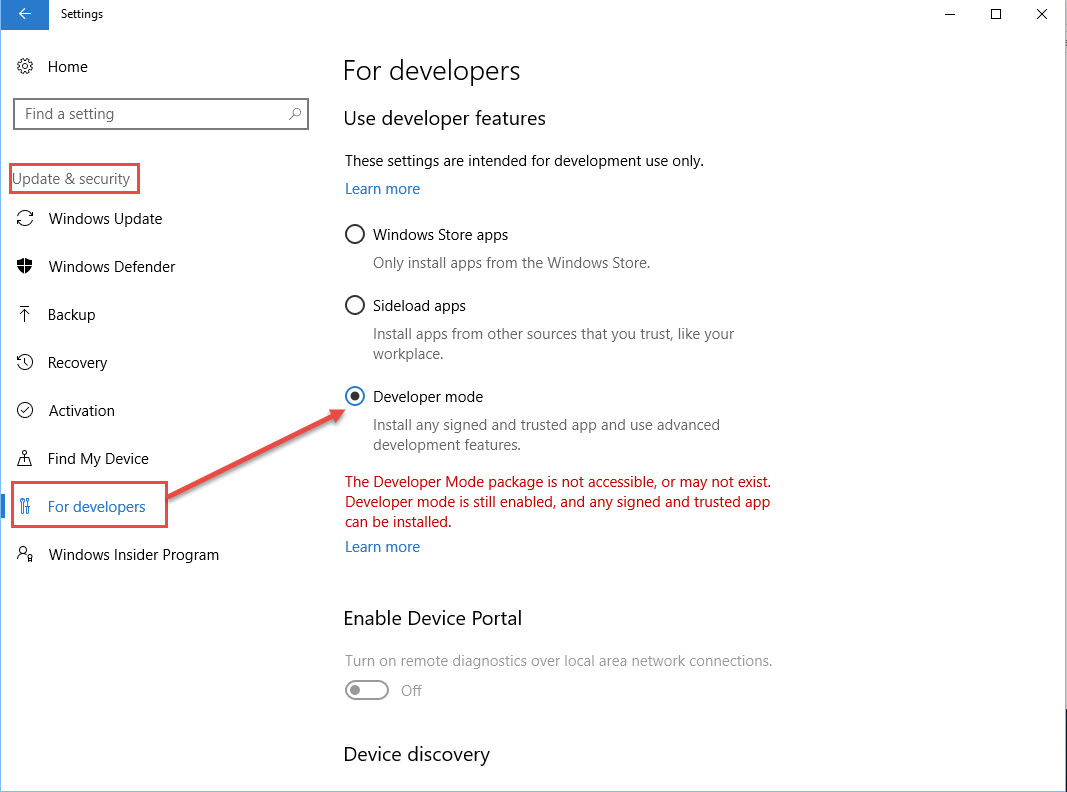
*Note: I’m assuming you’ve been recently checking out Bash in Windows 10. If not, go to “Control Panel | Programs and features” then go to “Turn Windows features on or off” and enable “Windows Subsystem for Linux (Beta)“. By the way, you must have “Developer mode” enabled under “Settings | Update and Security | For Developers” section.
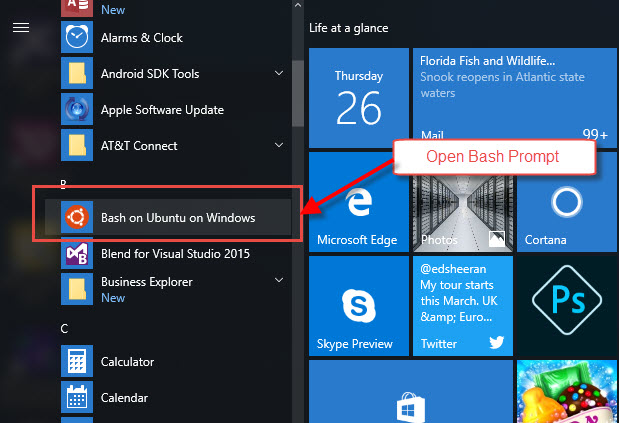
Then, on the Windows menu, look for the “Bash on Ubuntu on Windows” icon and open the console. Make sure Bash is installed and working in Windows 10.
Bash Subsystem Requirements
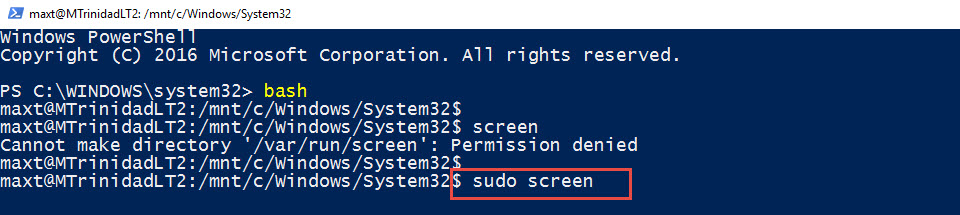
Now, we need to start installing some additional components in our Bash environment. Please notice I can use PowerShell console and open “Bash“. Also, while installing these Linux packages, make sure to open any console “as Administrator“.
Then, in Bash prompt, use the Super User privilege command “sudo su” before installing these packages.
sudo su

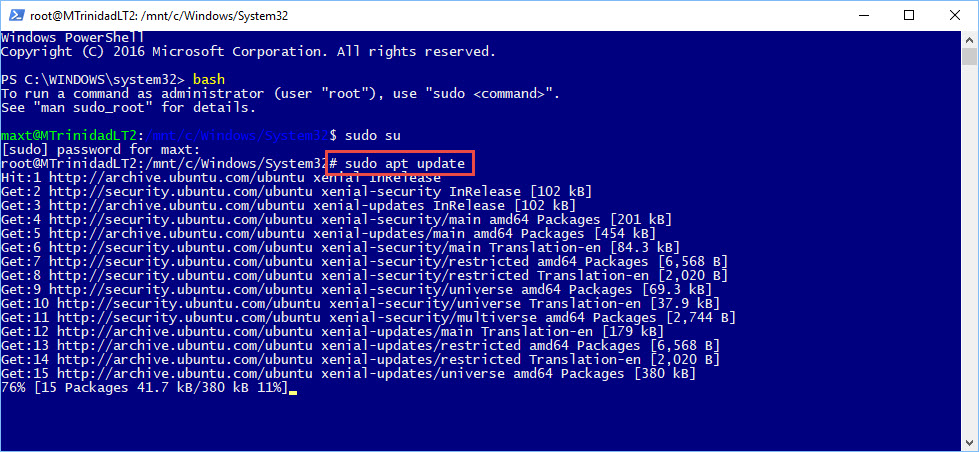
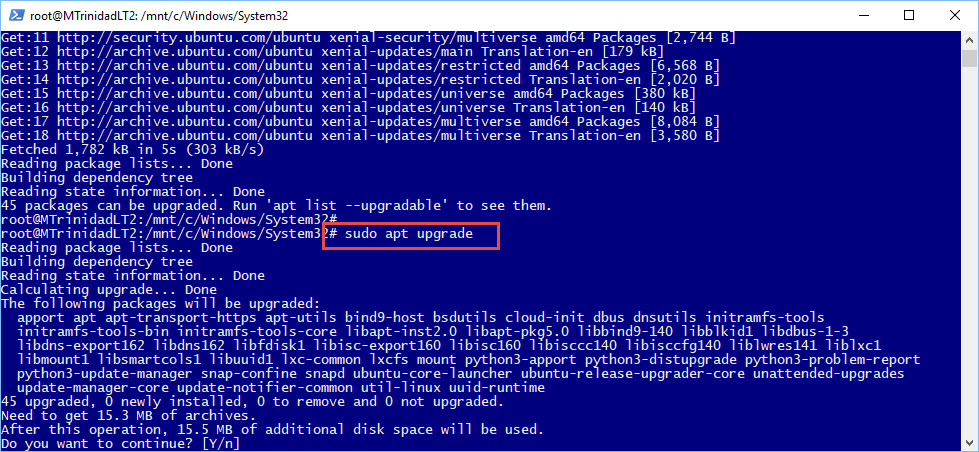
I recommend to use the following two command for the purpose of getting both available updates and upgrades to Bash installed packages. You could use these command on a regular basis to keep you subsystem up-to-date.
sudo apt update
sudo apt upgrade
The following commands will install the Ubuntu Desktop and takes about 1hr to complete. Patience is a virtue!
sudo apt install ubuntu-desktop
In some cases, at the end of the installation you will either see no errors, or it will end with the following message: “E: Sub-process /usr/bin/dpkg returned an error code (1)“.
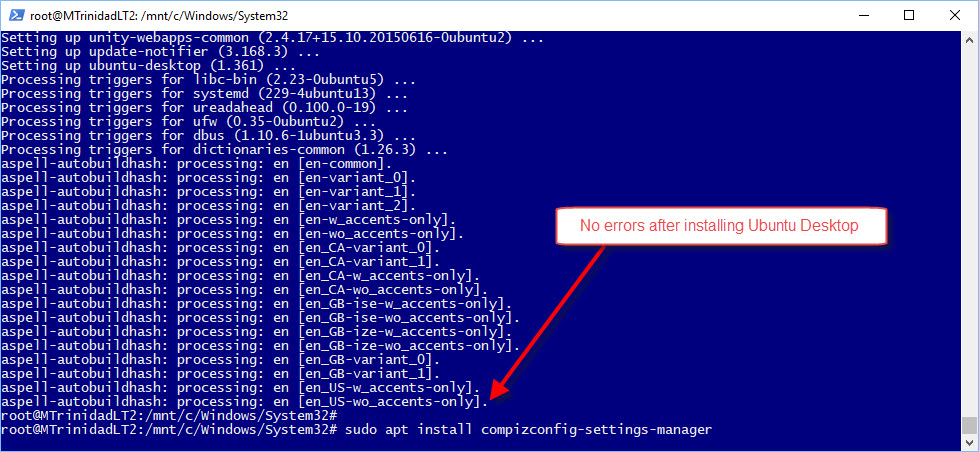
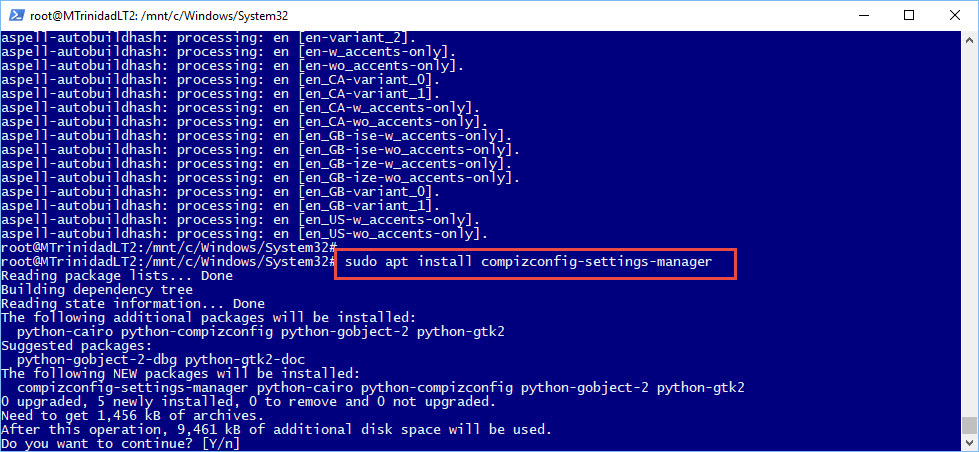
Now, the next package installation install the desktop setting manager application you will need to use later;
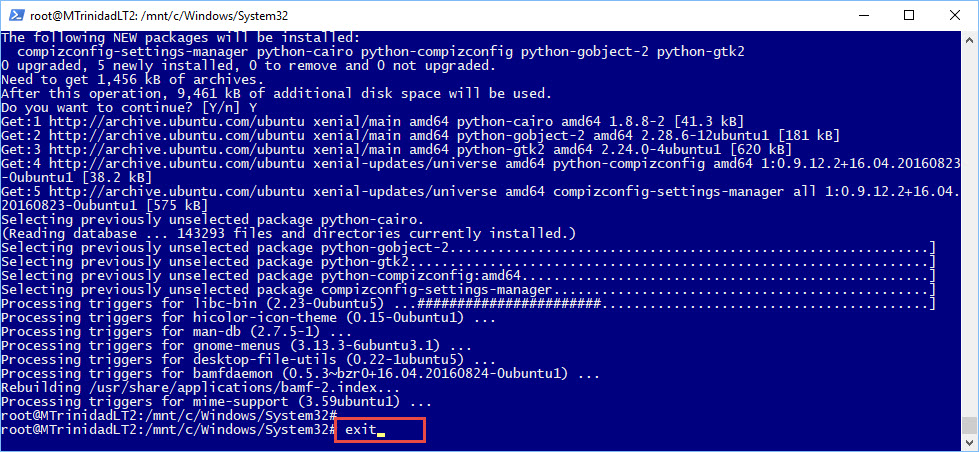
sudo apt install compizconfig-settings-manager
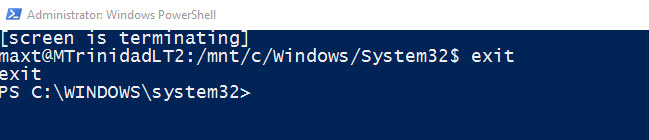
So after all is done, use the “exit” command to get out of the Super User session and get back to your user session.
exit
Installing PowerShell
Now, we are ready to install PowerShell Open Source. Remember, if you follow above Windows 10 Recommendation section, you have already downloaded PowerShell. This file will be located in your “..Username\Downloads” folder. From the Bash prompt, you’ll probably be seen “username@SystemName:/mnt/c/Users/username$” when you open the console as a regular user (non-Admin privilege).
The following commands change folder location to where the PowerShell installation package was saved and the execute the package.
cd Downloads
sudo dpkg -i powershell_6.0.0-alpha.14-1ubuntu1.16.04.1_amd64.deb

This package installation should end without any errors. Don’t open PowerShell yet!
The Ubuntu Desktop
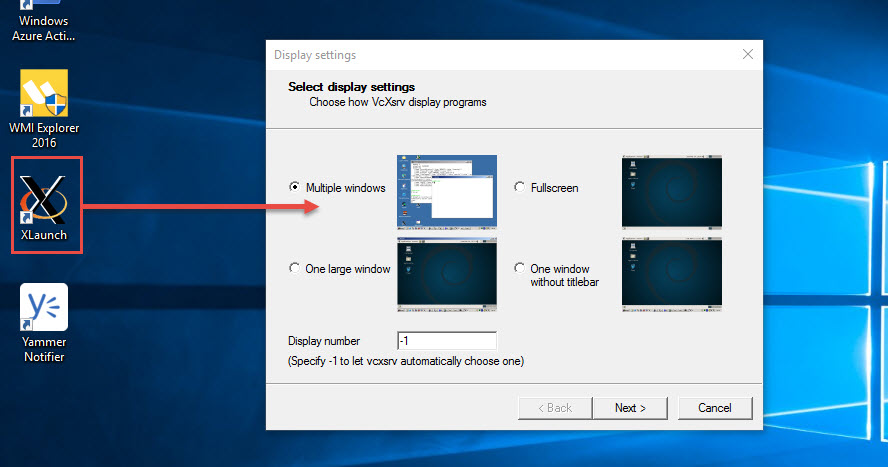
First, in Windows 10, we need to start our “VcXsrv Windows X Server” application by clicking the Windows X Server “Launch” icon. Pay close attention to the field labeled “Display number” should have the value ‘0‘ and pick the “One large window“. Then clicking “Next” to accept all default values.
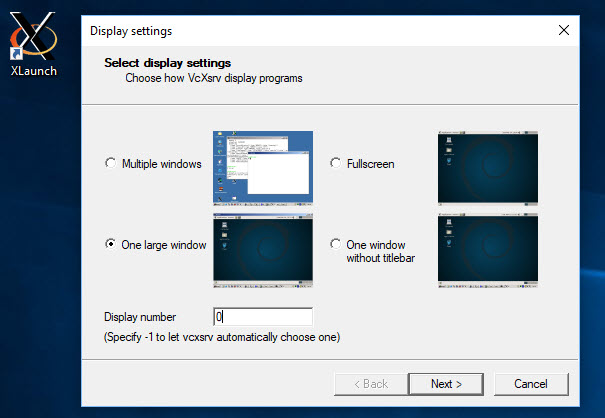
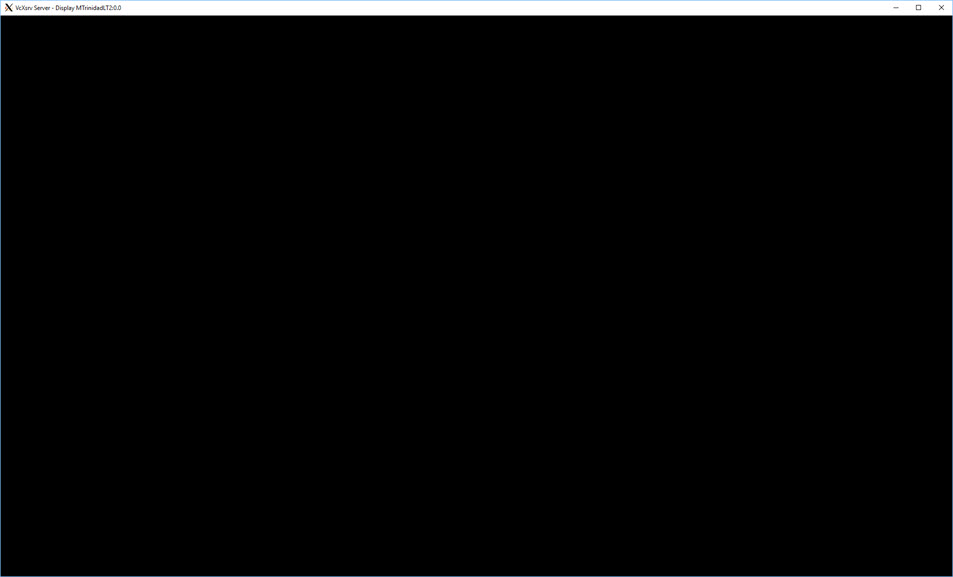
This will open a blank Windows X Server display.
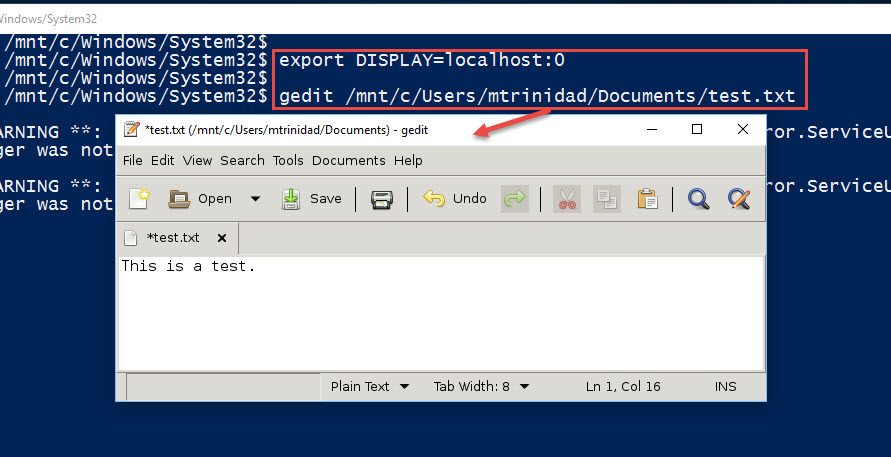
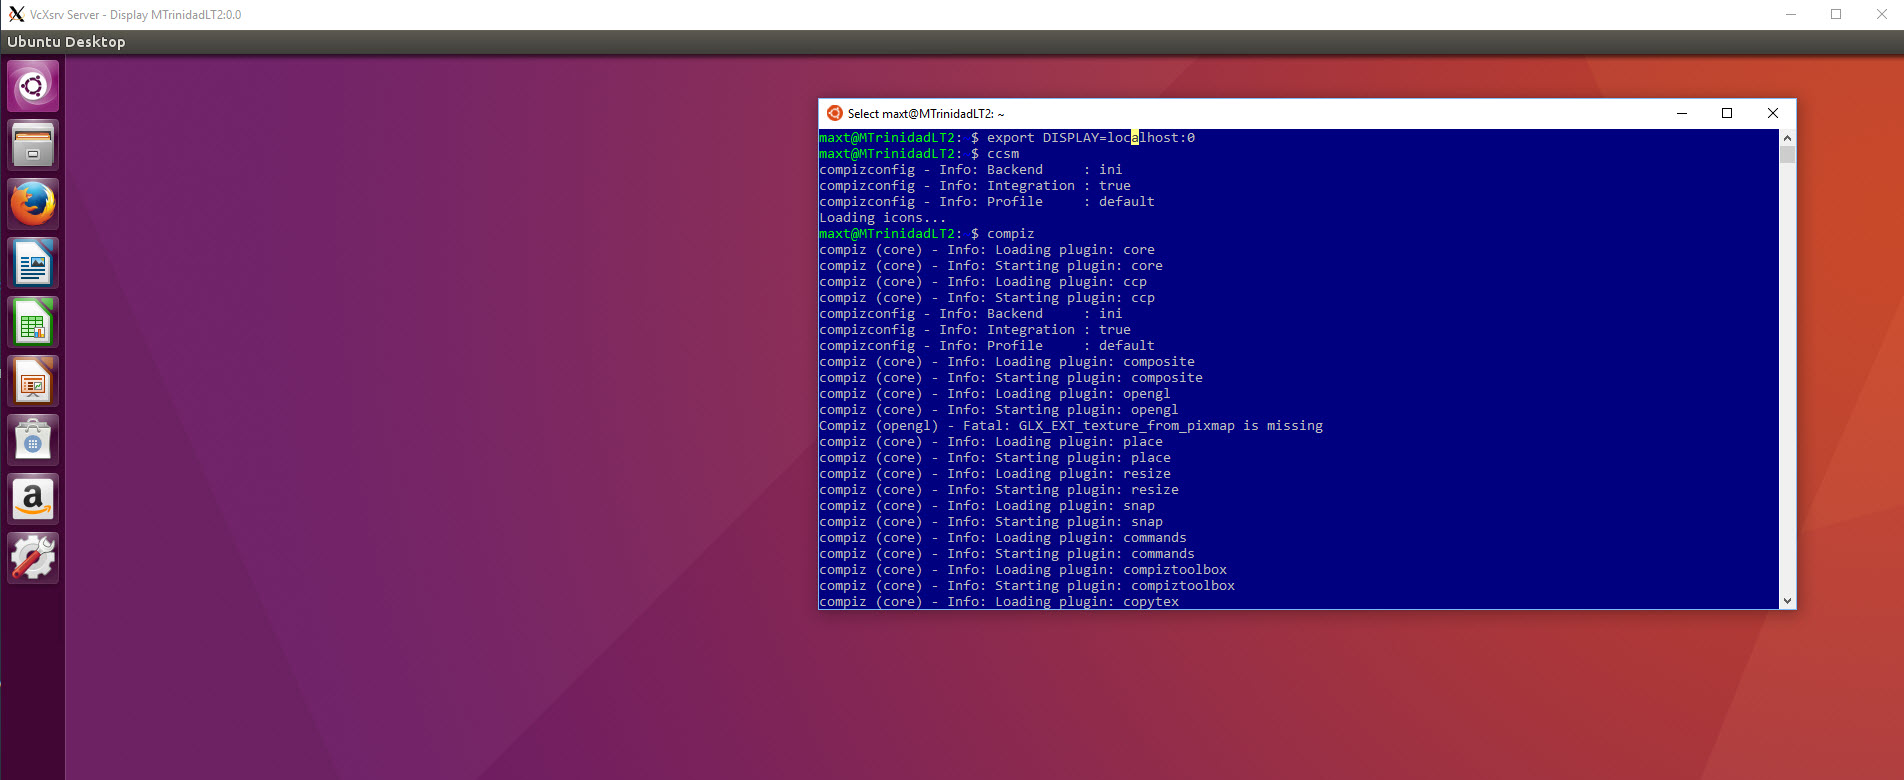
Now, open “Bash on Ubuntu on Windows” prompt, and at this point there’s no need to open “as Administrator”. Type the following commands to start the “Ubuntu Desktop” in Windows 10:
export DISPLAY=localhost:0
This command will allow the any gui application to interact with our Windows X Server service.
Then, run the command ‘ccsm‘ to configure the Ubuntu Desktop settings: (This is a one time setup)
ccsm

Click “OK” to continue making settings changes following the images below.
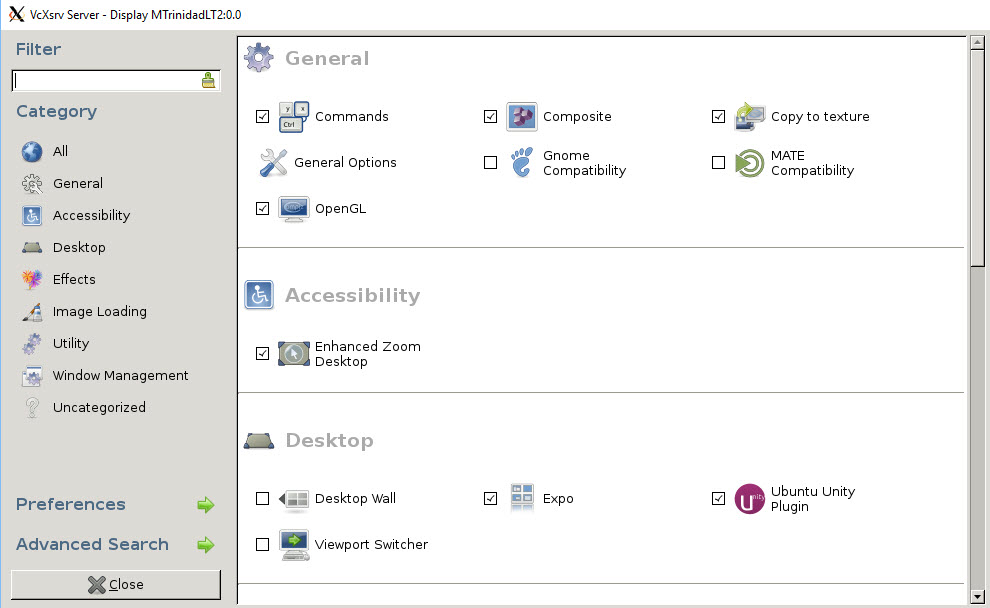
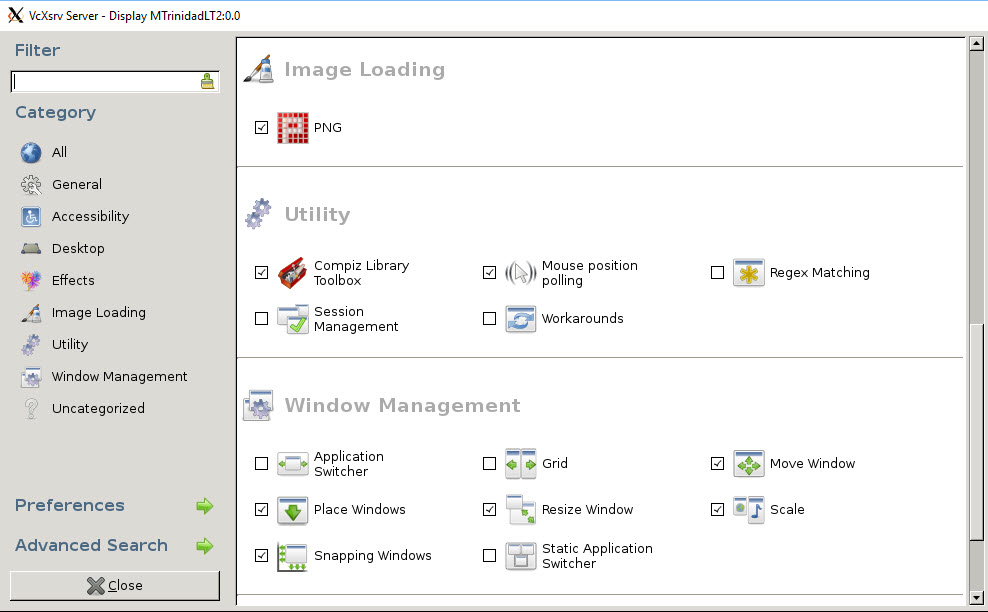
After updating the settings, click “Close”
To proceed to start the Ubuntu Desktop, just execute the following command:
compiz
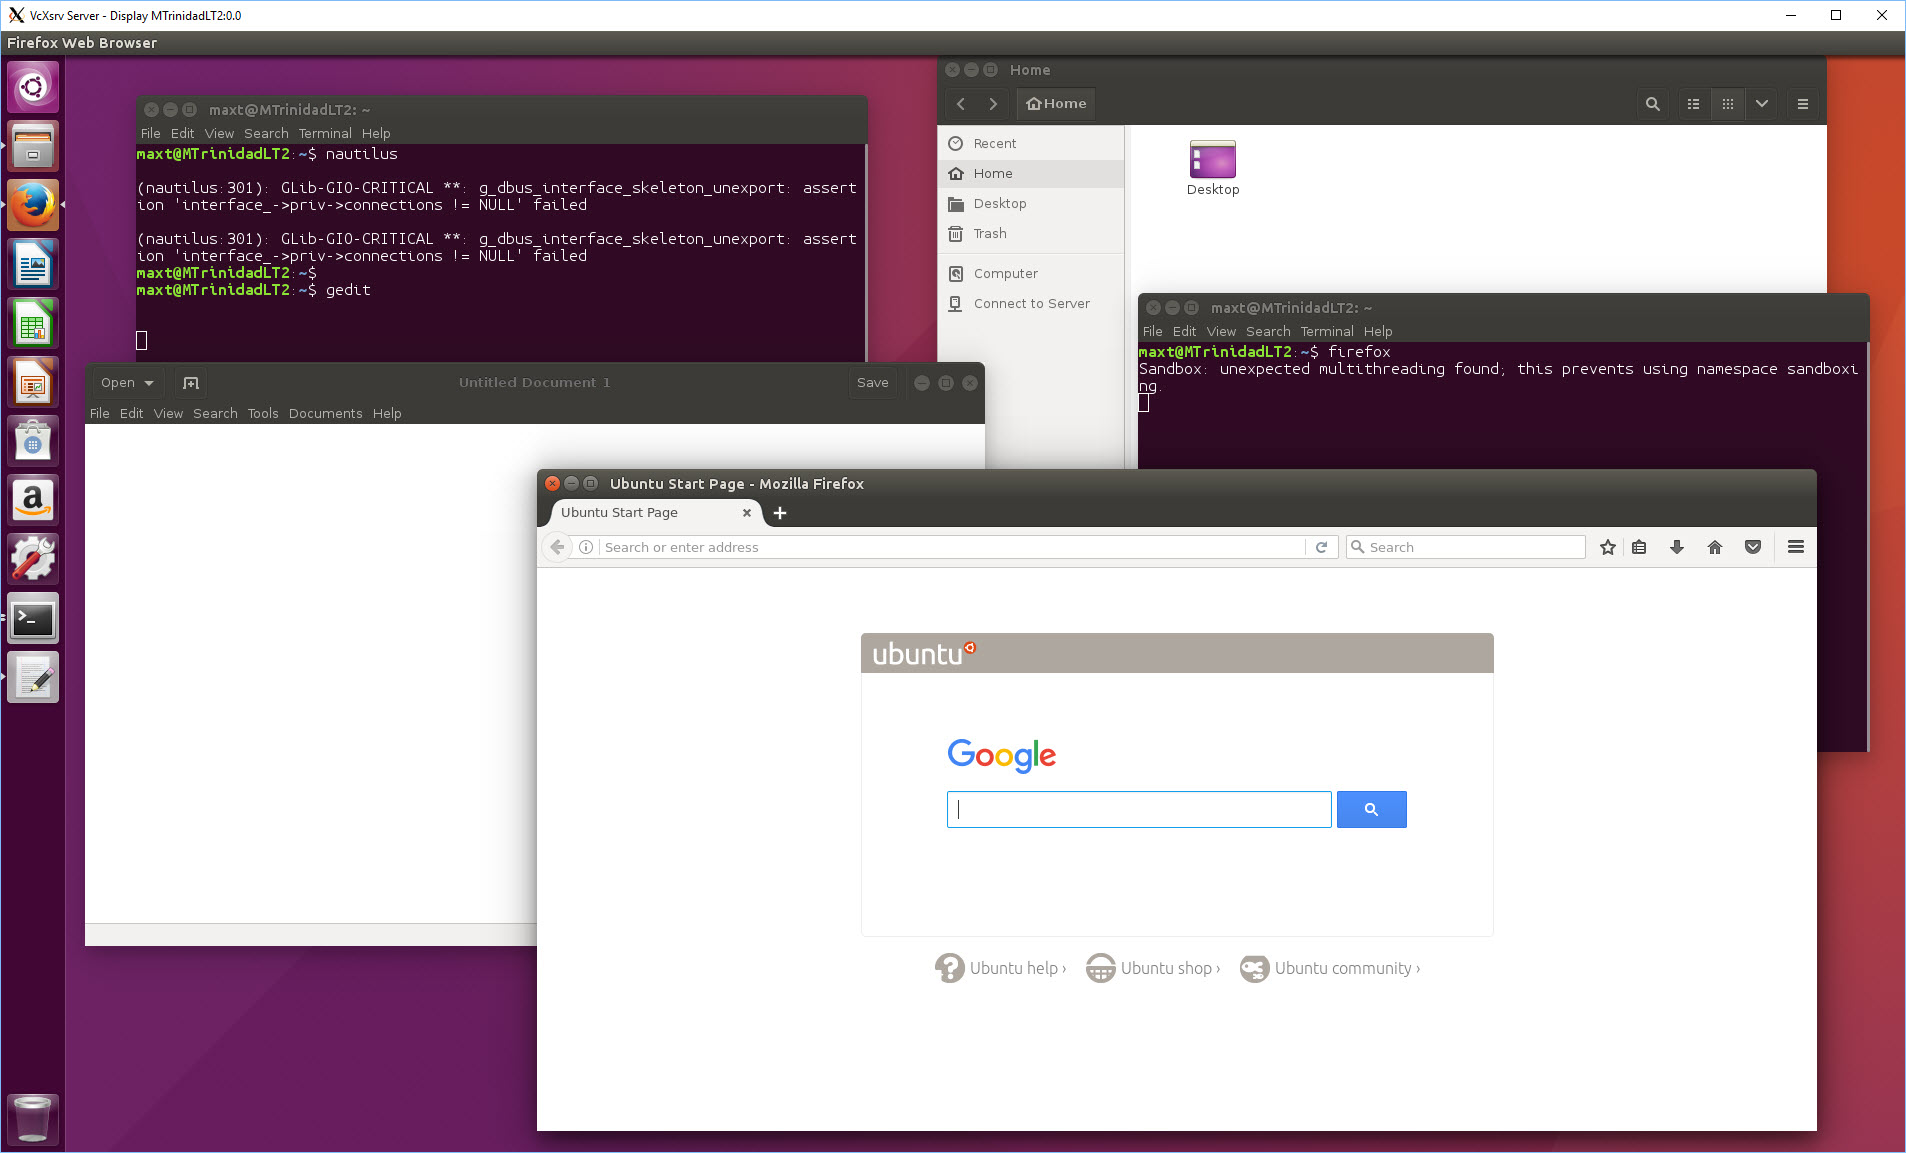
You will notice there are some applications available to use.
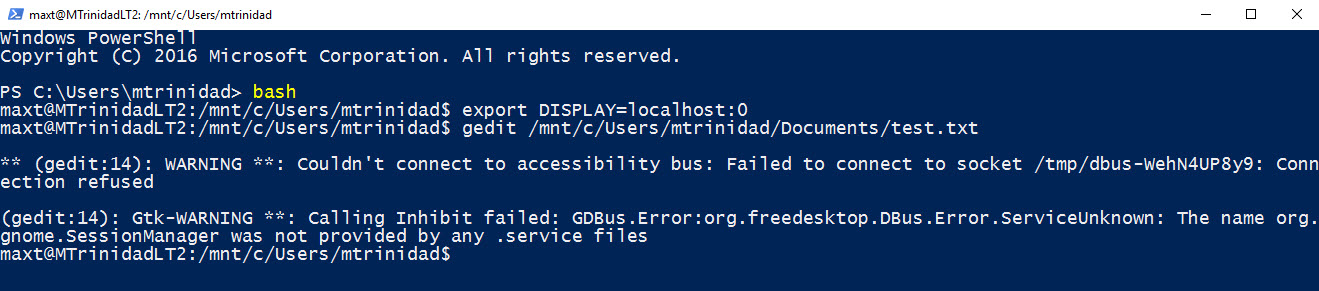
Let’s concentrate of the ‘File’, ‘Text Editor’, and ‘Terminal’. You can manually execute some gui applications from the bash command prompt such as:
1. For File Browsing execute: nautilus or ‘sudo nautilus’ with elevaded security.
2. For Text Editor execute: gedit or ‘sudo gedit’ with elevated security.
3. For Internet browsing: firefox
Now, we are ready for PowerShell.
PowerShell in Windows 10 Bash
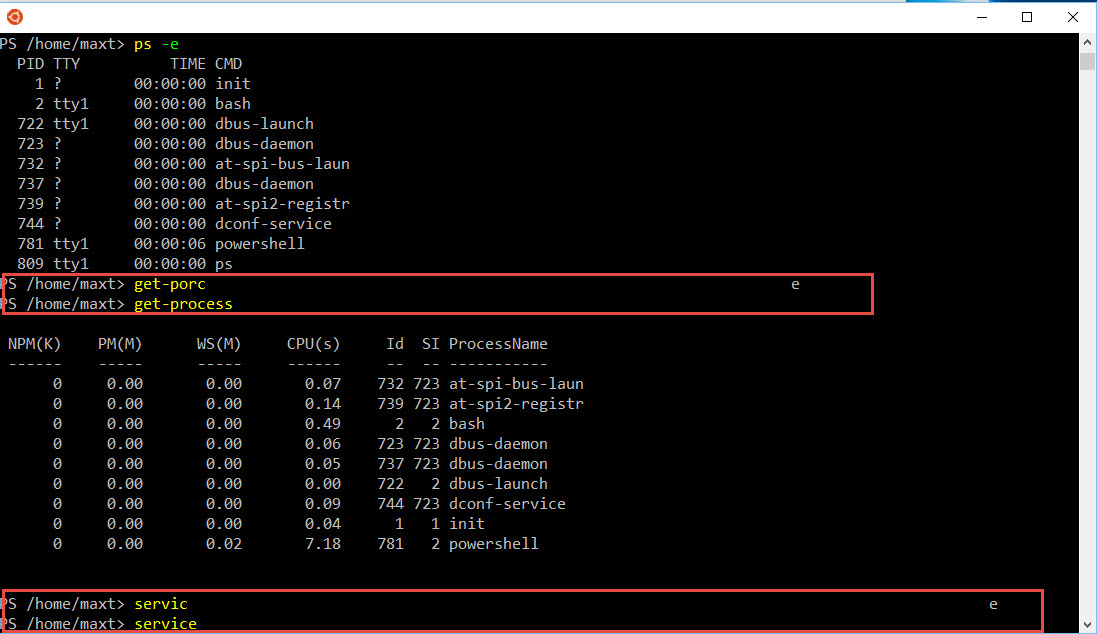
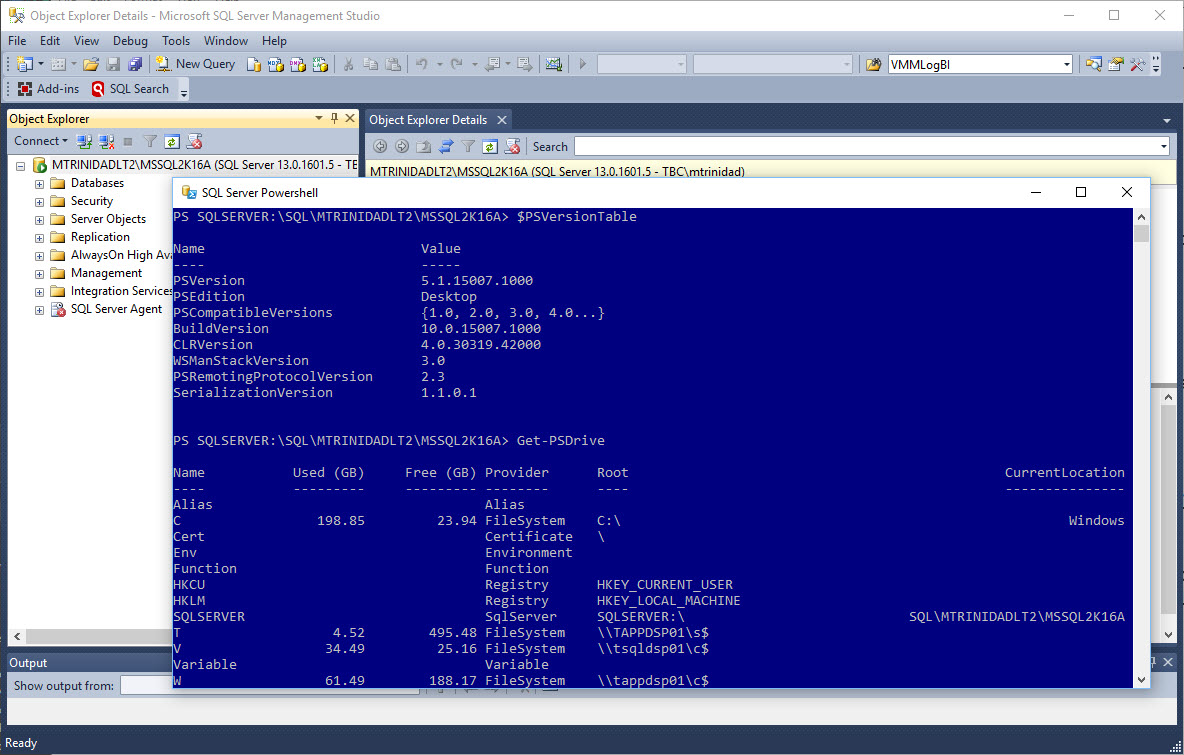
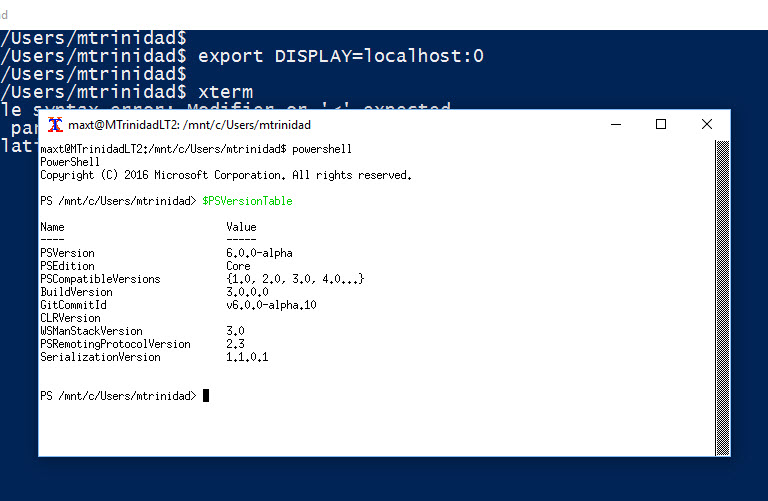
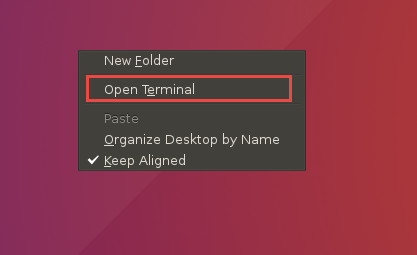
At the Ubuntu Desktop just right-click and pick “Open Terminal”. Then, type “powershell” and press enter.
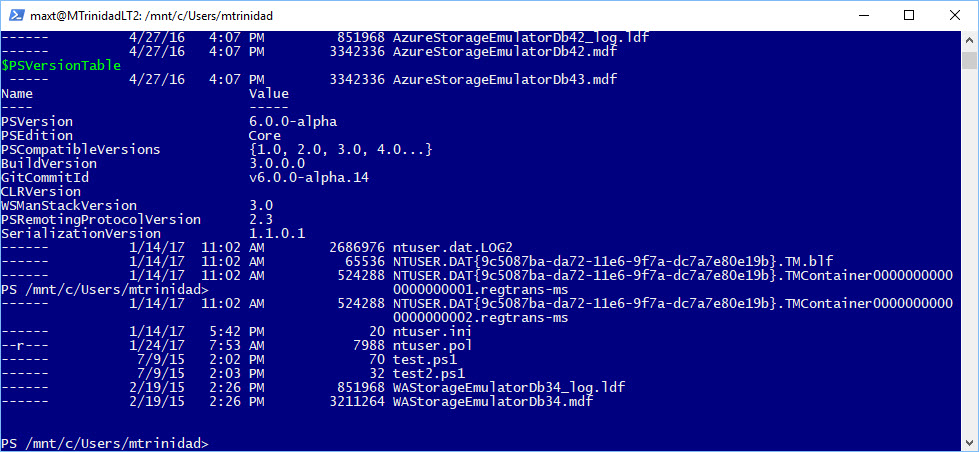
Then execute the following powershell commands:
$psversiontable
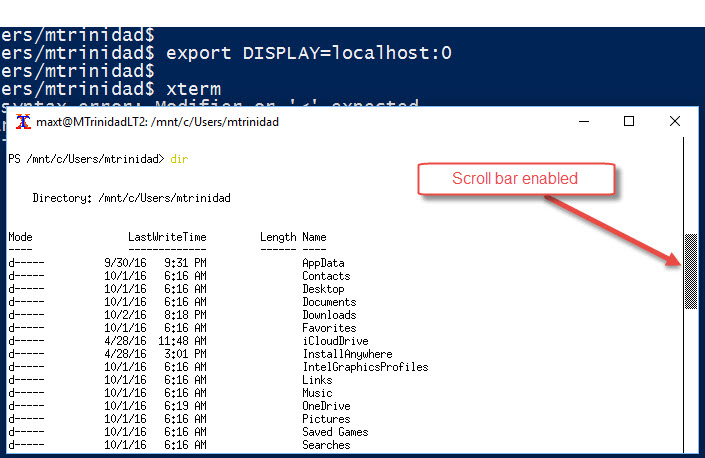
dir
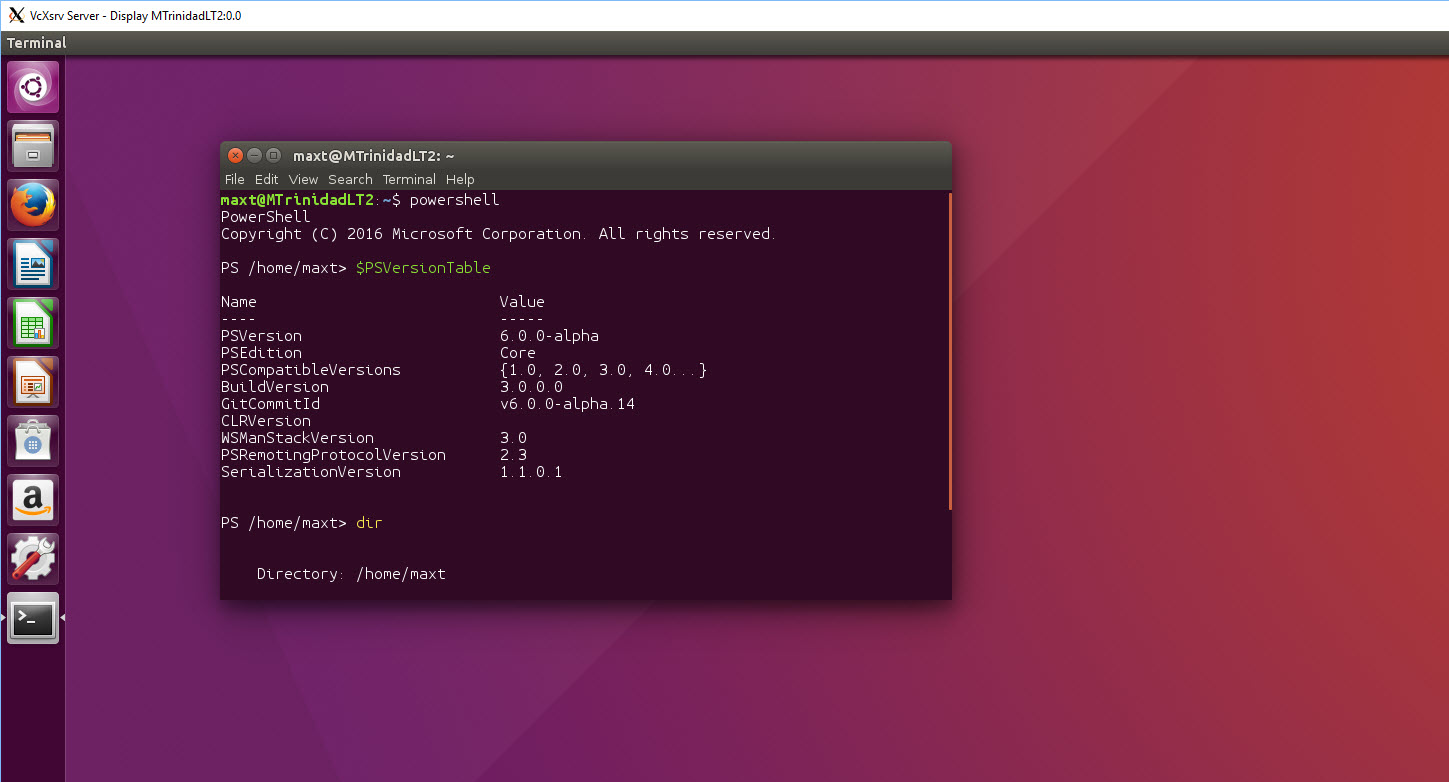
As you can see we, now PowerShell is working in Windows 10 Bash thank to Ubuntu Desktop. But, keep in mind, Ubuntu Desktop is not supported in Windows 10 Bash subsystem. At least, you can give it a test drive.
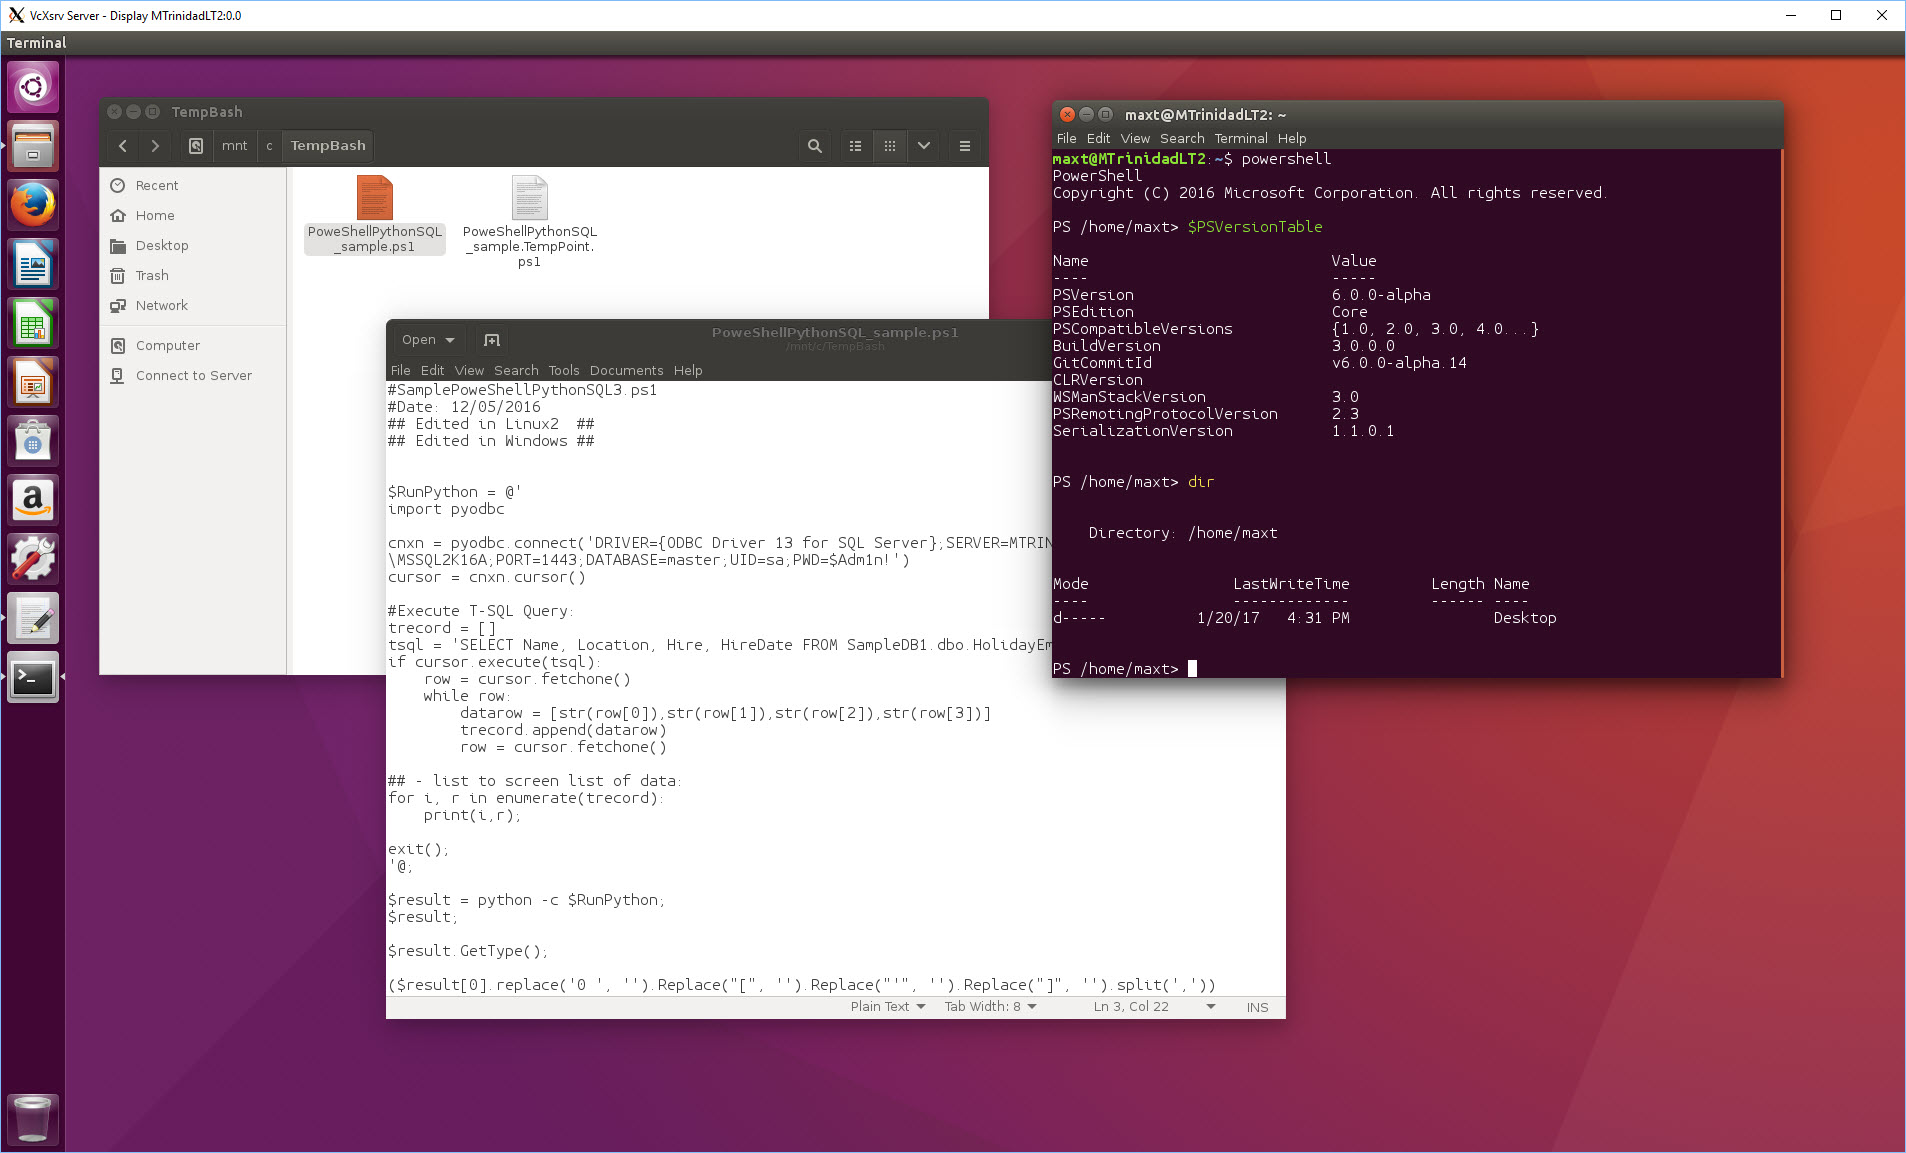
By the way, you can use your favorite PowerShell Editor
BONUS Section
Important Path to Remember, in case you’ll find where things are in Windows 10 Bash Subsystem.
Windows 10 BASH folders:
C:\Users\mtrinidad\AppData\Local\lxss
C:\Users\mtrinidad\AppData\Local\lxss\home\”Linux_UserName”
C:\Users\mtrinidad\AppData\Local\lxss\rootfs\usr\local\bin
C:\Users\mtrinidad\AppData\Local\lxss\home\”Linux_Username”\PowerShell
Bash file path to Windows folders:
/mnt/c
/mnt/c/Users/”Windows_UserName”/Downloads
/home/”Linux_UserName
Where PowerShell Open Source folder are located in Bash Subsystem:
/usr/local/bin/PowerShell
Additional Information:
Information about installing Ubuntu Desktop in Windows Bash:
— See link for info: https://github.com/Microsoft/BashOnWindows/issues/637