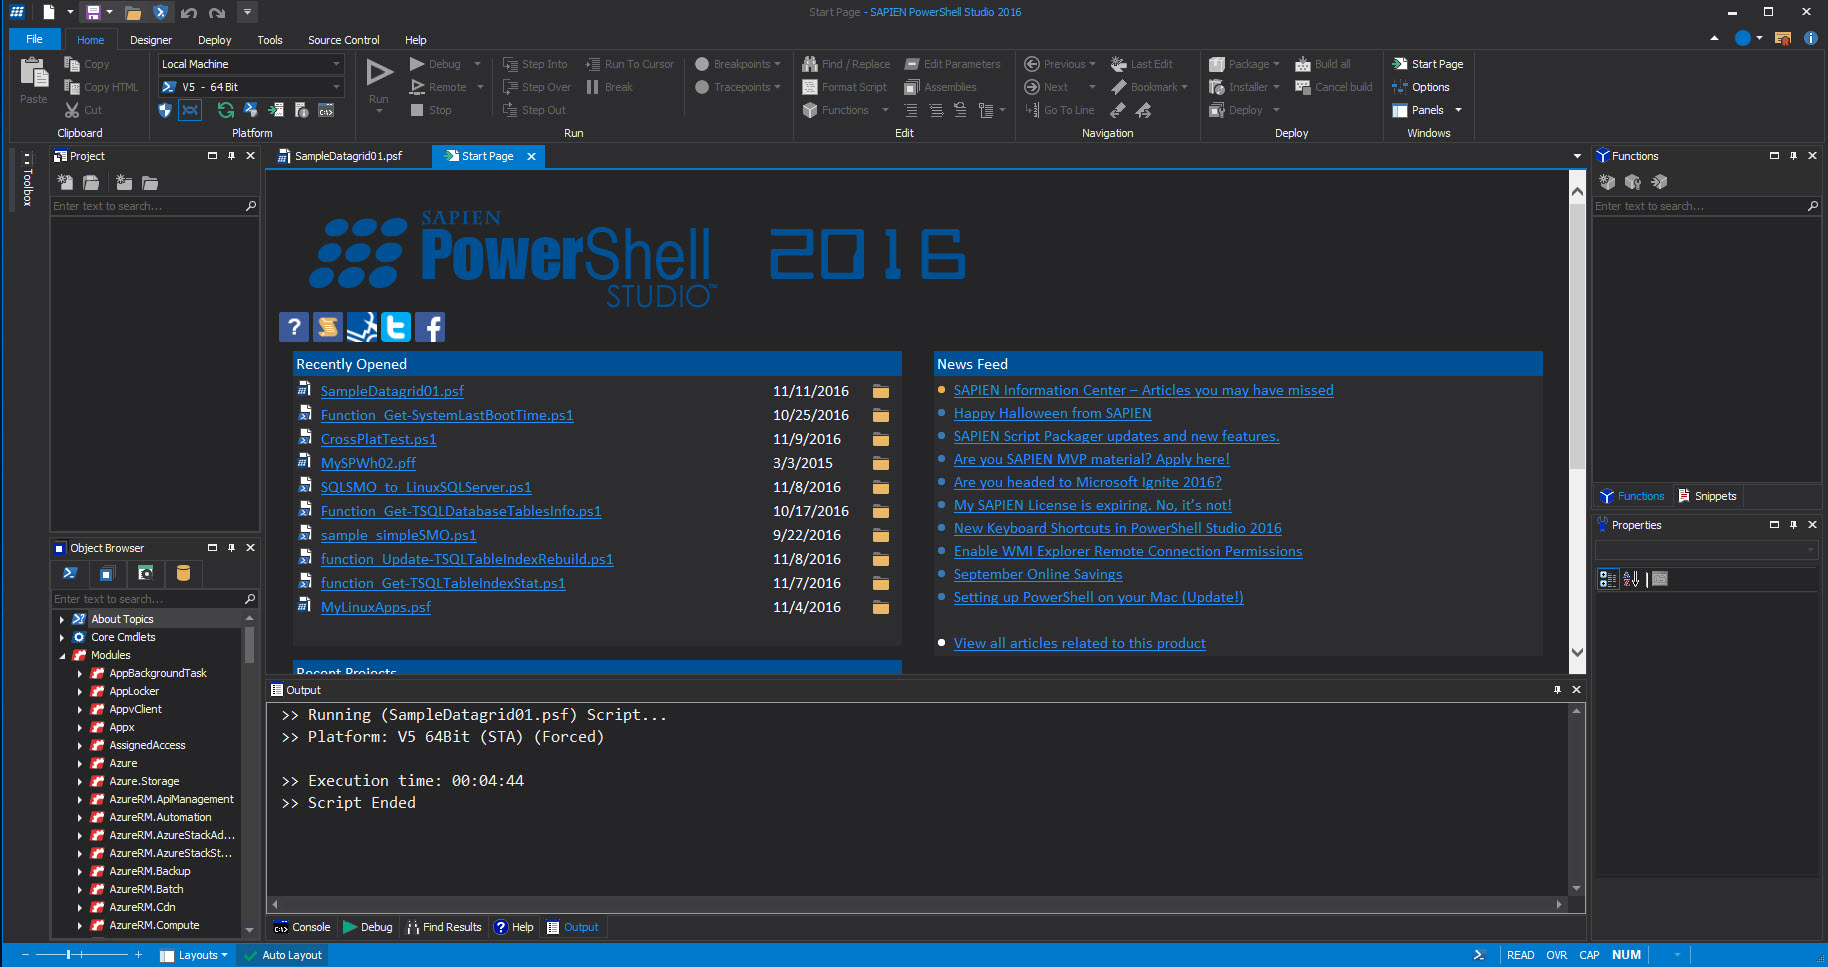
In our previous blog we build a GUI application and created the executable file using either the “Build” or “Build & Run” option under the “Deploy | Packager” section.
Although, this is optional, we could have created an MSI installer which will produce all the necessary steps to deploy the GUI application.
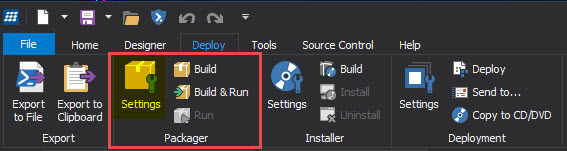
The flow to build your MSI installer would be:
1. “Deploy | Installer” – “Settings” – To enter all the information needed about this GUI application.

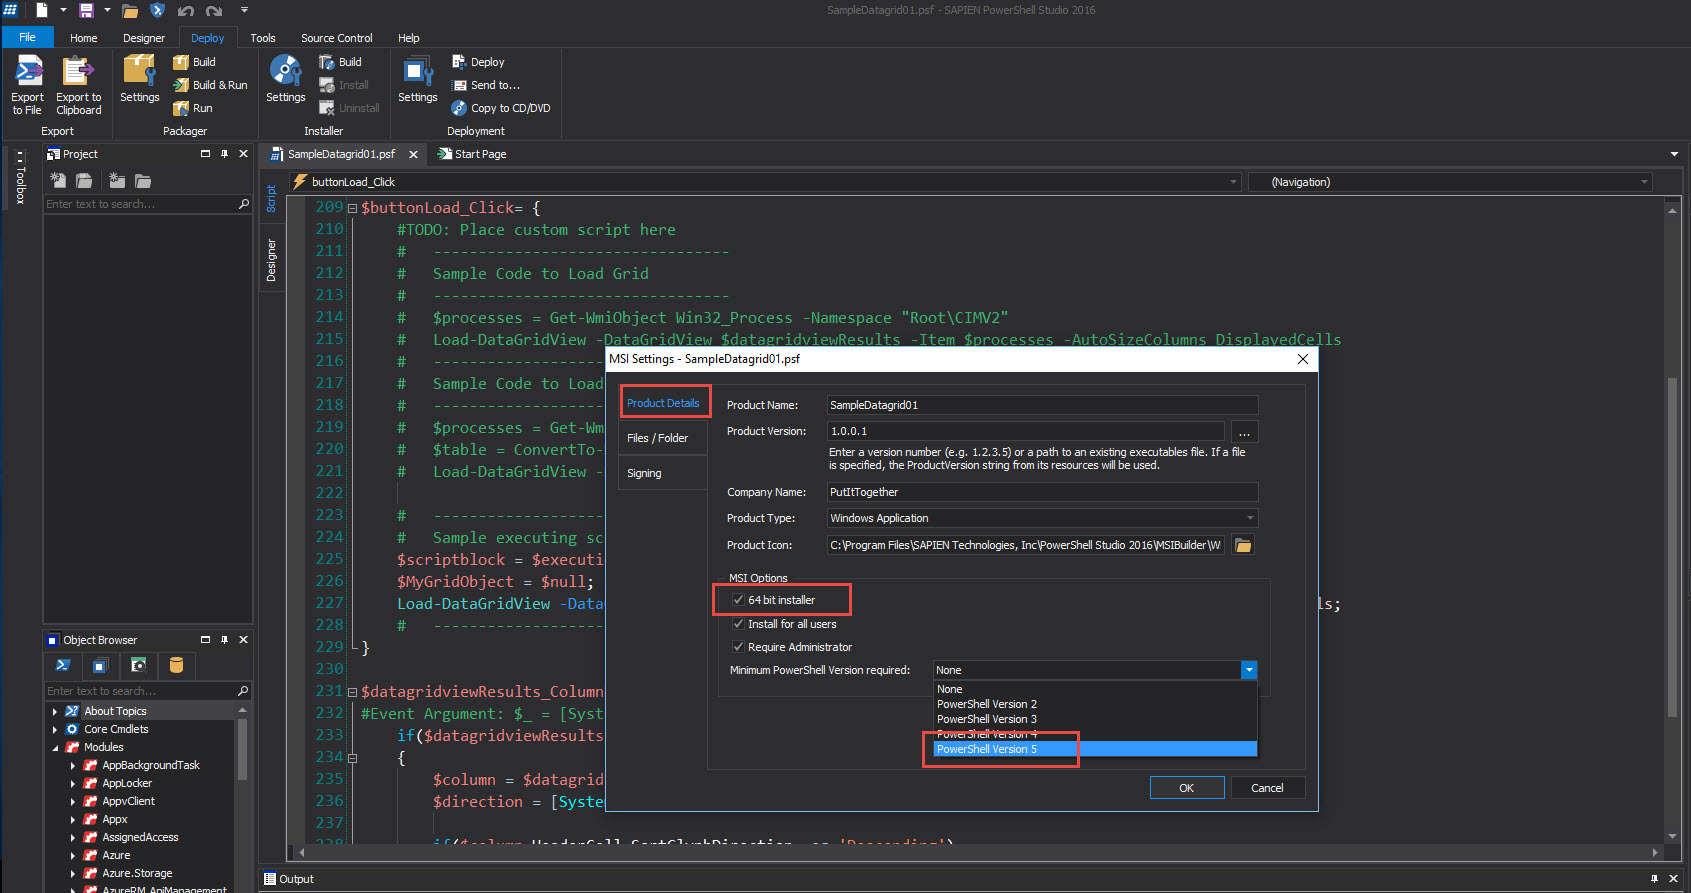
2. Under “Product Details” – Describes your application in details. Notice you can chose any PowerShell version available.
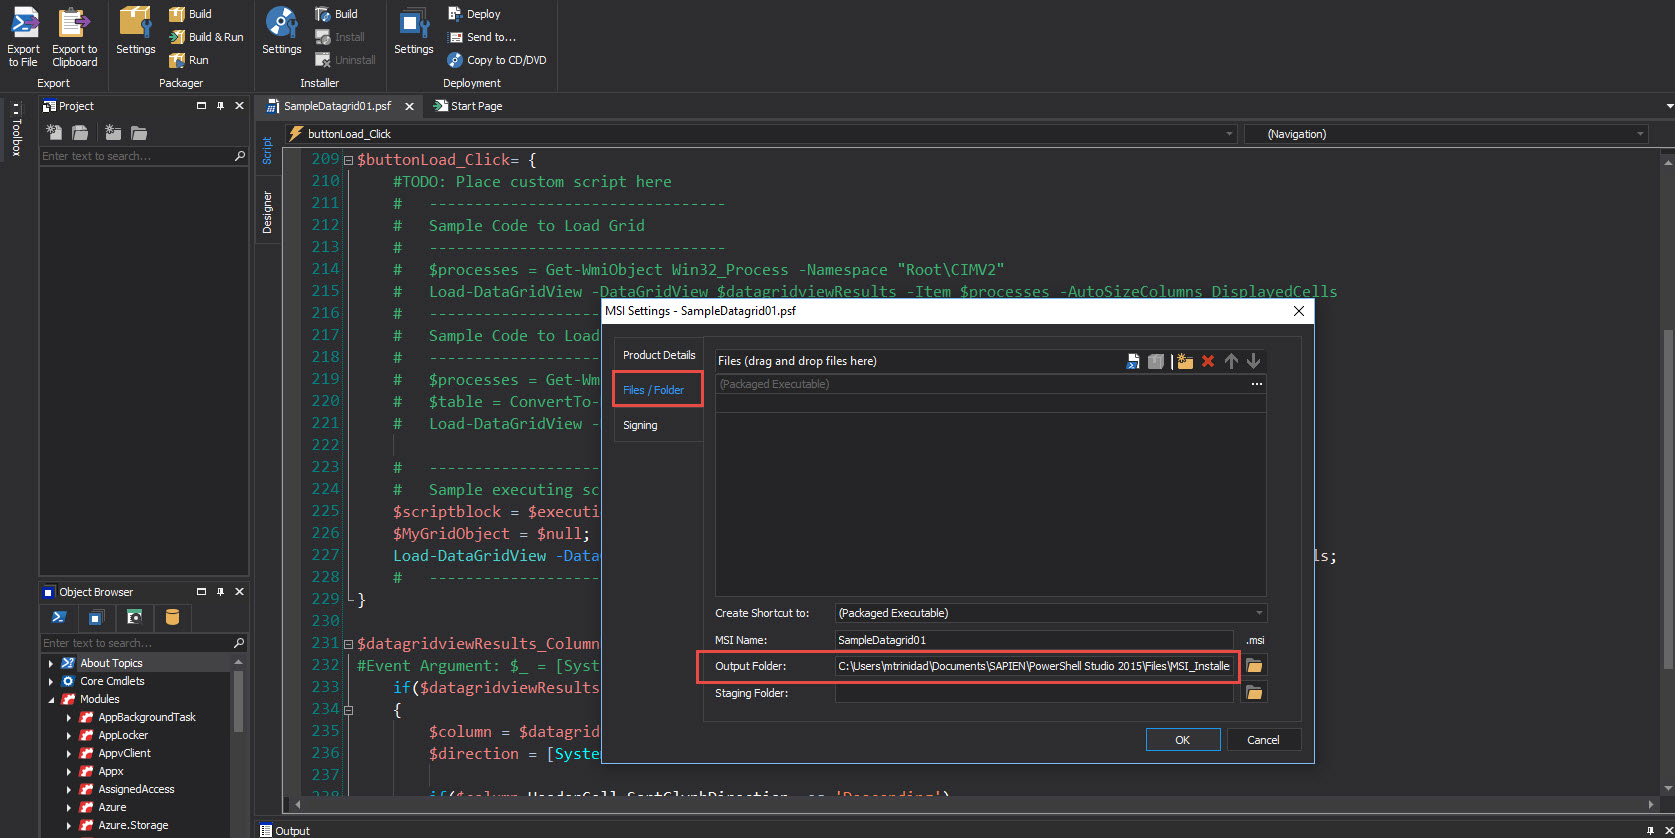
3. “Files/ Folder” – This section will set where your MSI files will be stored. You can add more resource file with it.
4. “Signing” – (optional) Only if you want to sign your application solution with your signed certificate.
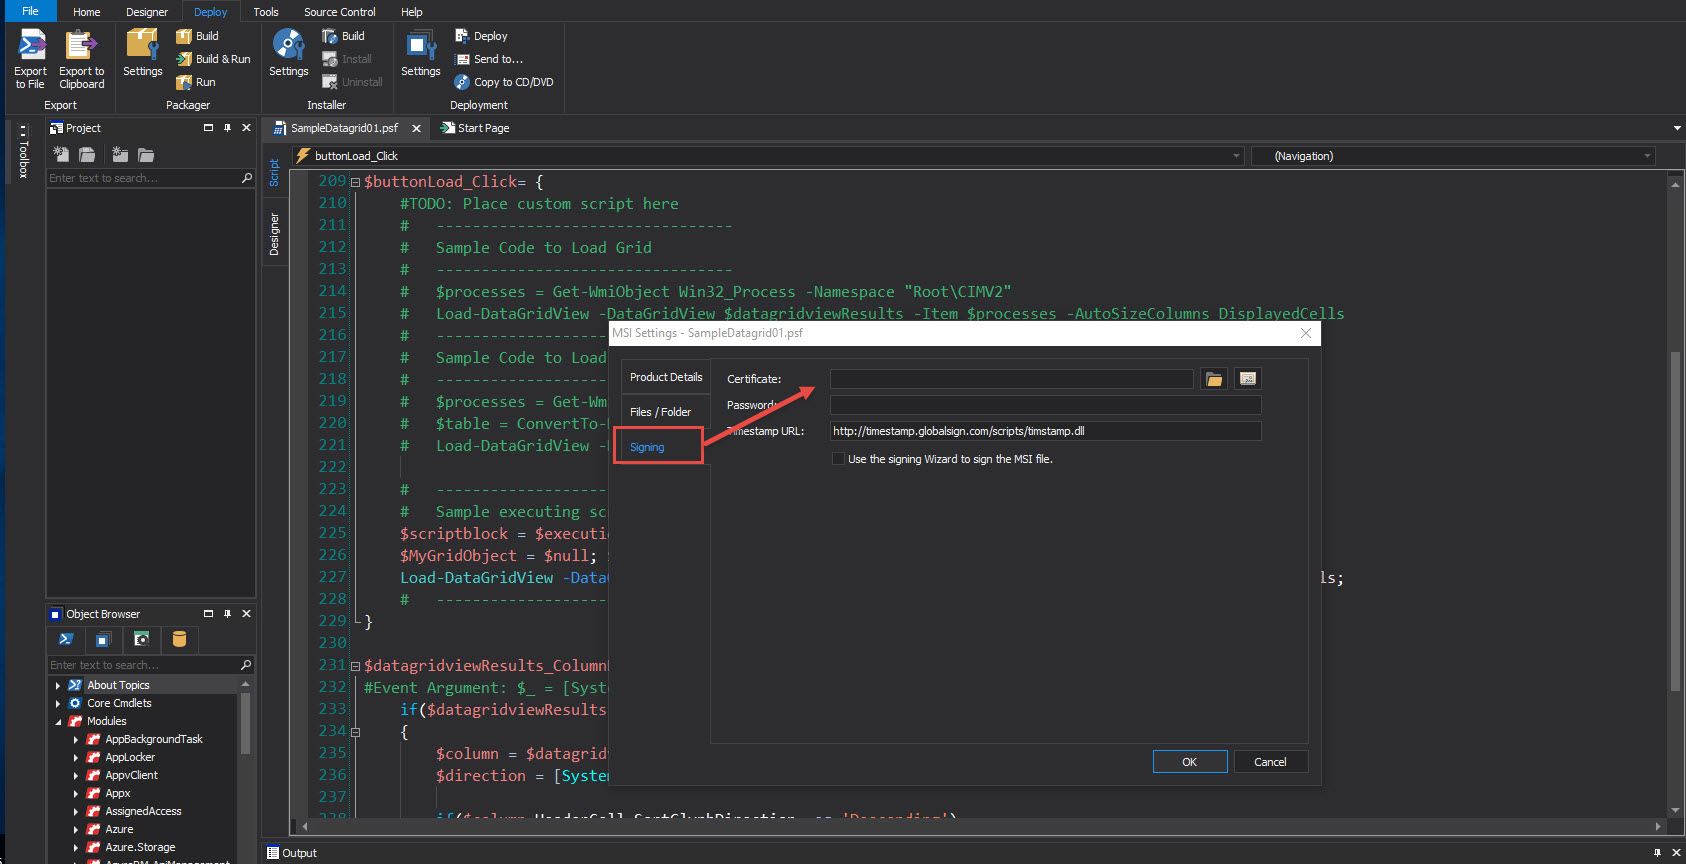
After everything under setting has been configured, proceed to “Build” the installer.

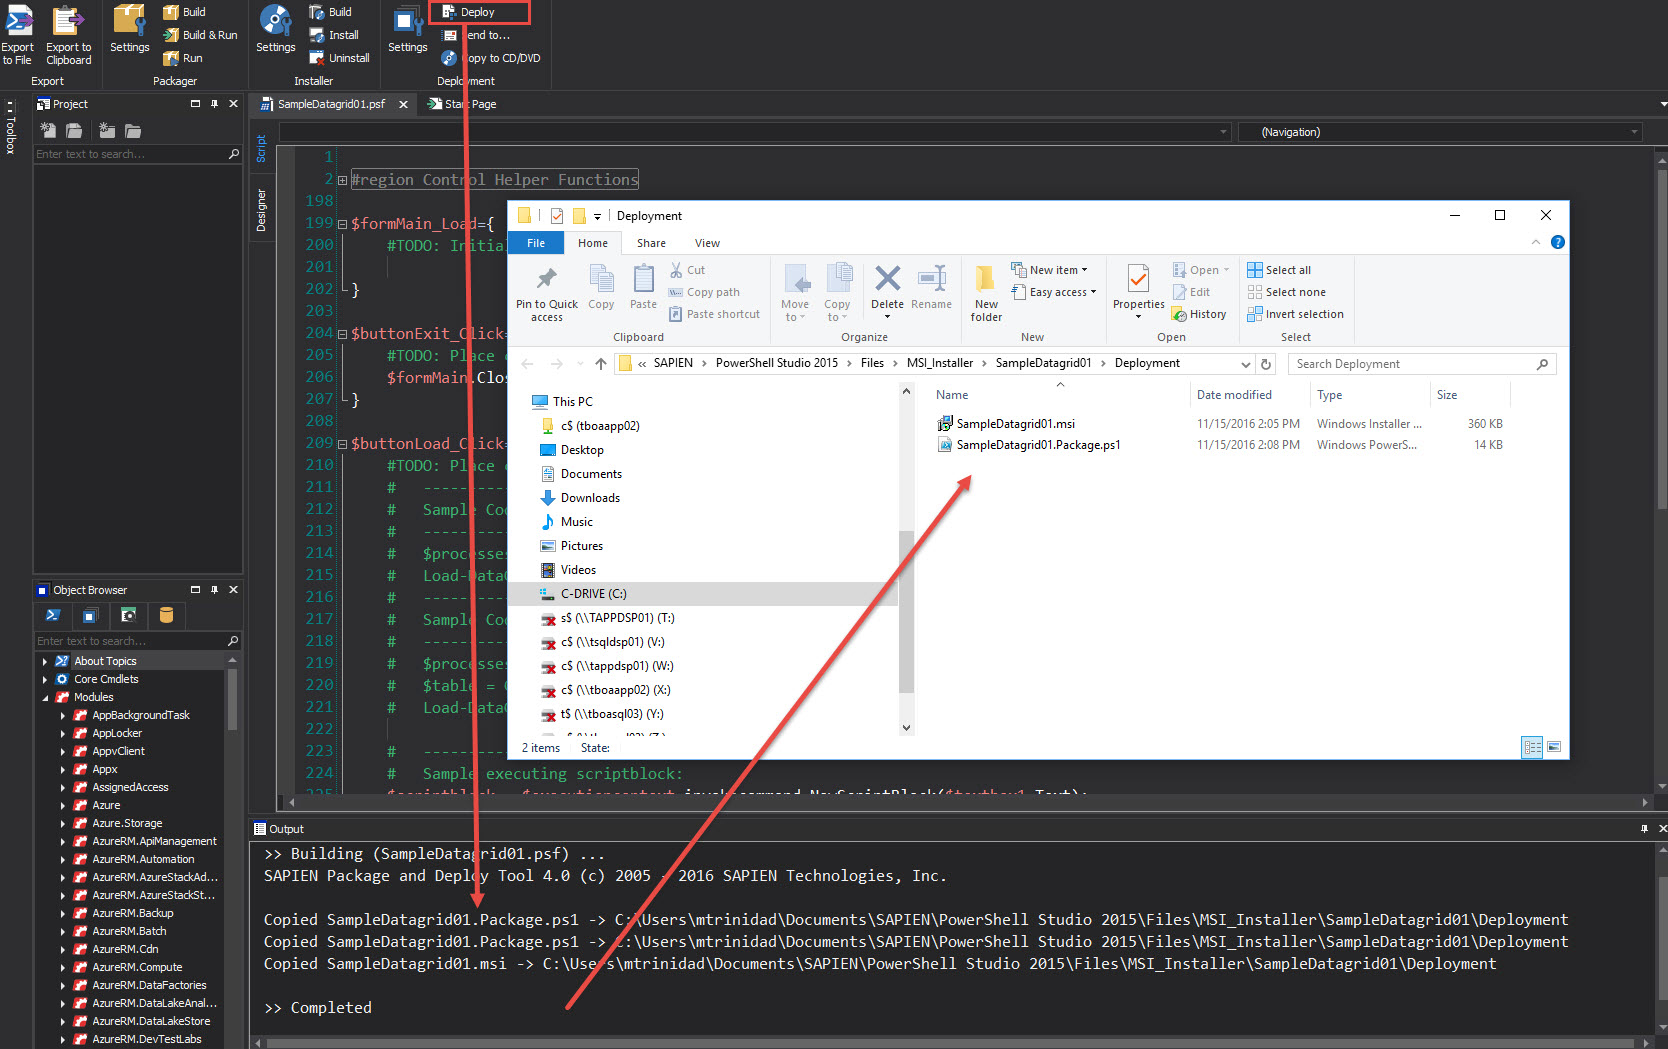
Now, we have created the GUI application MSI installer which can be distributed to other machines.
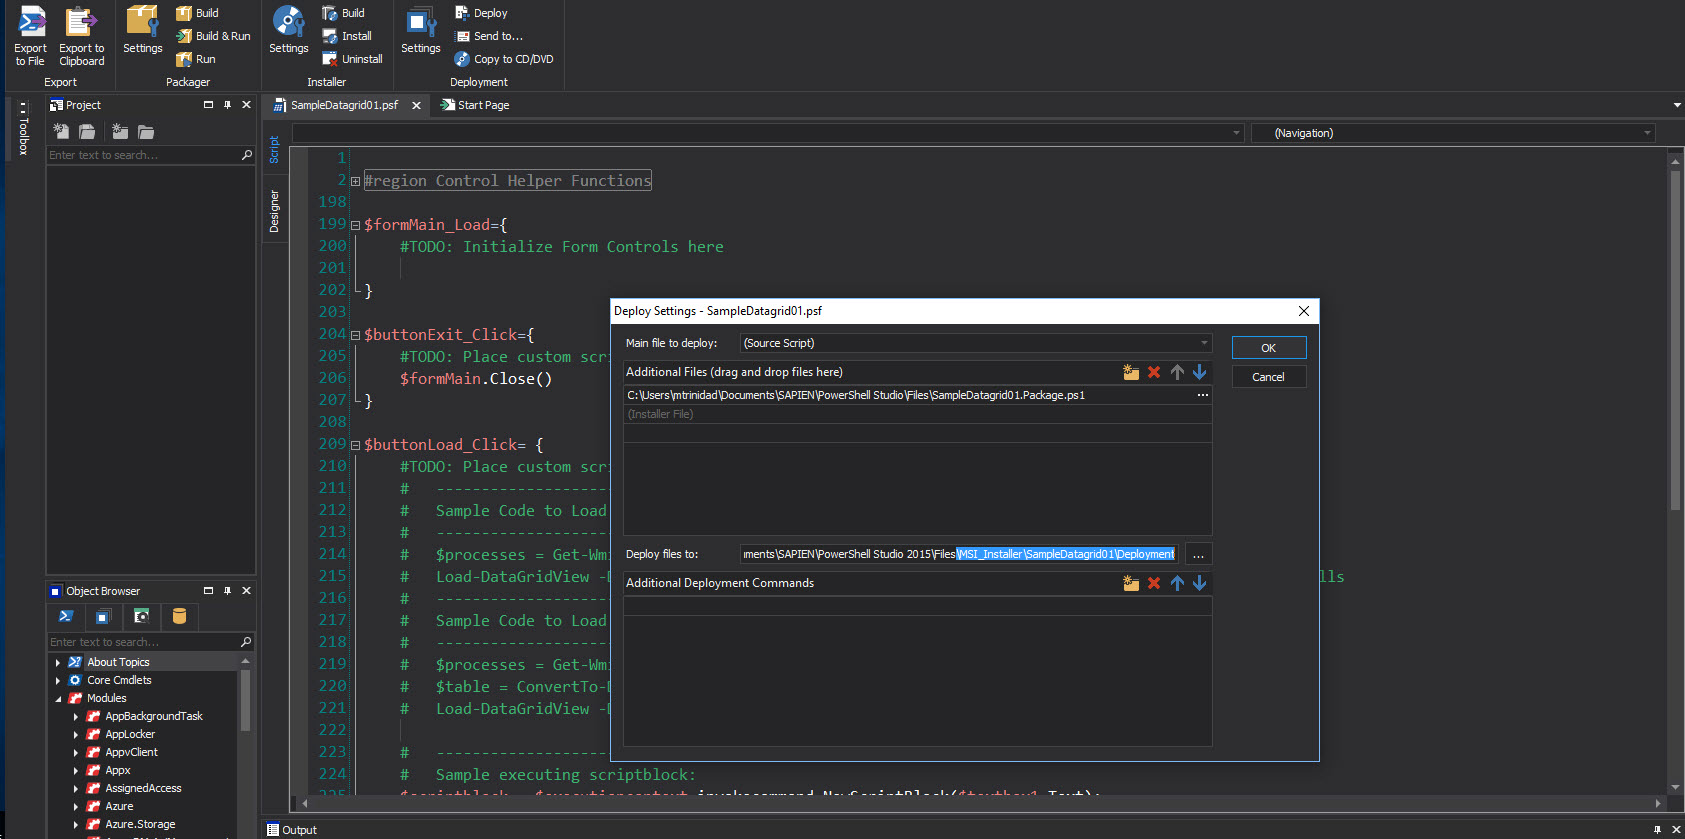
What about application “Deployment“?

Under the “Deployment” section, basically we can use it to collect all the script files and store documentation to be deploy somewhere on the network or media device.
PowerShell Studio is a RAD full developer solution for PowerShell development:
Download the product for a evaluation:
https://www.sapien.com/software/powershell_studio
More information about PowerShell Studio:
https://www.sapien.com/assets/pdf/PowerShell_STUDIO.pdf