Well, Here’s some tips to those who are first timers with Windows 8 Server (or Client) Preview edition. I have to say, after been using the previous version of Hyper-V, I’m very happy for what i’ve seen so far in Windows 8 Server with Hyper-V 3.0. As I finally completed updating/rebuilding all my VM’s for upcoming PowerShell and SQL Servers presentations, I have compiled 8 tips that might help the newbies get started using Microsoft Virtualization Technology.
Tip #1 – Memory is important
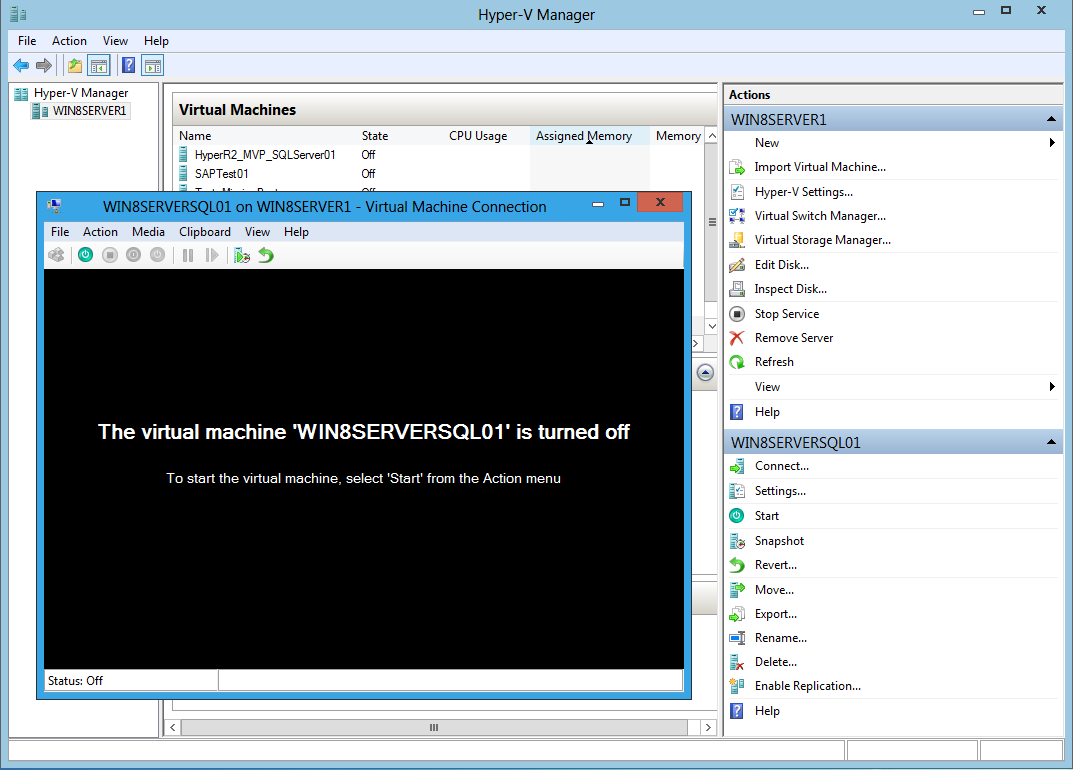
Yes, I totally agree with this one. After I upgraded my memory from 4GB to 8GB, all my VM’s are working OK. I have experience giving 1.5GB to a Virtual SQL machine is ideal for development.
Tip #2 – Enabling Hyper-V
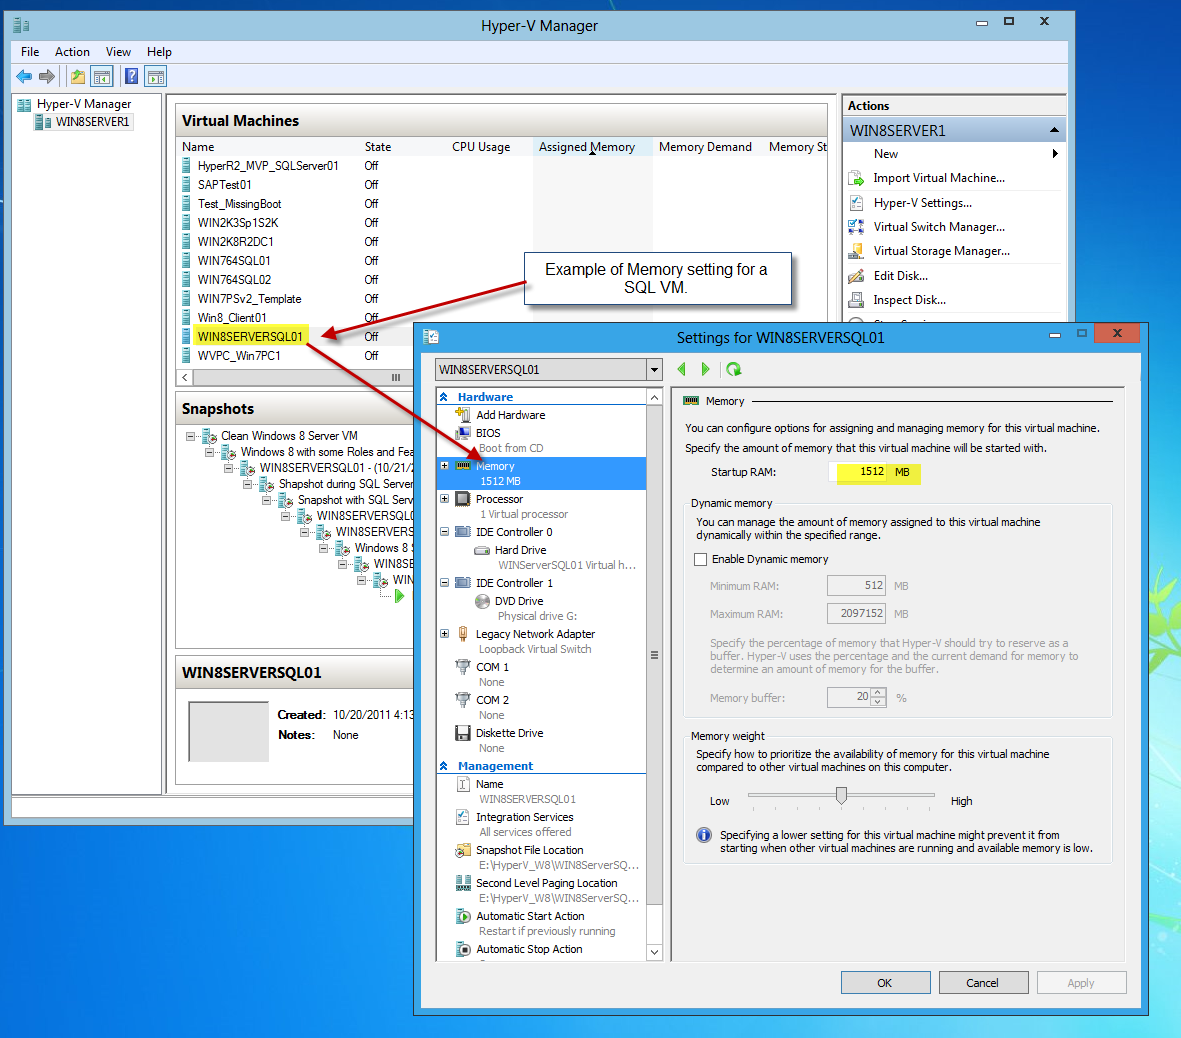
First, There’s some differences between Hyper-V 3.0 server and Client. But, let me be clear, that every machine might be different. In my case, I have a 4 year old HP Pavilion dv7-* Entertainment laptop with Virutalization option enabled. I created a dual boot Windows 8 Server and Client version.
On the Windows 8 Server enabling “Hyper-V” role using the new “Server Manager” Dashboard was easy. But, in my case, I had to manually enable “Hyper-V Core” on my Windows 8 client by turning it “ON” in Windows Features. Here’s the command:
C:\Dism /online /enable-feature /featurename:Microsoft-Hyper-V
Tip #3 – Create your Hyper-V 3.0 Virtual Network Switch
This is very Important and one this you need to setup your Virtual Network connections in either Server or Client. Open “Hyper-V Manager” and look the “Virtual Switch Manager”.
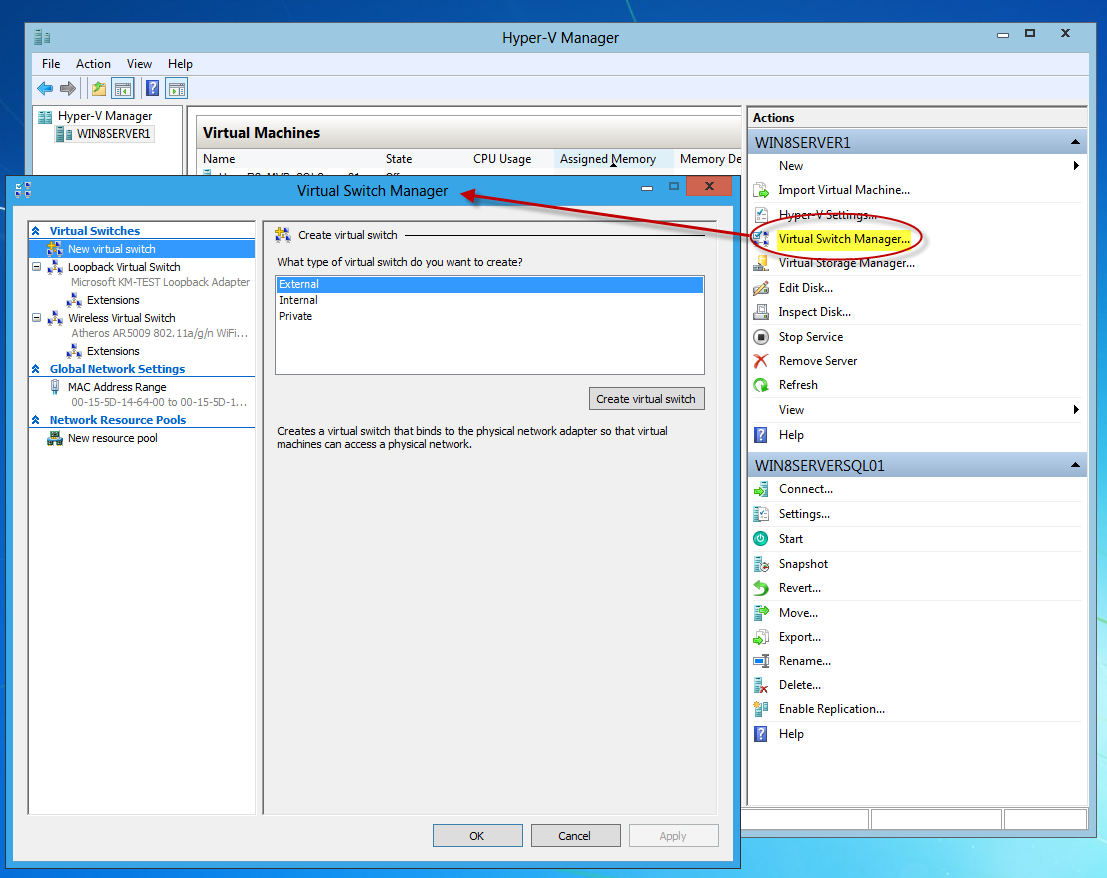
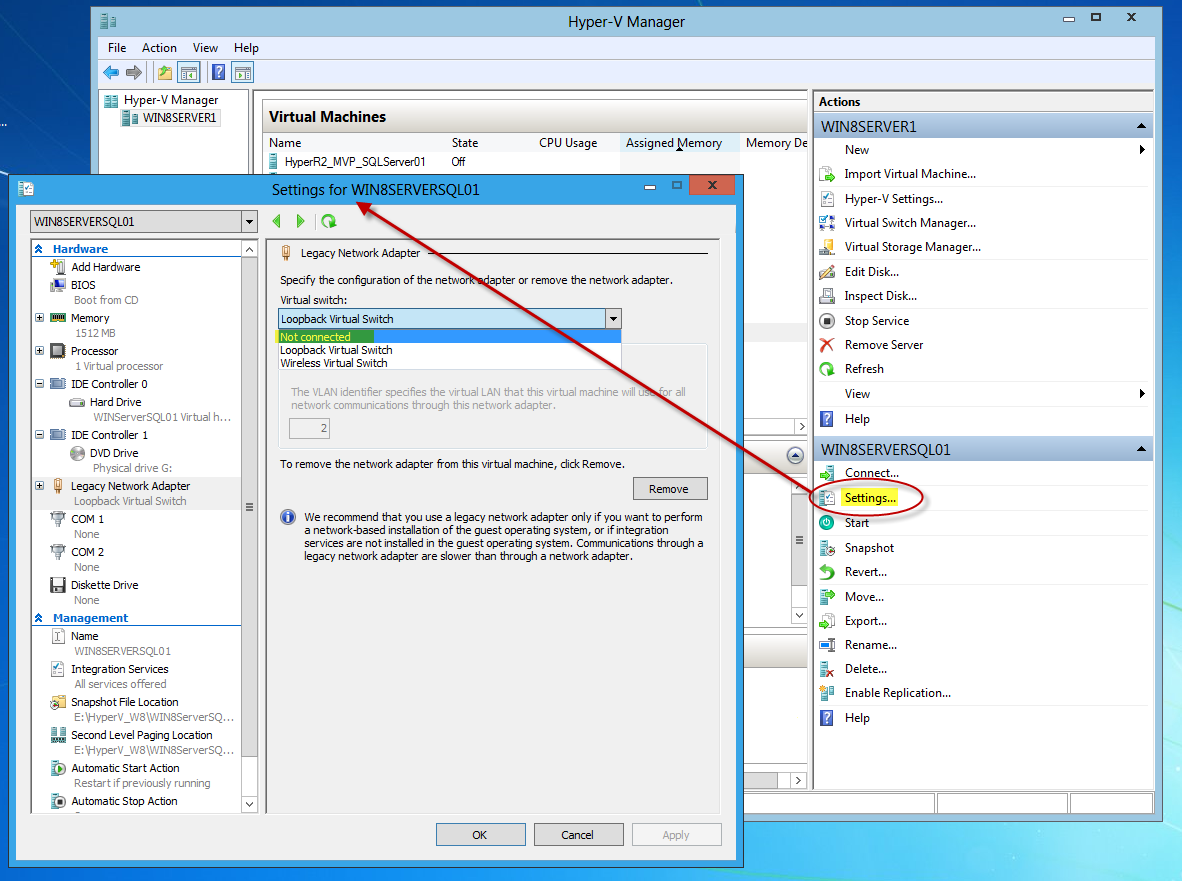
As you can see in my picture, I have a Loopback adapter Virtual Switch (External), and a Wireless Virtual Swtich(Externa) both setup as Legacy Adapters). These two combination works great when VM’s talk to each other and, at the same time, have access to the internet for Windows Update. Keep in mind, you can disable the wireless by going into the VM Settings option, going into the “Legacy Network Adapter”, and changing the “Virtual Switch” to “not Connected”.
Tip #4 – Don’t need a SAN Storage
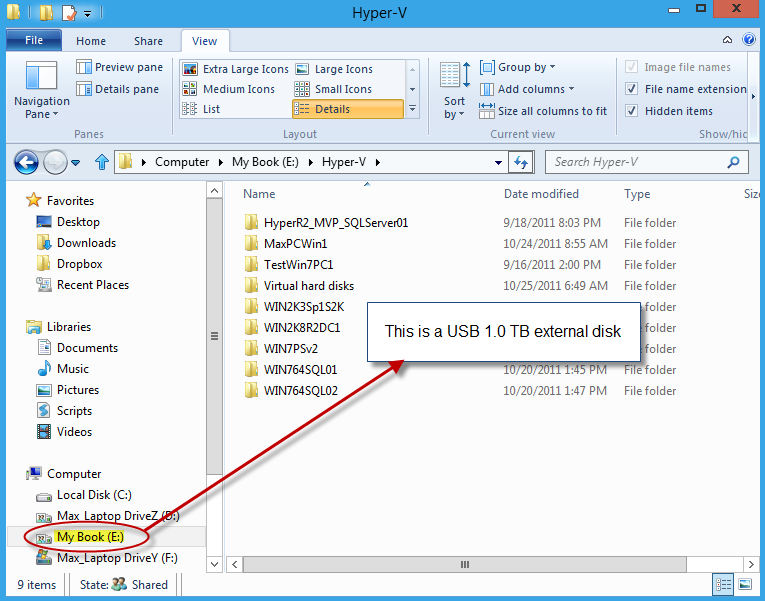
FYI. Hyper-V 3.0 will allow you to create your VM’s practically anywhere. In my case, I have an External USB 1.o TB Storage drive. This is good new because you don’t need a SAN storage unit, and can save Vm’s outside your Physical server drives.
Tip #5 – Set VM’s TimeZone correctly
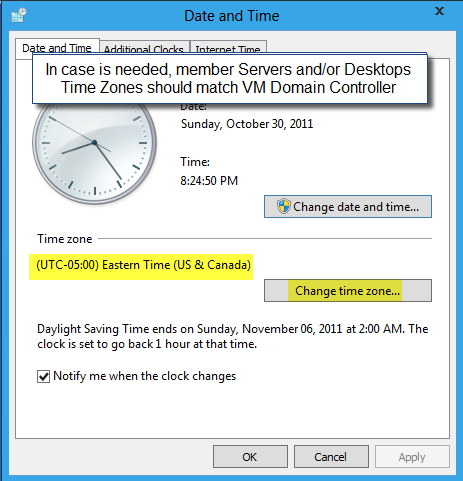
This might be only in my case, but after creating my VM’s and trying to connect them to join my Virtual Domain Controller, I experience connectivity issues between my VM’s due to their Time Zones not been the same. So, If you have a Virtual Domain Controller, make sure both Time Zone machines are the same.
Here’s an interesting link on “Time Synchronization in Hyper-V” (by the “Virtual PC Guy’s Blog”) you may find useful: http://blogs.msdn.com/b/virtual_pc_guy/archive/2010/11/19/time-synchronization-in-hyper-v.aspx
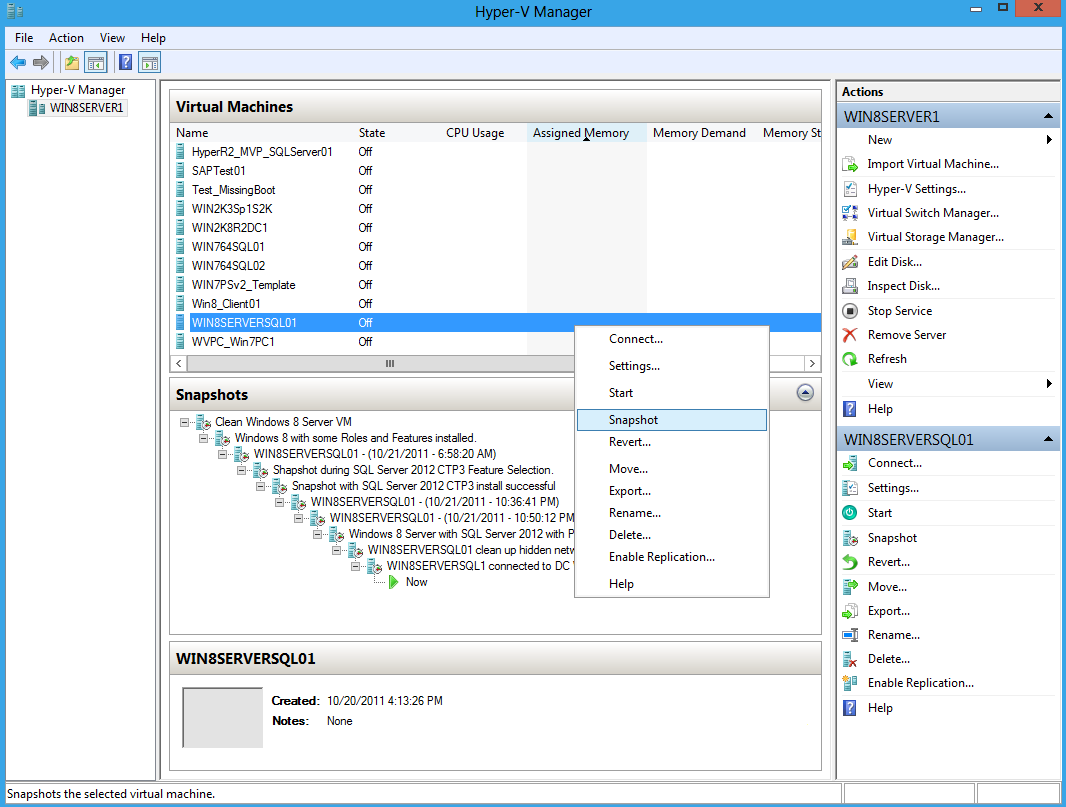
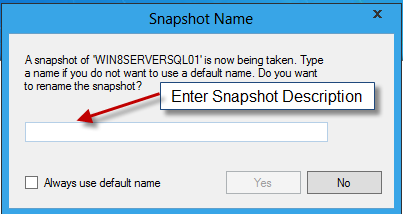
Tip #6 – Learn to use the VM Snapshot Feature
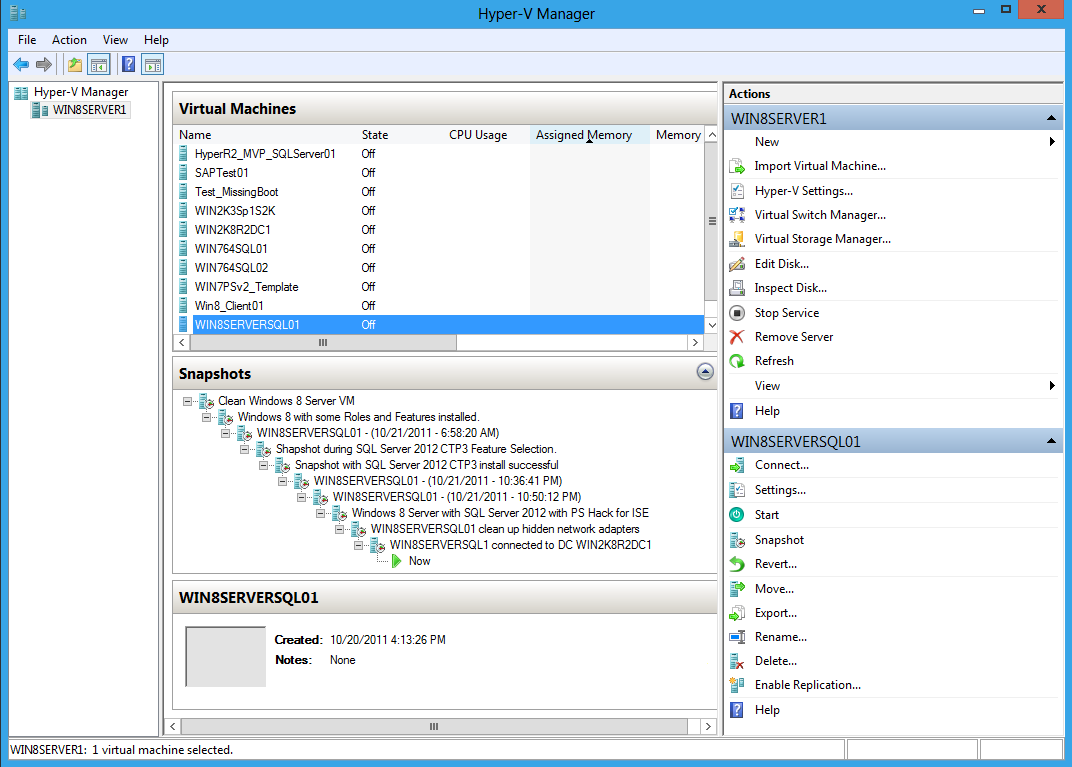
Yes! This feature is a life saver. It can help you troubleshoot VM issues by you taking the snapshot of a VM machine before doing any irreversible updates that could force you start over to rebuild the machine over. It’s perfect when creating multiple scenarios for in test machines and adding descriptions to it. Also, you can also revert to a previous snapshot, or apply the changes.
Tip #7 – Bringing Legacy Microsoft VM to Hyper-V3
If you want to move all your existing VM’s from: Virtual PC, Windows Virtual PC, and Hyper-V, just remember to uninstall all “Virtual Components”, or “Integration Services” to prevent any misbehaviour in your VM. Then, you will be able to install the Hyper-V 3.0 “Integration Services” so that Hyper-V can manager your VM’s services such as: Snapshot, Start, Shutdown, or Save.
*hint*: I have experience some issues with Windows Servers 2008, and Windows 2003 SP1 after mvoing them to Hyper-V 3.0. The mouse won’t work even after installing “Integration Services”.
Tip #8 – Start using Use PowerShell
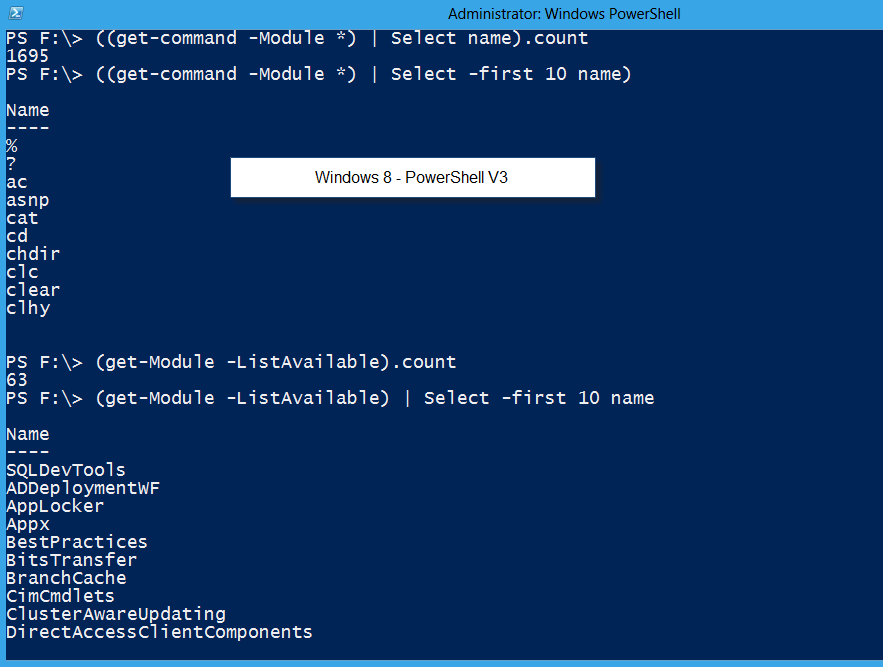
Yes! YES! This is your opportunity to start using PowerShell. You can user the Hyper-V module and start managing your VM’s. Also, don’t forget that PowerShell comes with over 1695 and about 63 Modules. Keep in mind, This numbers will varies depending on the enabled Windows features and/or installed Server Applications containing PowerShell modules.
Here’s some one-liners command you may want to try get the estimate numbers of PowerShell commands and modules:
1. Get total number of available commands and list their names:
(get-command -Module *).count; (get-command -Module *) | Select name;
2. Get total numbers of available (installed) Modules, and list their names:
(get-Module -ListAvailable).count; (get-Module -ListAvailable) | Select name;
I hope this information is helpful. That’s it for now!
